
How to Use GPT Image 2.5: Generate and Edit Images
Start with GPT Image 2.5: describe an image, review settings, refine a result with references and check it before use. Find image editing and background tools for your next step.
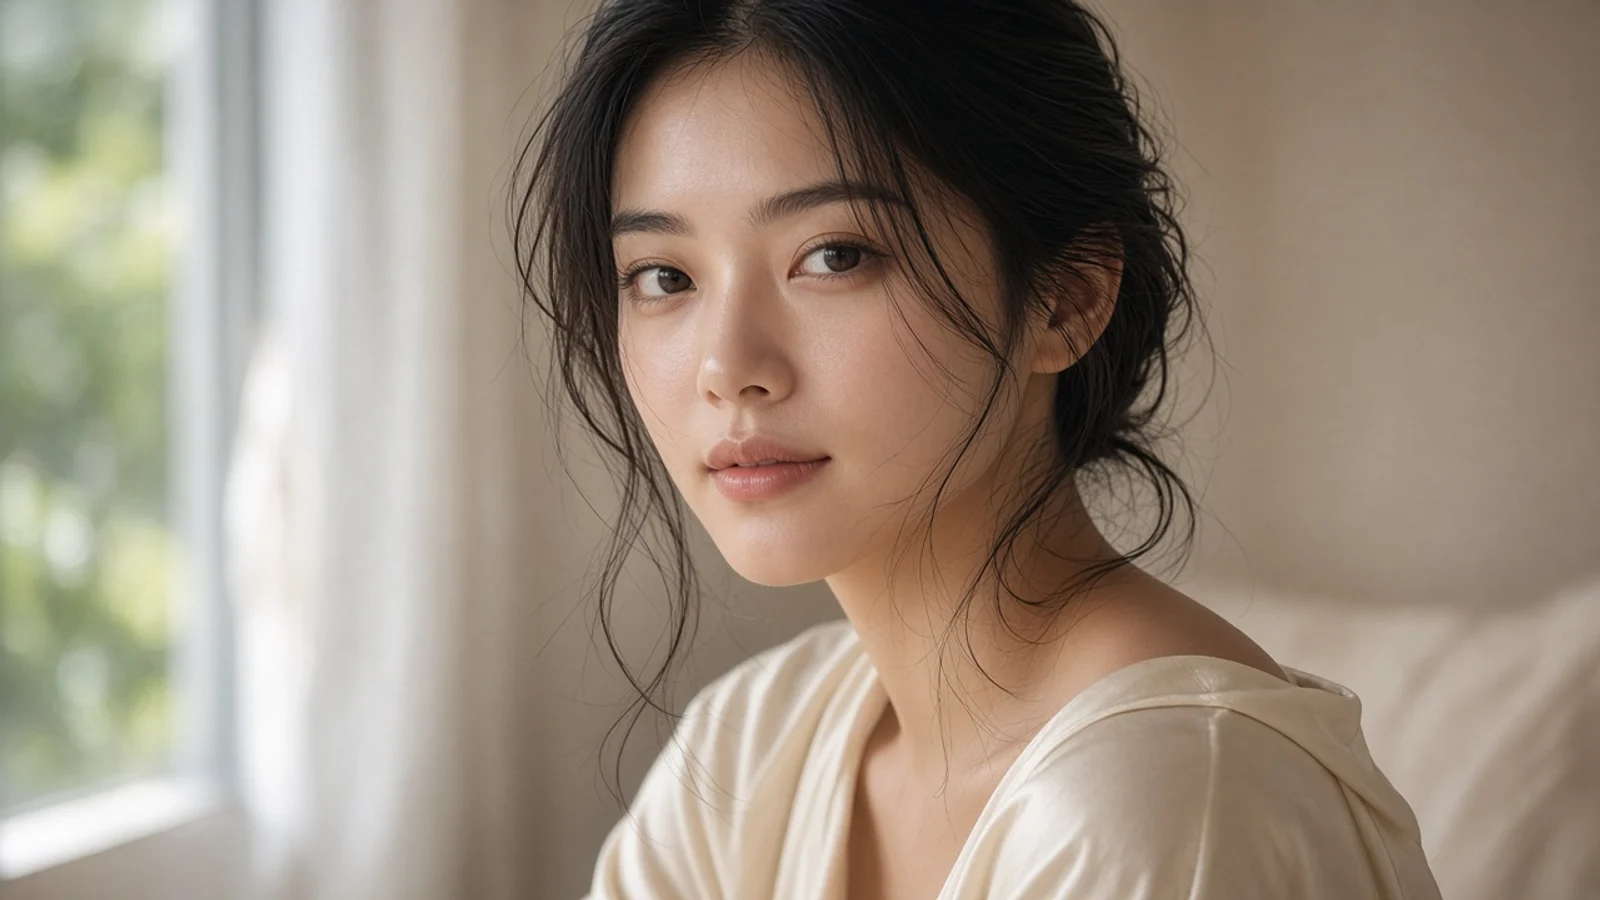
Start with a specific image when you first use GPT Image 2.5, then decide whether references or further edits are needed. This guide explains what to prepare, what to describe and what to inspect in the result.
Choose the purpose first
A social image, product visual and character illustration need different framing. Write one sentence about the intended use, then identify the subject, setting and important details. For example: a landscape coffee-event image featuring a ceramic cup, with room for a headline on the left.
Explore the GPT Image 2.5 model page or open the AI Image Generator.
Generate: describe the image and review settings
Select an available GPT Image 2.5 option in the creation interface. Describe the subject, lighting and composition. Review available aspect ratio, quality and other settings, along with estimated credits, before submitting.
Try this original prompt: An ivory ceramic cup on a dark wooden table with only a folded napkin beside it. Morning window light comes from the right. Show the complete cup on the right side of the frame, leaving open space on the left. Warm, natural commercial photography, no text.
Adapt the cup, surface and lighting to your purpose. This is an editable input example; the output still needs selection.
Check whether the result serves its purpose
Inspect subject count, shape, spatial relationships and crop, then examine lettering, anatomy or product details. Identify one issue that most affects the intended use, such as a small subject or missing headline space, before rewriting the whole prompt.
Continue with a reference image
Add a photograph or selected image you have permission to use. Explain whether it supplies the subject, composition or palette. Separate what stays from what changes.
Example revision: Keep the cup’s main silhouette, color and position. Change only the table to pale stone, with natural contact shadows. Add no other props.
Generative edits can alter additional details. Compare each revision with the original. If the subject changes undesirably, return to the original or an earlier version and reduce simultaneous changes. Explore the AI Photo Editor for more editing controls.
Choose an entry for the next task
| Goal | Entry |
|---|---|
| Explore a new image | AI Image Generator |
| Modify an existing image | AI Photo Editor |
| Adjust photo lighting and color | AI Photo Enhancer |
| Try a white, solid or scene background | AI Background Tool |
Review the current interface’s options. A white background is different from a transparent file, and a tool name is not an output guarantee.
Inspect before downloading
Check framing, actual dimensions and file format for the destination. Proofread text and inspect key identity or product features. Save the selected image together with its prompt and revision notes.
Frequently asked questions
Do I need a reference image?
Not for a new image from text. Add one when you want to work with an existing subject, explaining its role.
Can I change just one area?
Describe a specific change, but compare the result because other areas can still be affected.
Does writing 4K guarantee a 4K file?
No. Prompt wording does not replace output settings. Check supported options and the downloaded file’s dimensions.
How long does generation take and what does it cost?
Time varies with the task and service conditions. Review the current estimated credits before submitting.
How do I choose between 2.5 and another model?
Compare options and results for your task. Reuse existing prompts and references as a starting point rather than moving an entire project based only on a version number.
Create your first image
Open the GPT Image 2.5 model page and describe your image. Explore the prompt guide for more writing ideas and the AI art workflow for delivery steps.