
GPT Image 2.5 Prompt Guide: Generate and Edit Images
Write GPT Image 2.5 prompts for new images and reference-led edits. Explore six original examples, composition and lighting instructions, text layout and revision tips.
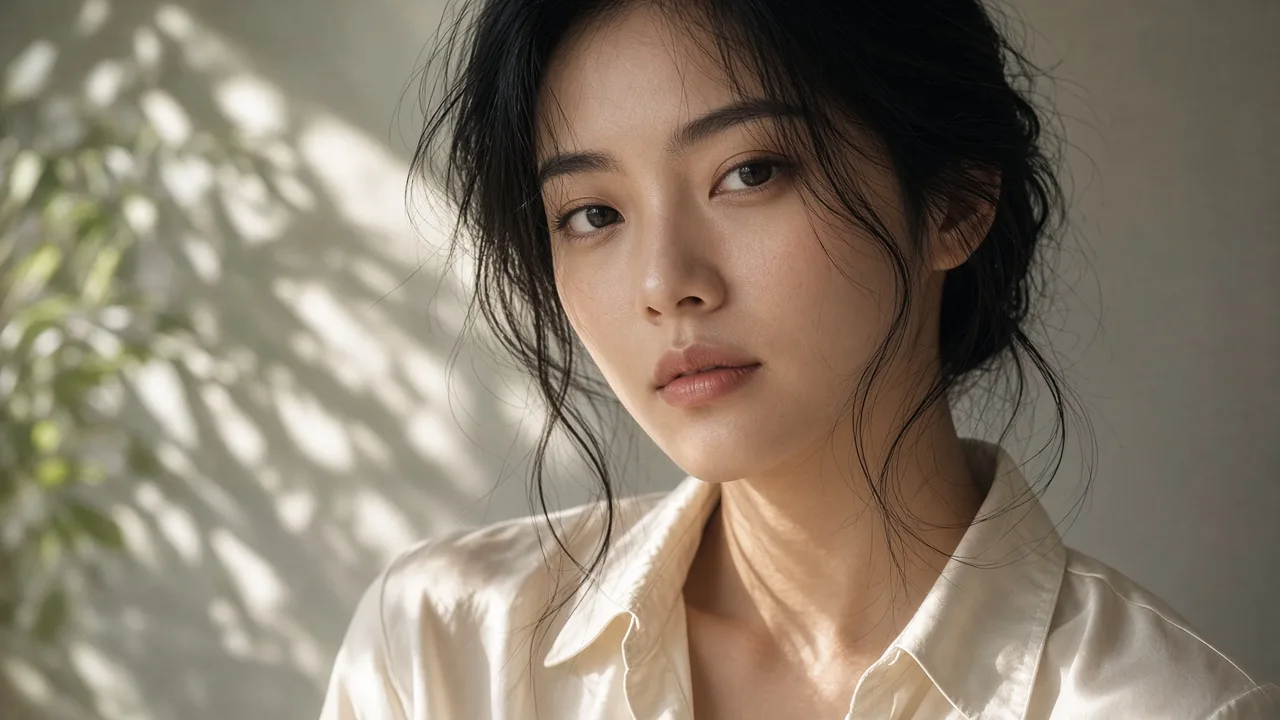
When writing GPT Image 2.5 prompts, distinguish a new image from an edit. A new image needs a scene description; an existing-image edit needs a clear separation between what stays and what changes. Use the structure and six original examples below as starting points.
See the first-use guide for the interface workflow or the GPT Image 2.5 model page for an introduction and creation entry.
Organize the prompt around an image goal
For a new image, describe purpose, subject, setting, composition, lighting and materials. Put important requirements first; not every task needs every field.
Template: Create a [medium] image for [purpose]. Show [subject] in [setting], with [composition], [light direction and softness] and [materials]. Prioritize [requirement].
For an edit: Use the reference image, preserve [features and placement], change only [requested difference], and inspect [important detail].
Use a language you can express precisely. Photography terms can help describe a look, but writing 85mm or 8K does not guarantee a physical lens, file dimensions or a result.
Replace abstract words with visible conditions
| Abstract request | More specific description |
|---|---|
| Premium product image | Pale stone surface, simple background, soft edge highlights on the bottle |
| Cinematic | Evening rim light, cool shadows, separation between subject and background |
| Natural portrait | Soft window light, visible skin texture, relaxed expression |
| Poster-ready | Subject on the right, open space at upper left for a headline |
Resolve conflicts with priorities: “Show the complete product even if less distant scenery is visible.”
Six prompts to copy and adapt
1. Portrait with open space
A half-body fashion portrait of an adult woman in a white cotton shirt, seated beside a pale window with a relaxed expression. Soft daylight enters from the right, showing natural skin and fabric texture. Place her on the right, leaving open space at upper left. No text.
Adapt clothing, placement or background. Inspect face, hands and crop.
2. Glass product still life
A transparent amber glass fragrance bottle with a black cap on a dark gray stone surface. Soft side-back lighting outlines the glass. Keep the label area clean with no brand text. Show the complete product against a simple background, commercial still-life photography.
Adapt the glass color and surface. Inspect cap, reflections and silhouette.
3. Short-headline poster
Design a landscape poster for a plant exhibition. Green ferns in pale ceramic pots occupy the left. On the right, show “GROW TOGETHER” in clear dark green sans-serif type. Ivory background, no additional text, clear spacing between headline and plants.
Adapt headline and subject. Proofread every character; finish precise typography in a design tool if needed.
4. Interior and materials
A small reading room with an oak desk, an ivory linen chair and a few books. An overcast courtyard is visible outside. Soft diffuse light, eye-level interior photograph, clear furniture relationships, no people or text.
Adapt materials and time of day. Inspect perspective, furniture connections and shadows.
5. Reference-led background change
Use the uploaded image as the product reference. Preserve the main silhouette, colors, orientation and placement. Change only the background to a soft pale blue studio, coordinating contact shadows. Add no labels or props.
Upload your own material first and check unintended subject changes. Explore more controls in the AI Photo Editor.
6. Lighting-only revision
Starting from this image, preserve subject placement, clothing, background structure and crop. Change the cool lighting to warm, soft evening side light with coherent shadow direction. Add no people or objects.
Check preserved features and the lighting change. Return to the original and reduce simultaneous changes if the revision affects too much.
Explain each reference’s role
Specify whether a reference supplies the subject, layout or visual direction. With multiple images, identify their roles instead of requesting conflicting clothing, light and backgrounds at once. Generative editing can alter lettering, identity features or product structure, so compare each revision.
Use the AI Background Tool for white, solid or scene replacements. A white background is not a transparent file.
Find the conflict before revising
For incorrect placement, specify position rather than adding style words. For text errors, verify spelling and remove unrelated copy. For subject changes, identify preserved features and narrow the requested revision. Record each important change with its result so you can compare iterations.
Frequently asked questions
Must prompts be long?
No. Sufficient information and clear relationships matter more than length.
Must I use English?
Use a language you can express precisely, and provide exact wording for text inside the image.
Can a prompt set resolution?
Use supported output settings and inspect downloaded dimensions. Numbers in a description do not guarantee file specifications.
Does “keep the same person” guarantee identity?
No. References and instructions communicate the goal, but identity details still need inspection.
Are these examples verified test results?
They are original input examples, not measured conclusions about output quality. Adapt them and inspect your own results.
Start with a clear goal
Open the AI Image Generator, choose an available model, enter the prompt and review settings and estimated credits. For selection, editing and delivery, read the AI art workflow.