




bikabika AI

All-in-one AI creative platform

bikabika AI

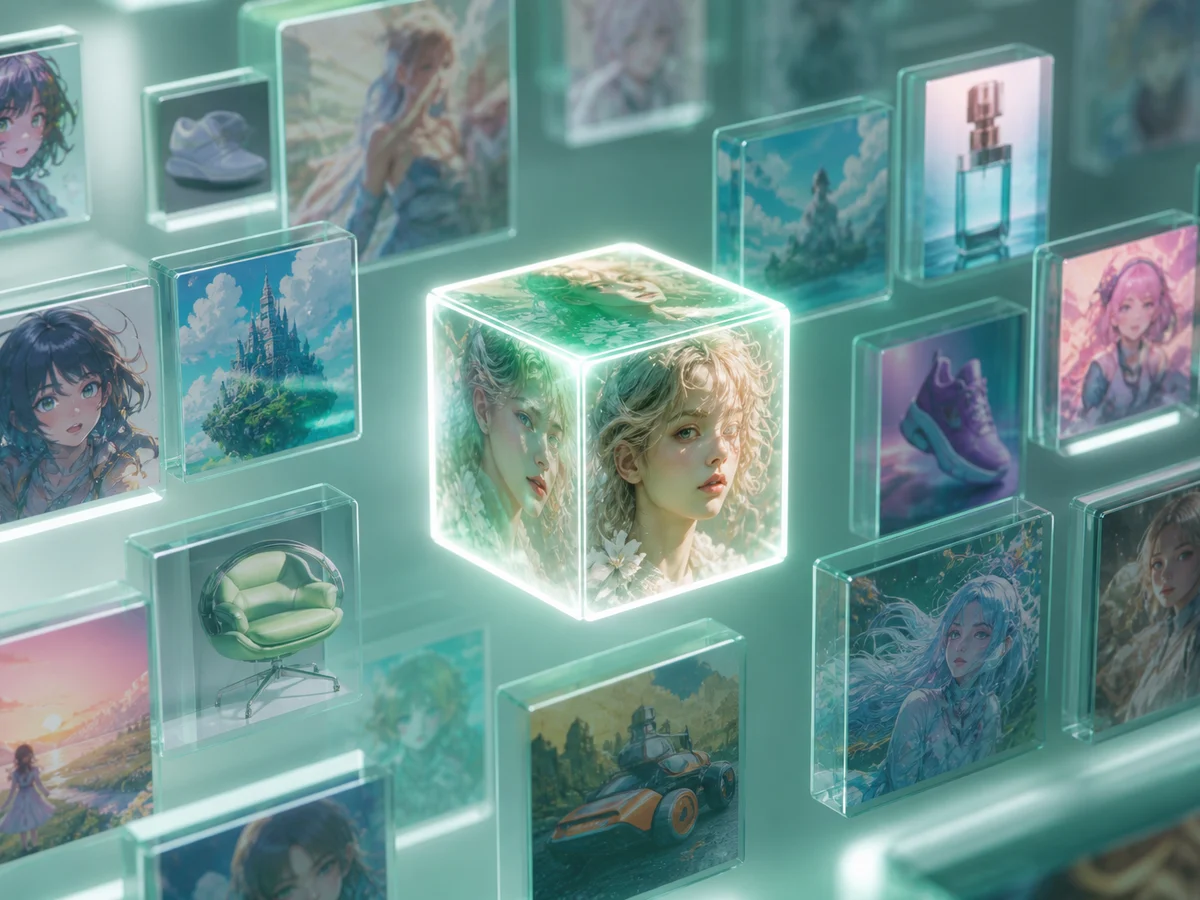
Turn ideas into images, stories, music, and video

Creative tools and popular models in one place—from text-to-image, characters, and retouching to AI chat, AI music, and AI video—so inspiration becomes publish-ready work.

  • 16+ Popular models
  • 7 Creative tools
  • Ongoing Capability & guide updates

Use cases

What can you create with bikabika AI ?

From social covers, product shots, and professional headshots to anime art, character design, background swaps, AI chat drafting, soundtracks, and short video—pick the AI tool that matches your goal and ship publish-ready content faster.

Core capabilities

Core AI capabilities across your creative workflow

From AI image generation, character design, and retouching to AI chat, AI music, and AI video—jump into the capability that matches your goal and move faster to publish-ready work.

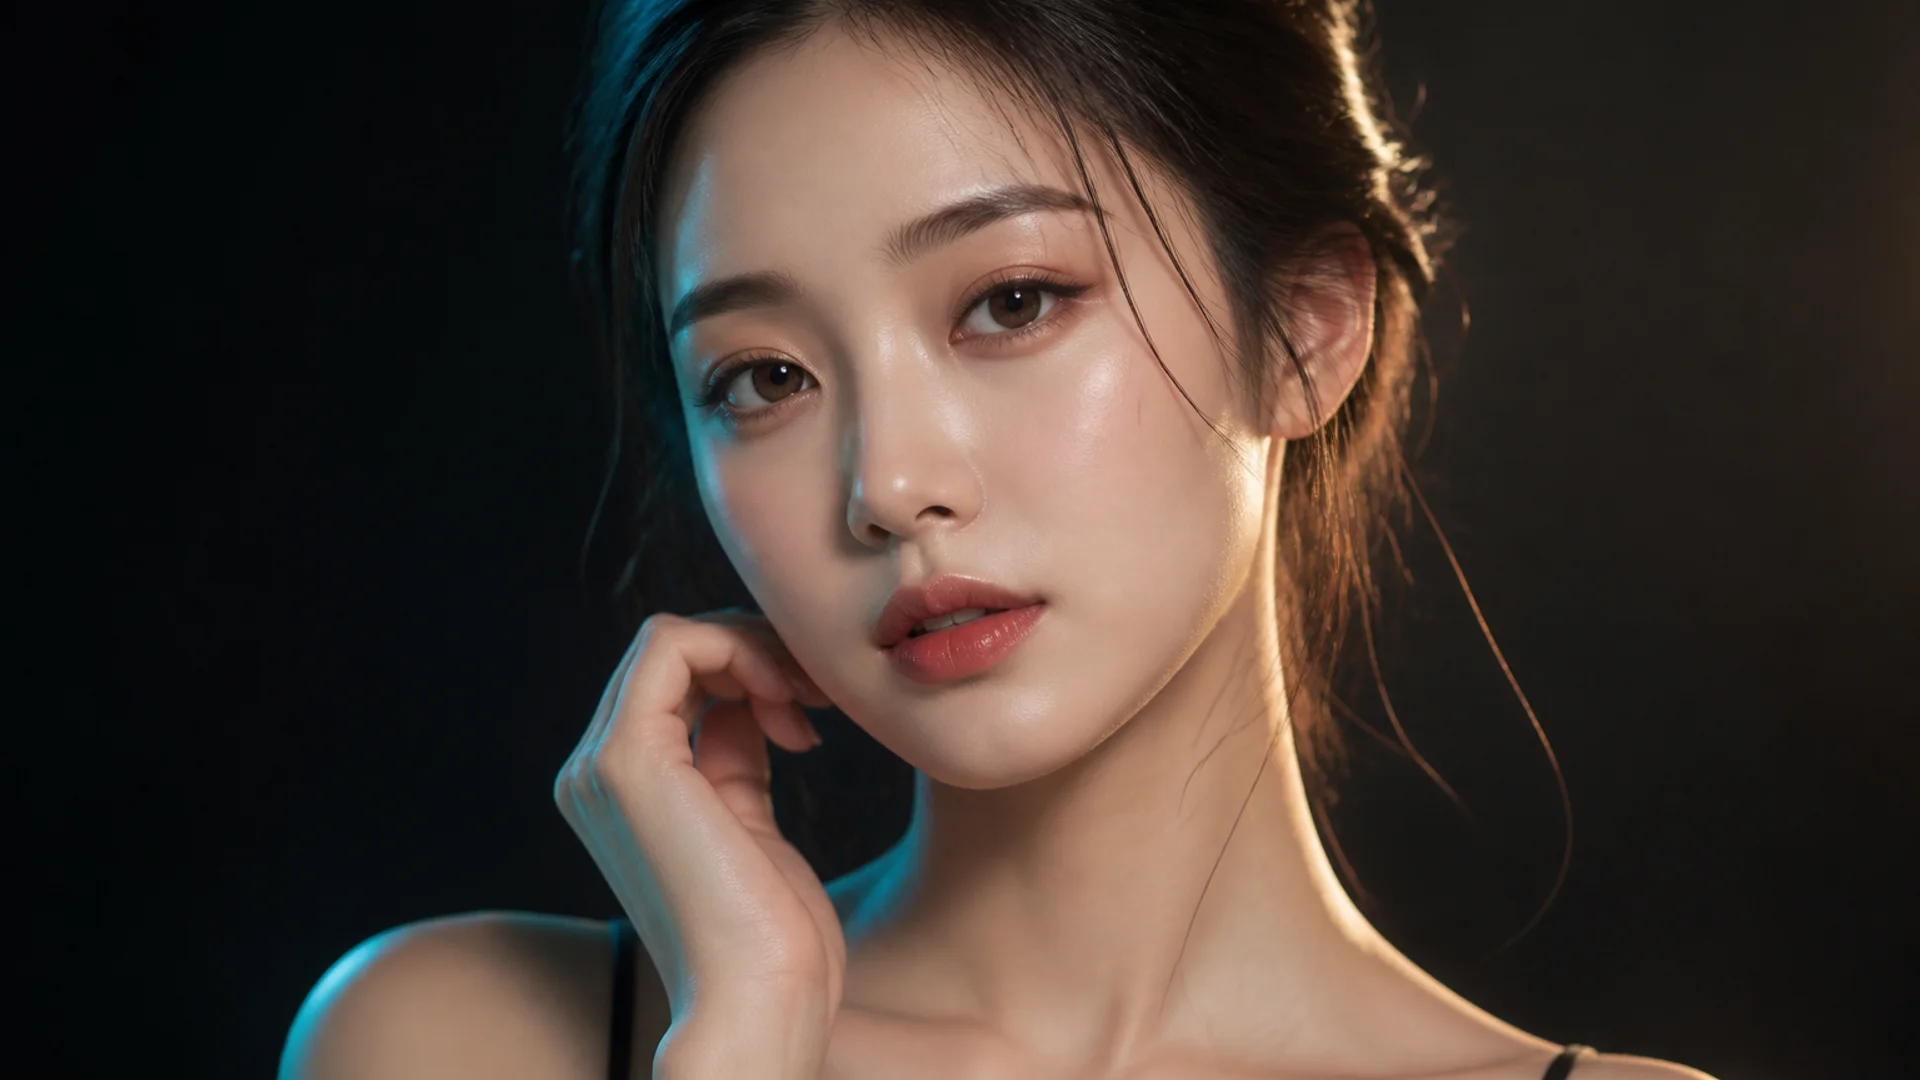
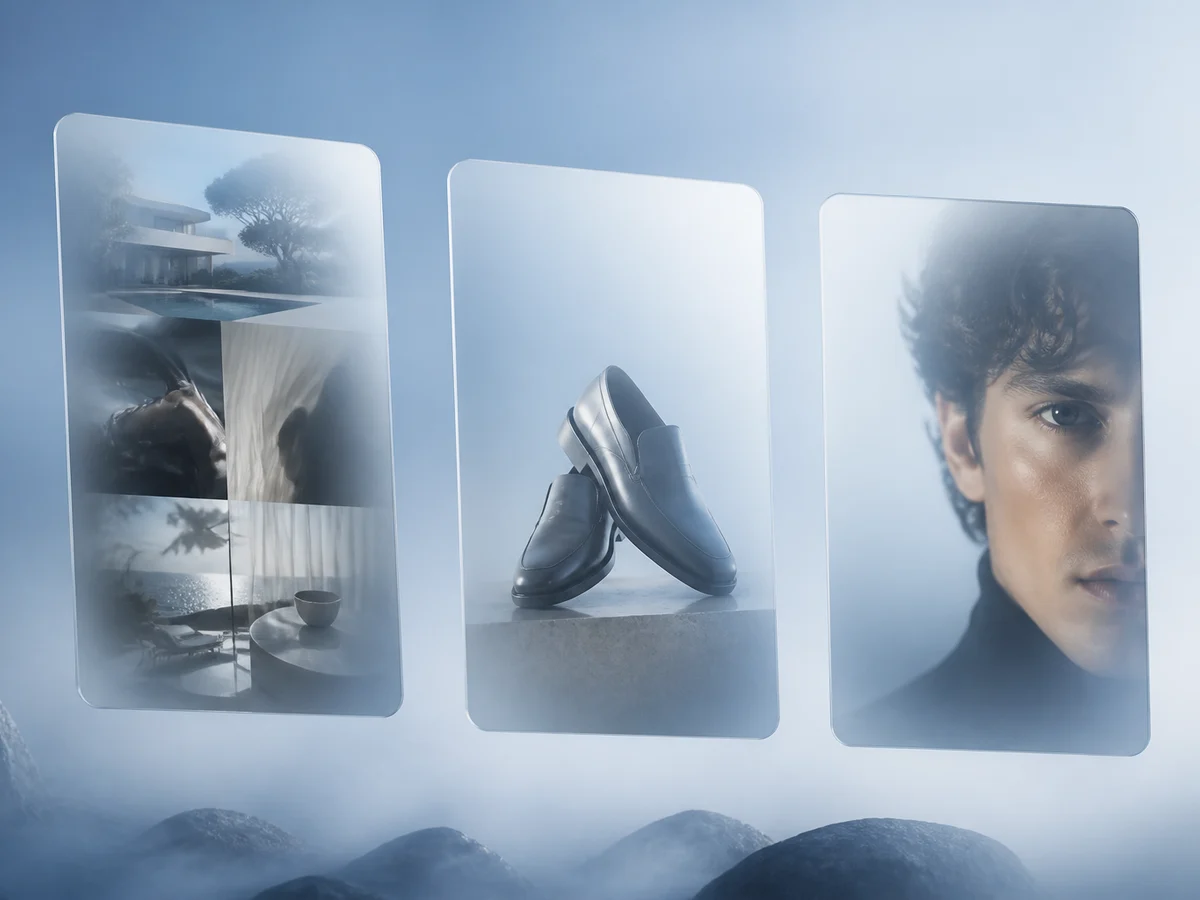
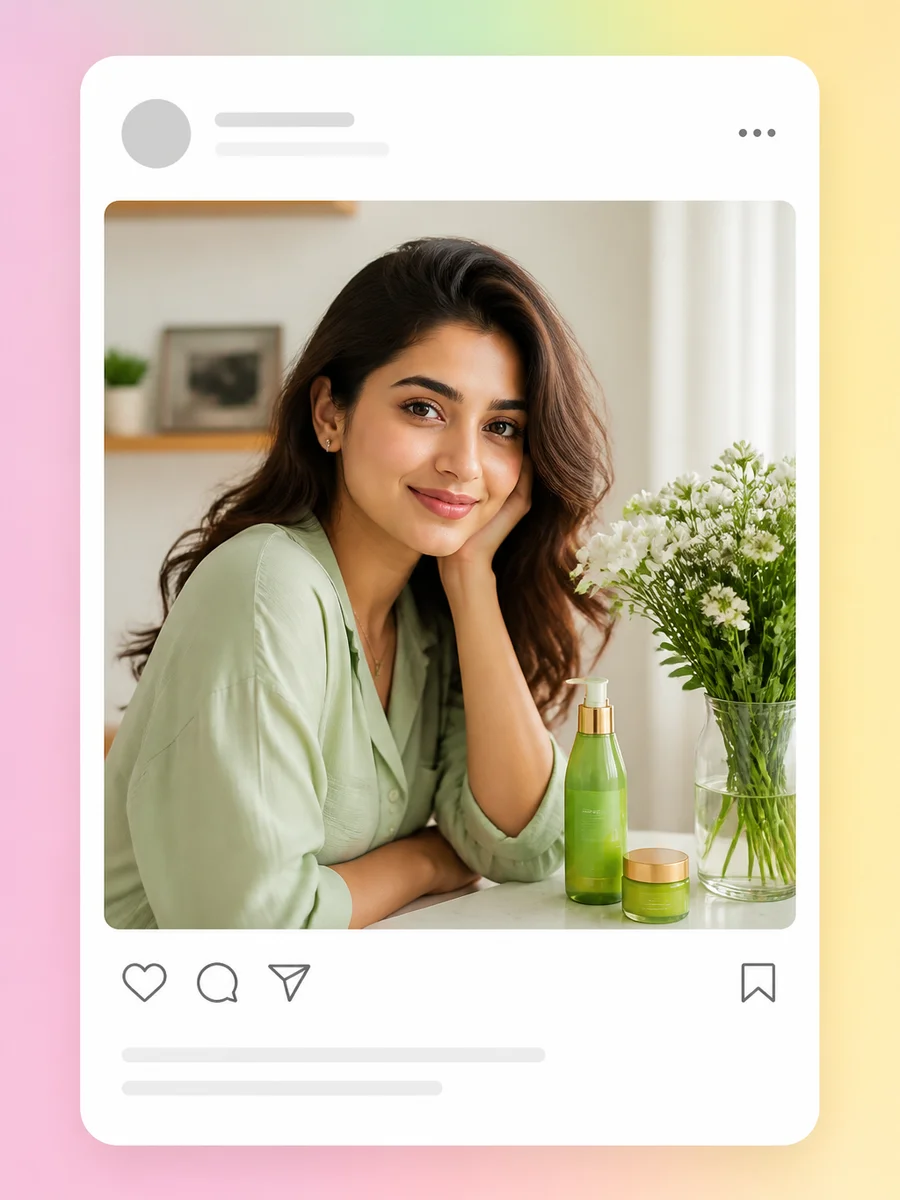
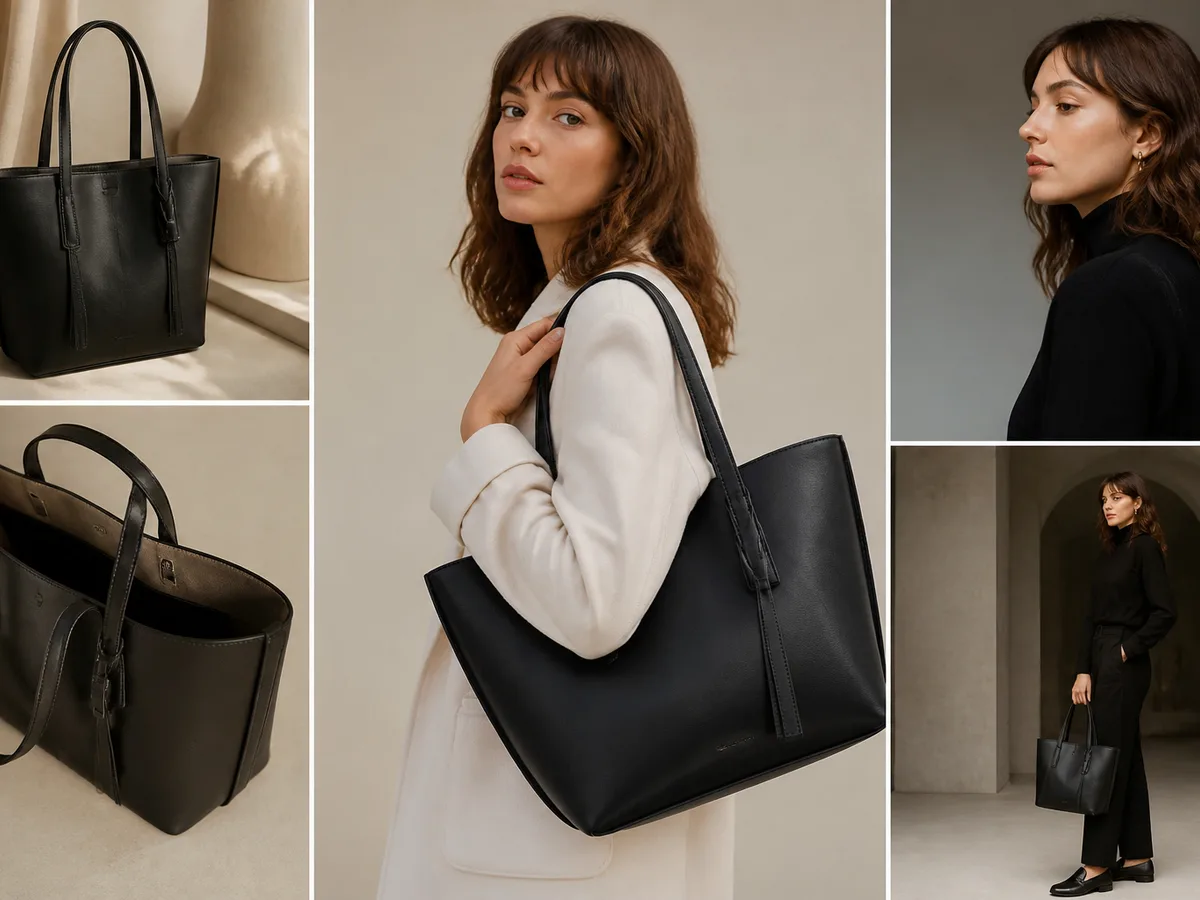
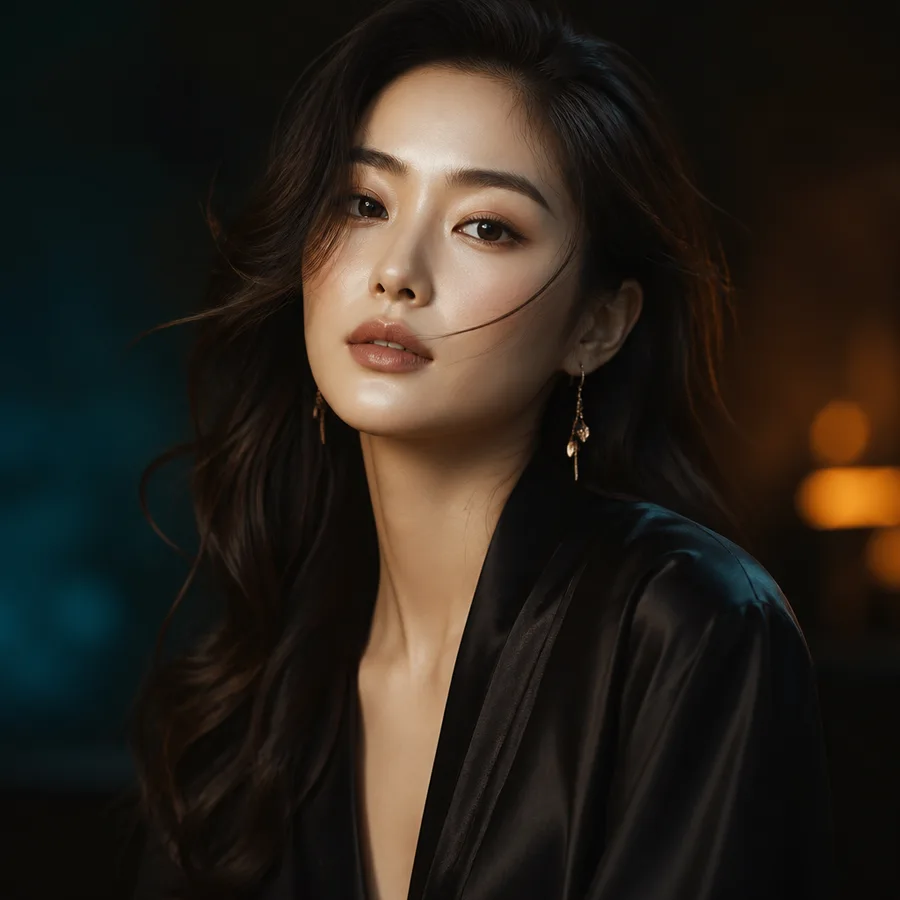
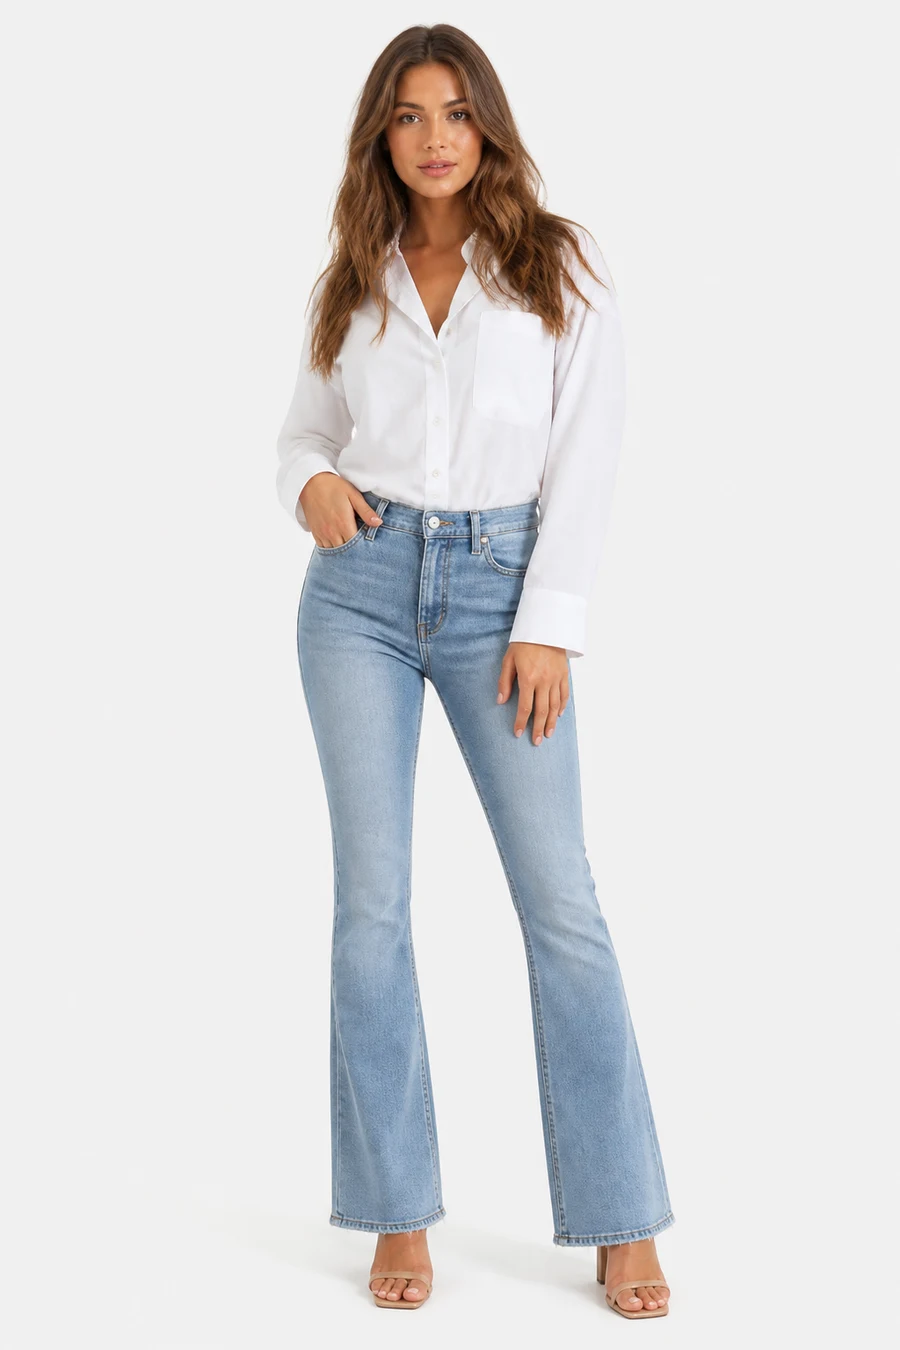
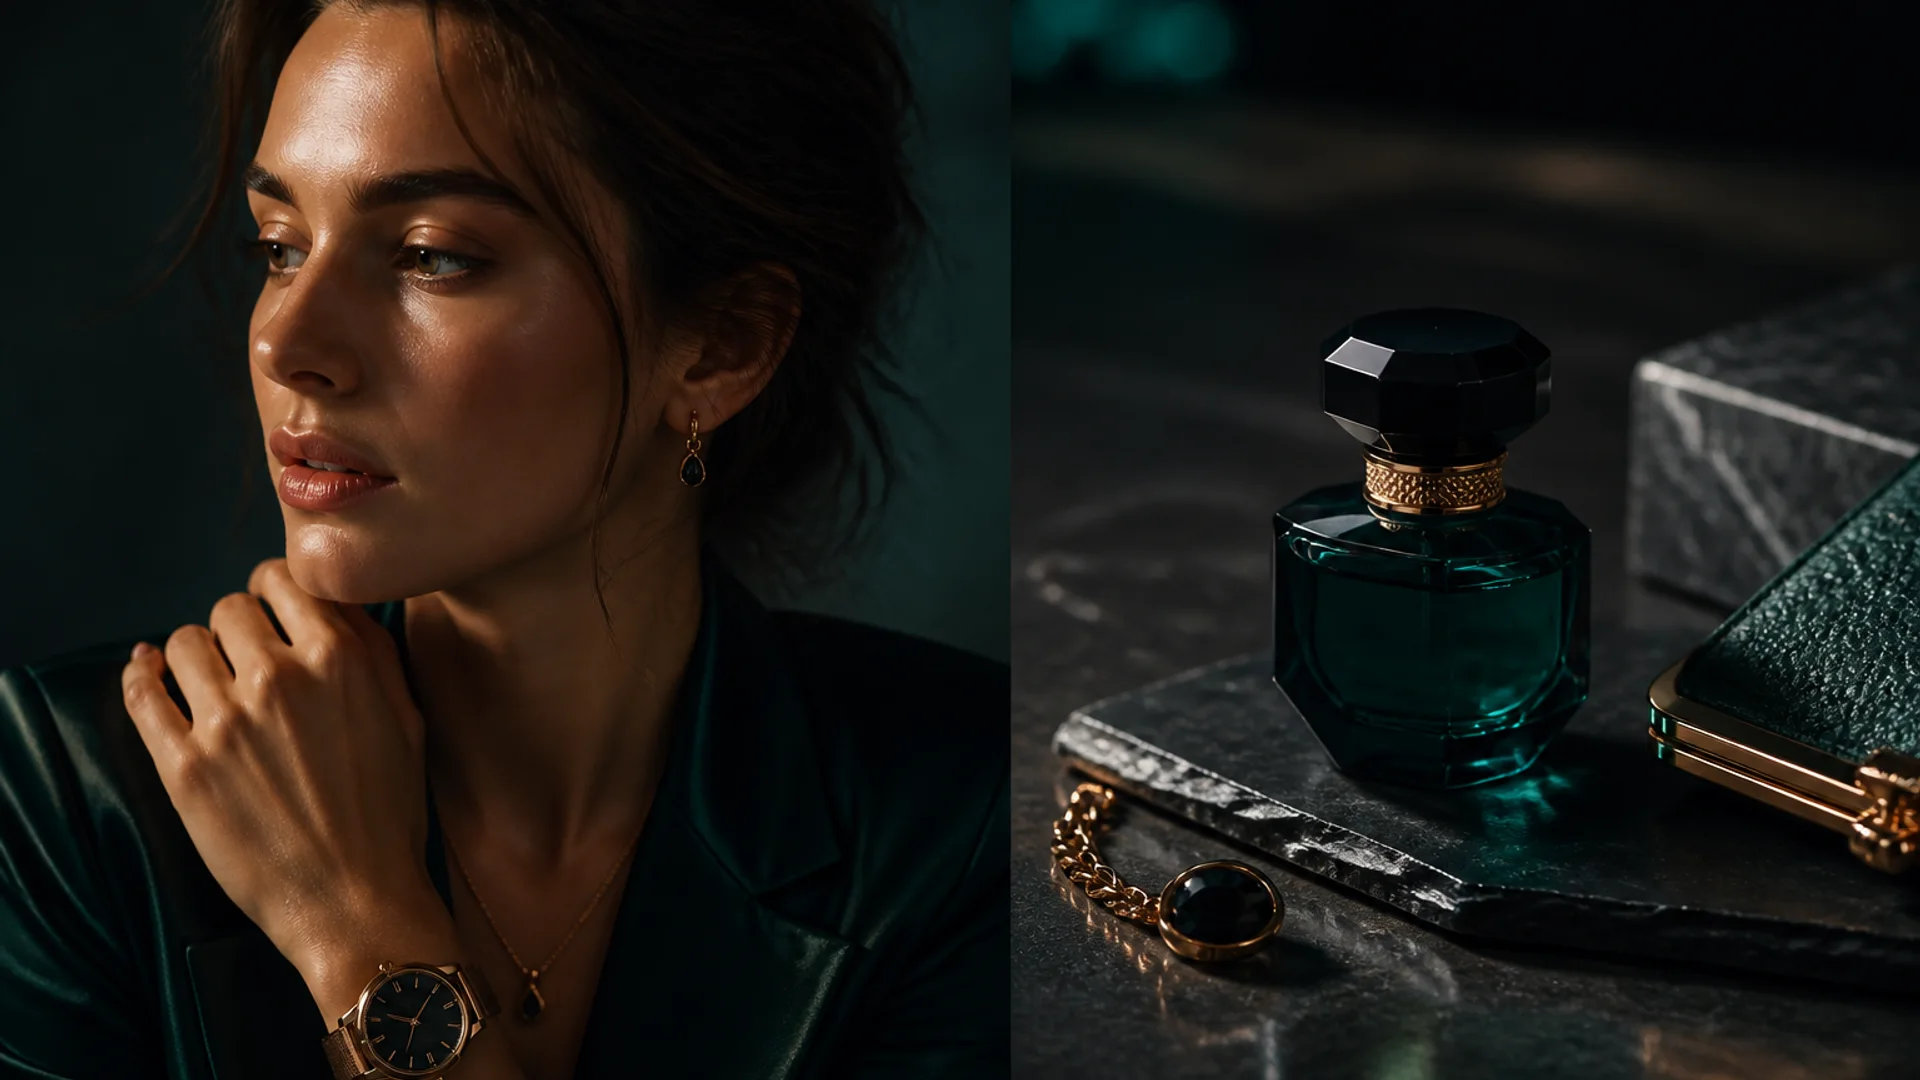
Image generation capability: fashion portrait beside luxury product still life

AI image generation

From one line to a publish-ready hero visual

Product shots, fashion editorials, social covers—lock composition and lighting fast, then refine the look with AI image models like GPT Image and Midjourney.

  • Text-to-image, product stills, and commercial photo looks
  • Switch across leading image models
  • Prompts and examples you can reuse immediately
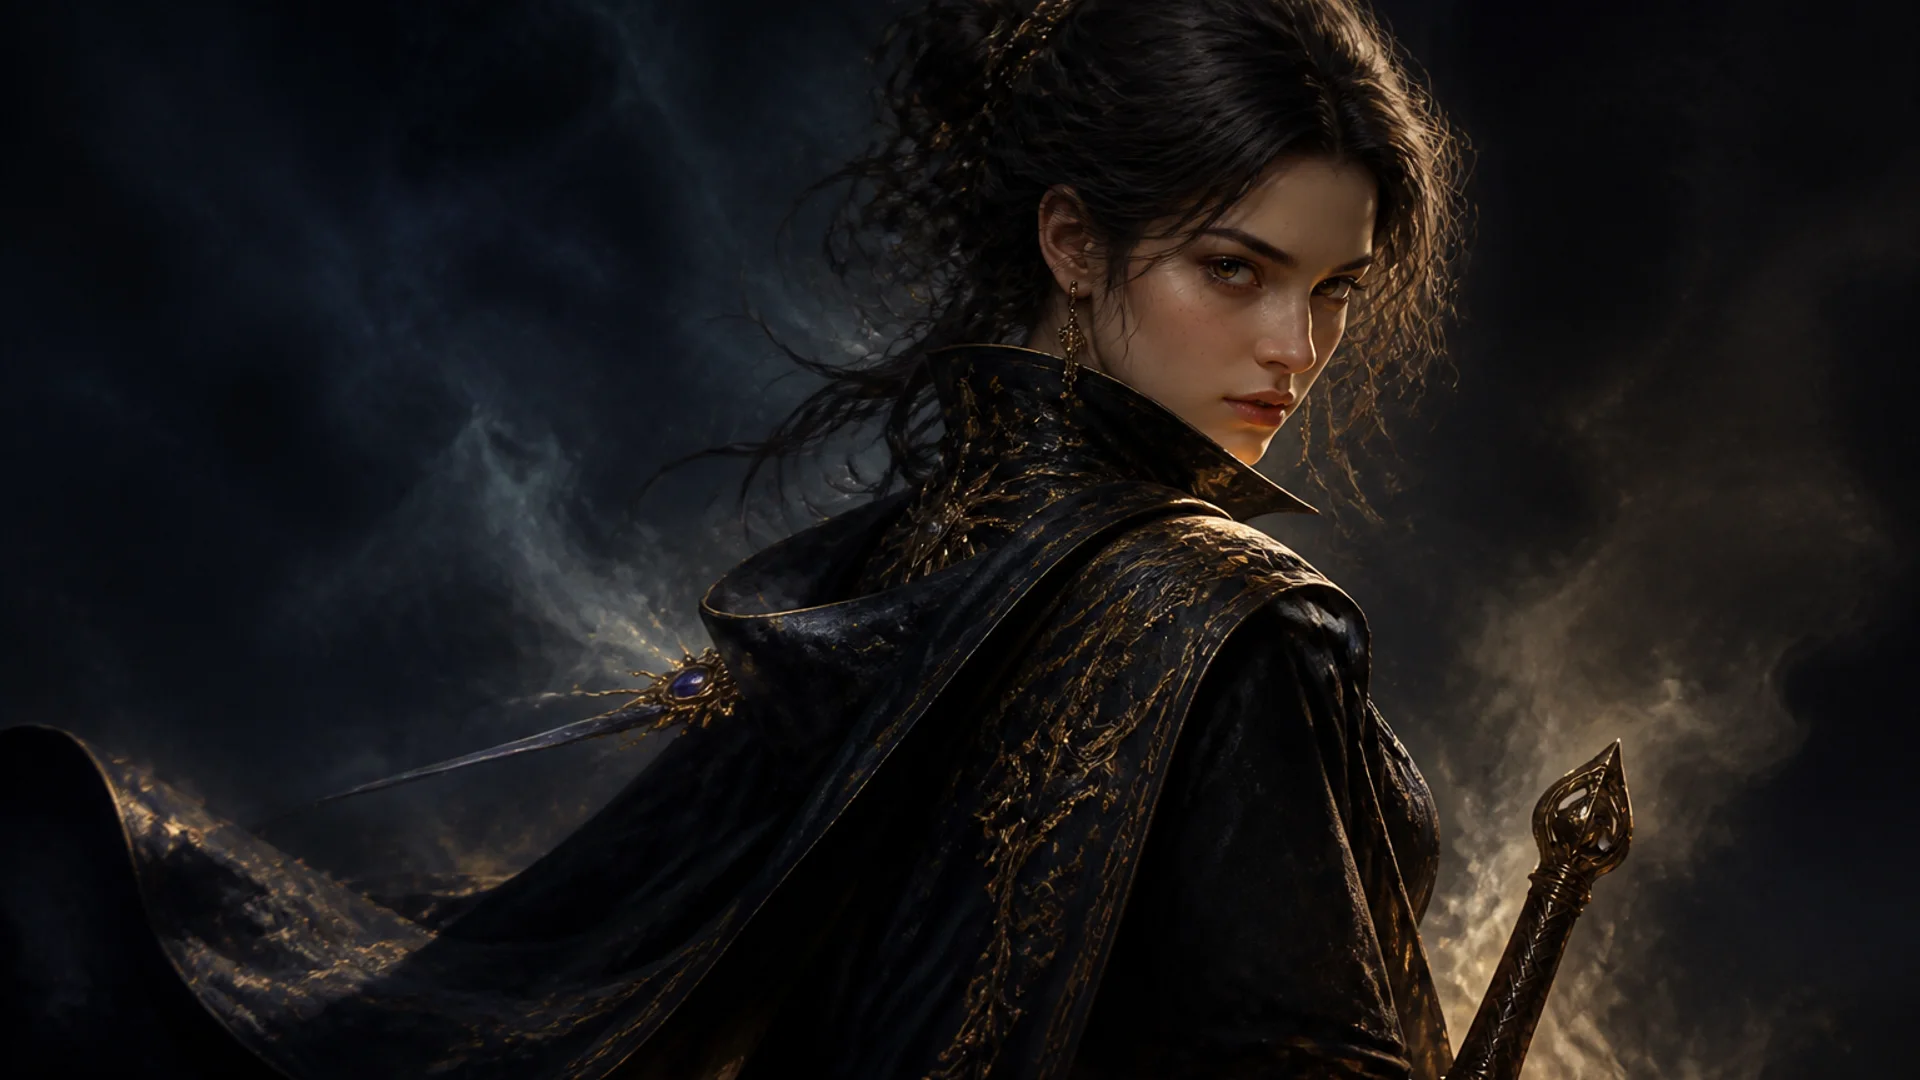
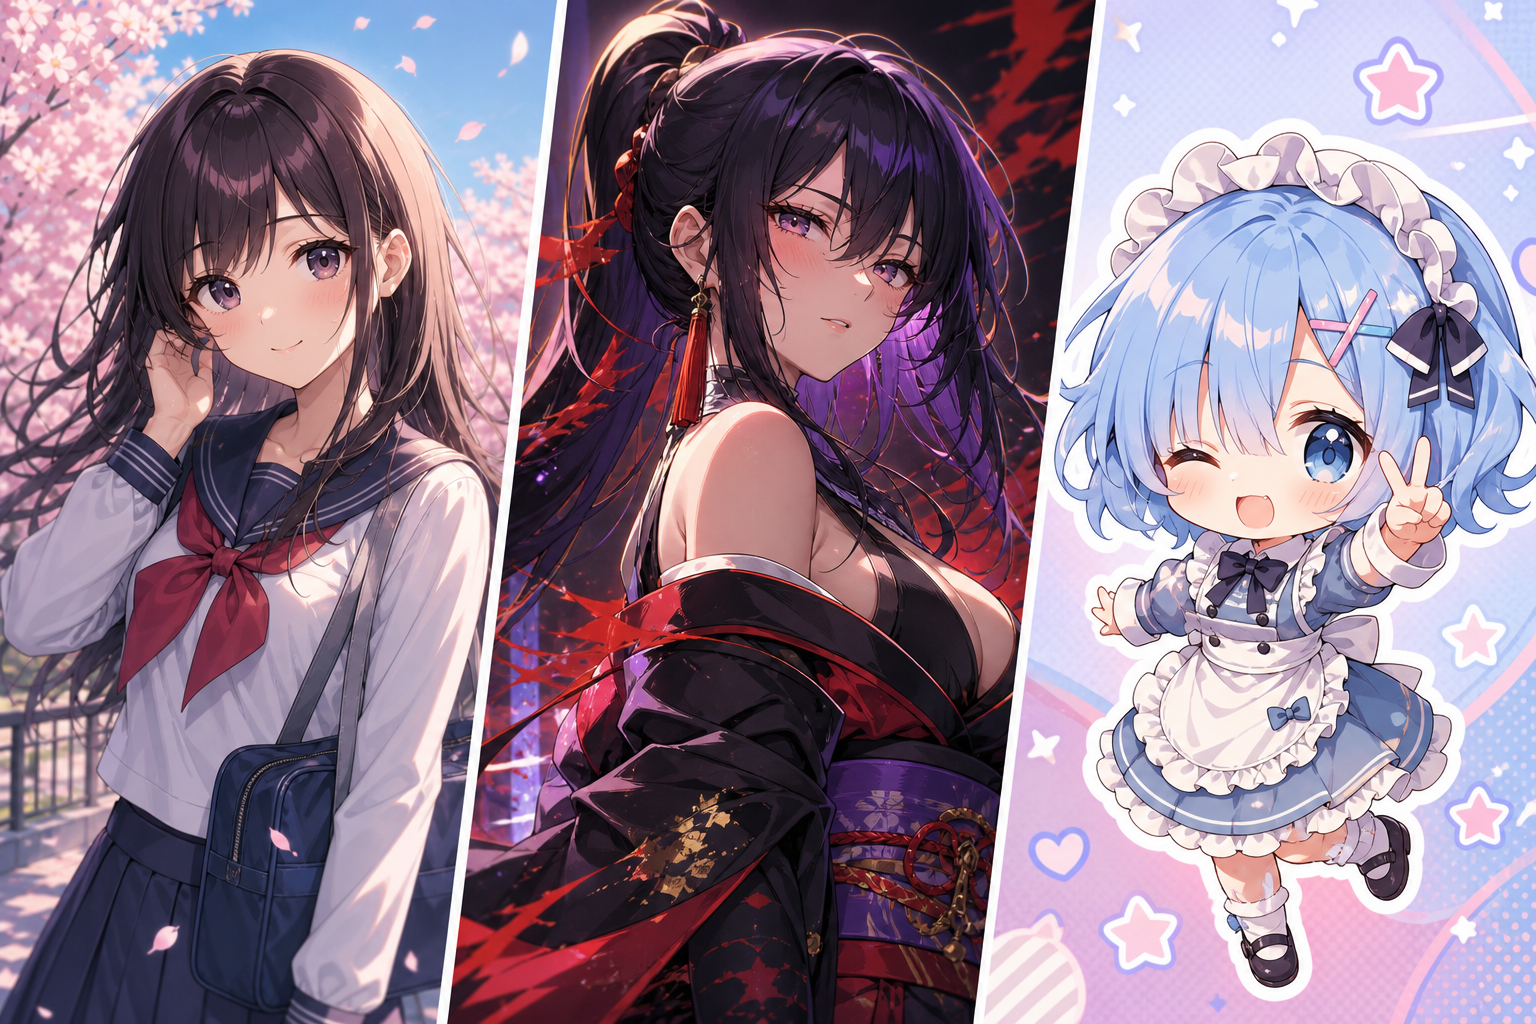
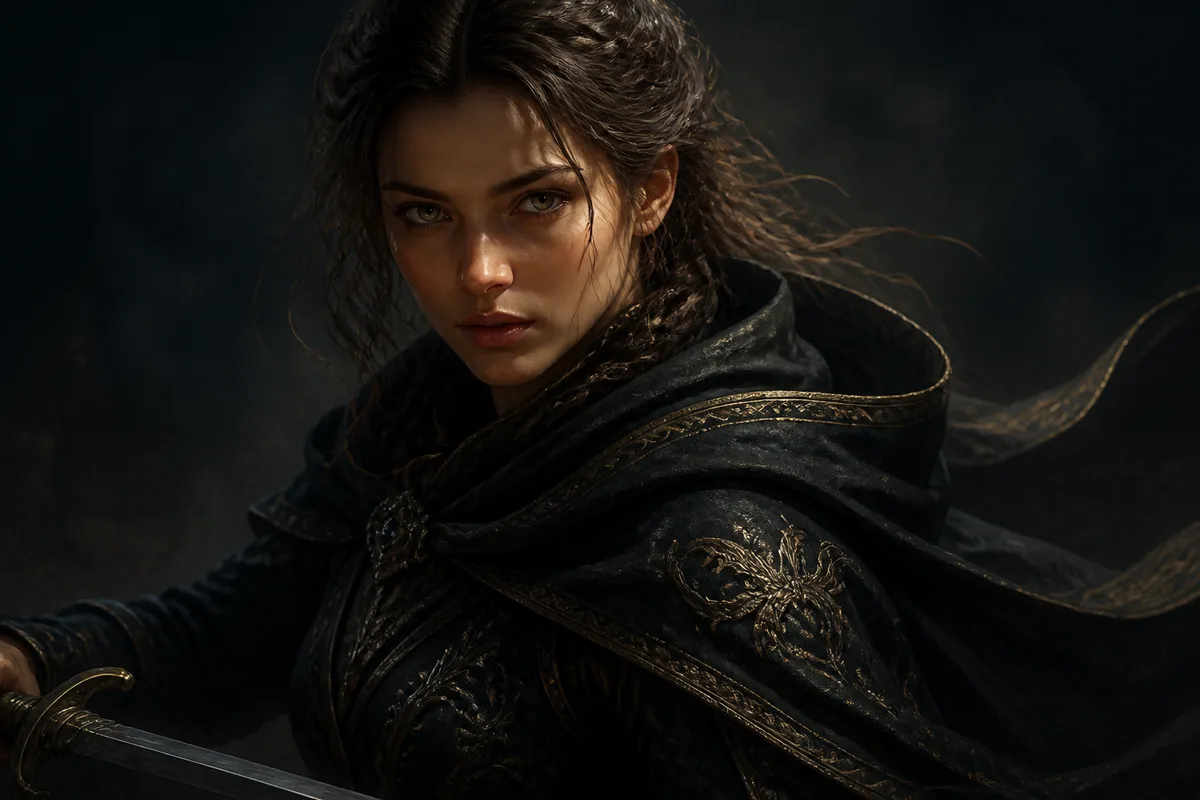
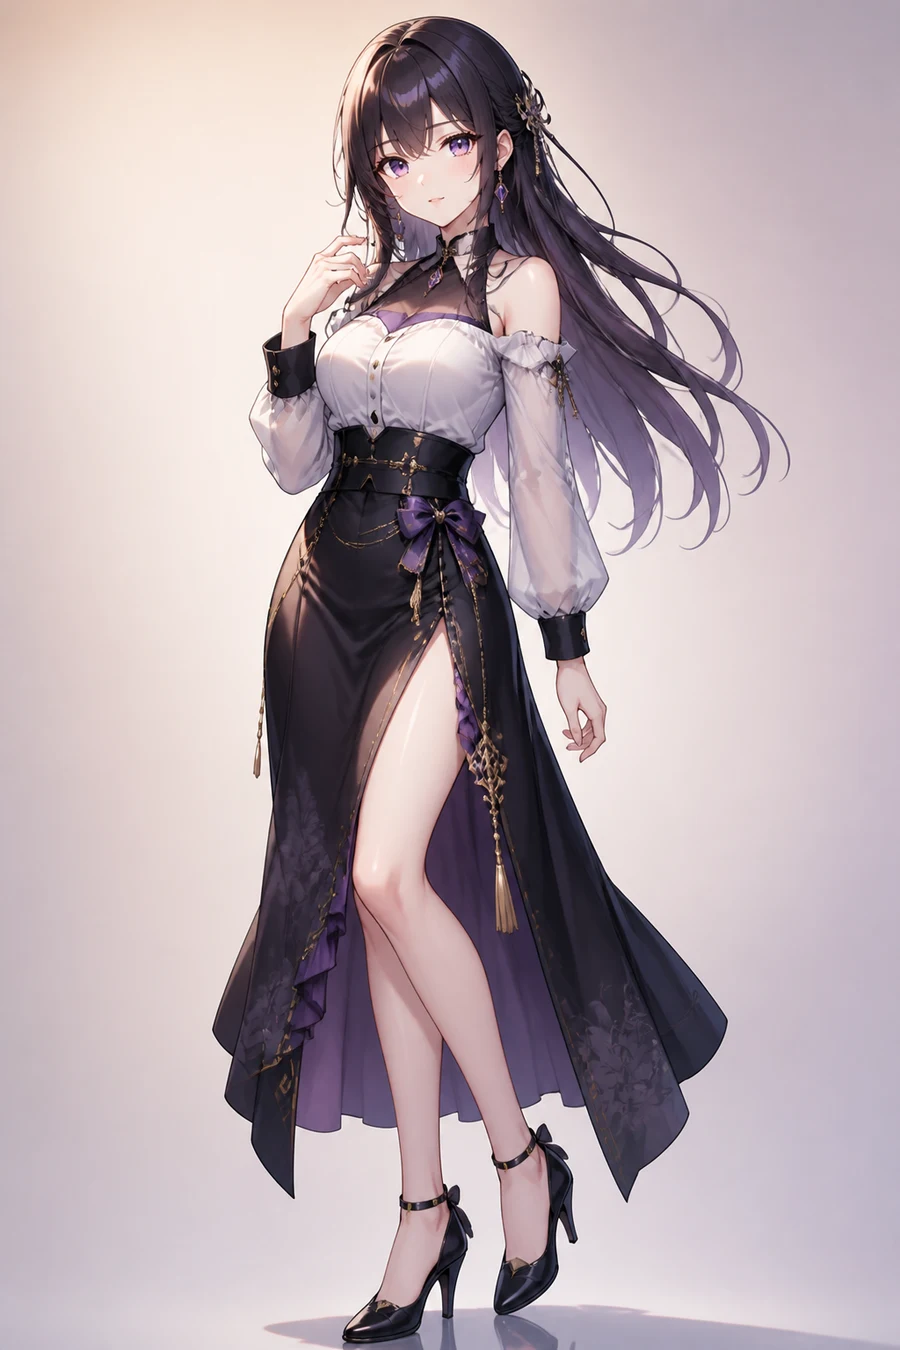
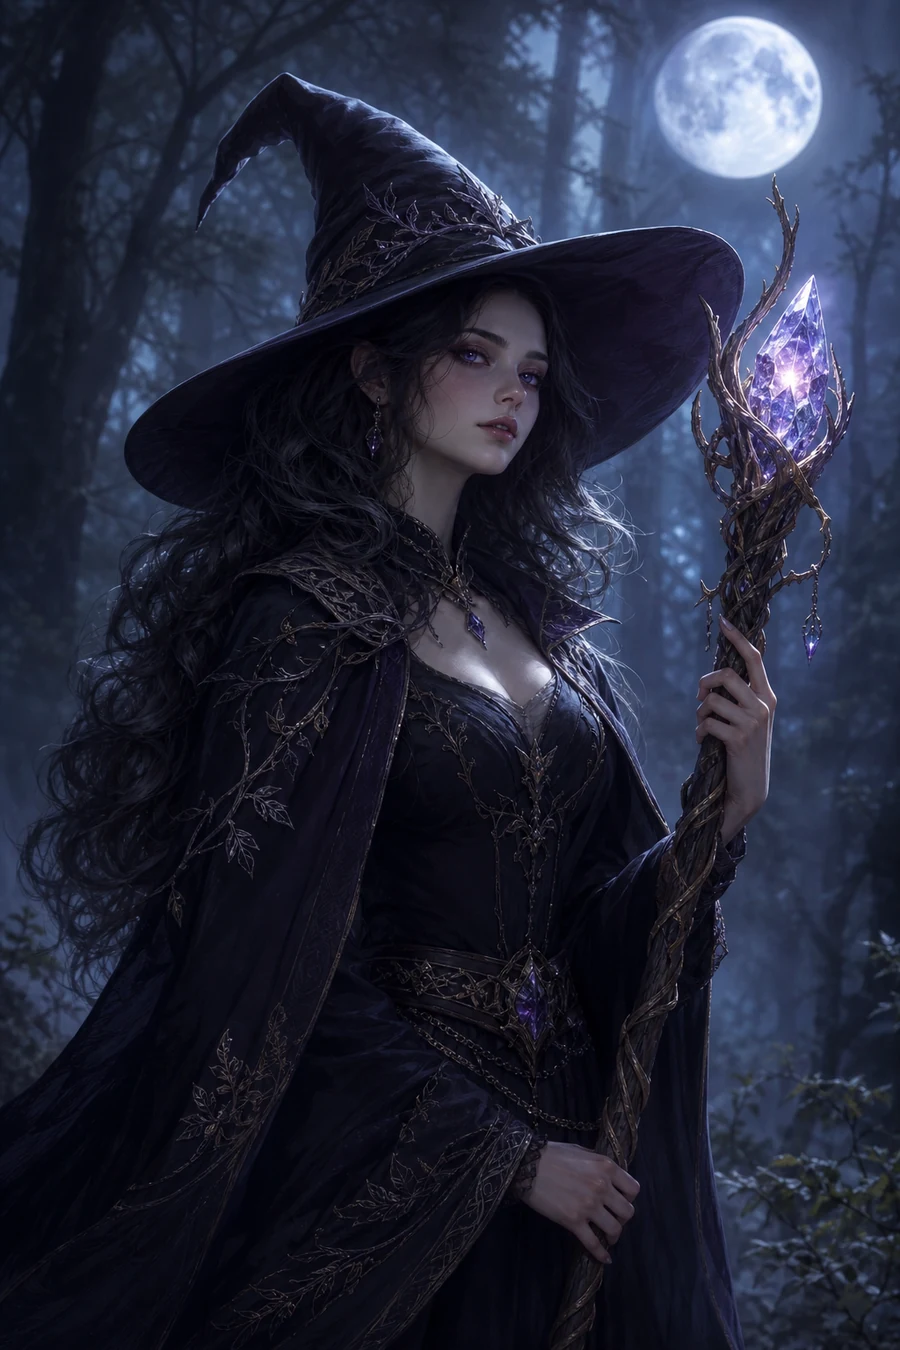
Character capability: premium concept standing art in a dark-gold cloak

AI characters & anime

Lock a character look that holds across poses

Keep hair color, eye color, and signature wardrobe consistent. Anime-style standing art and character sheets work well for fan art, covers, and short-video stills.

  • Character consistency across multiple poses
  • Anime styles and standing-art outputs
  • Built for OCs, posters, and series visuals
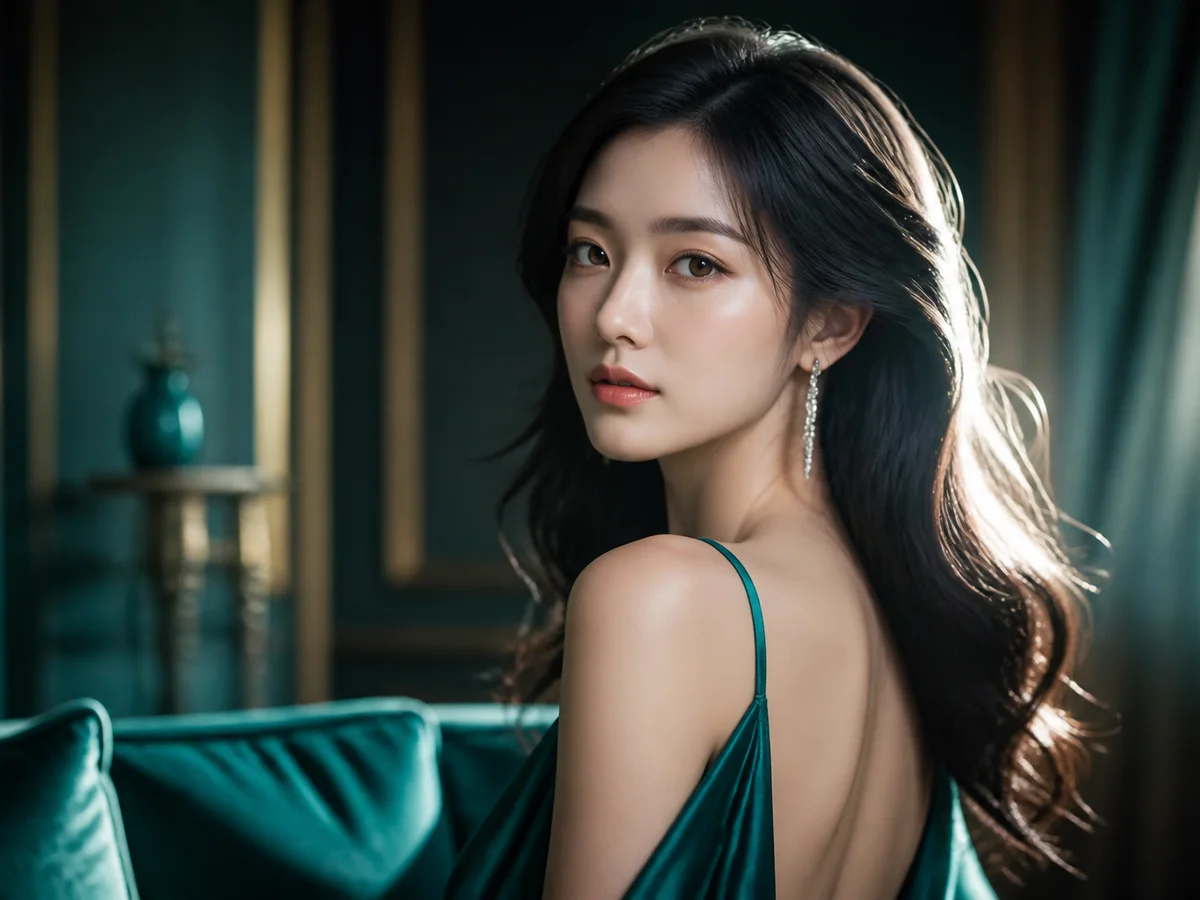
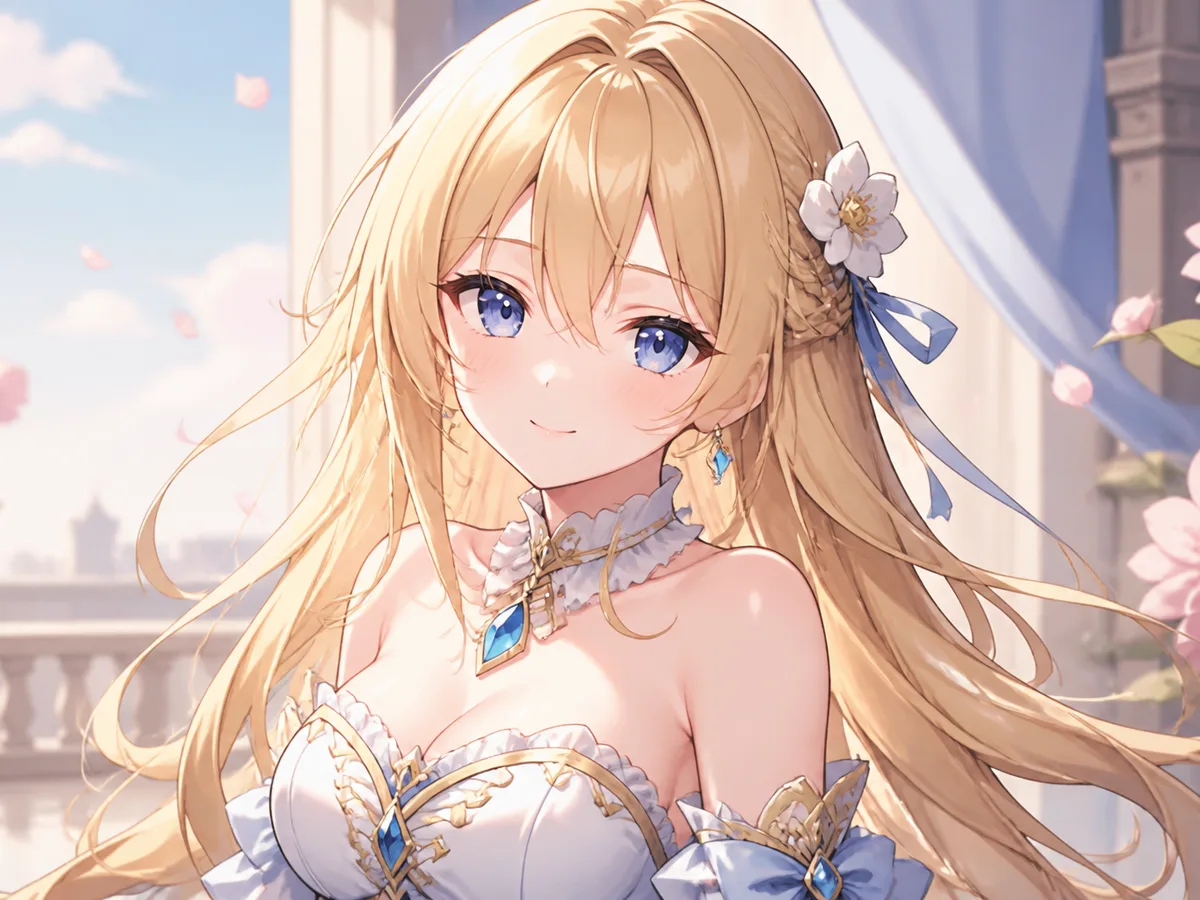
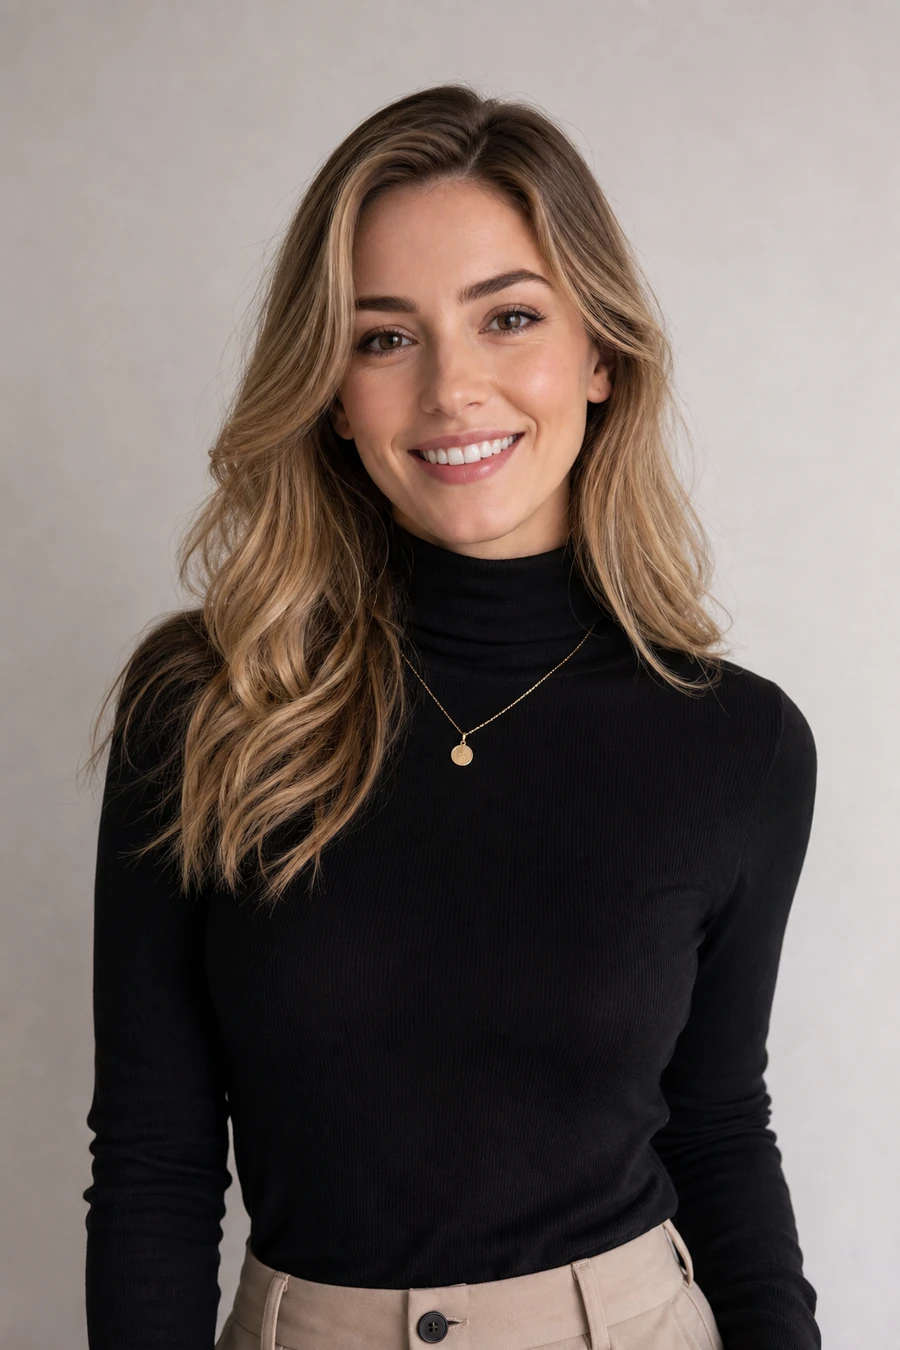
Retouch capability: polished soft-light portrait after refinement

AI retouch & delivery

When the original falls short, enhance, refine, and cut out

Soft detail, messy backgrounds, or a needed scene swap—no reshoot required. Use AI photo enhancement, editing, and background removal to get assets listing- and publish-ready.

  • Upscale, denoise, and portrait enhancement
  • Local retouch and color control
  • Transparent PNGs and e-commerce white backgrounds
Chat capability: premium scene with a person and chat input interface

AI chat

Turn rough ideas into drafts and plans with AI chat

From copy and outlines to prompt polishing, ChatGPT, Claude, DeepSeek, and other AI chat models help you turn fuzzy inspiration into clear creative inputs.

  • Copy, scripts, and creative outlines
  • Prompt iteration and task breakdown
  • A single place to compare chat model strengths
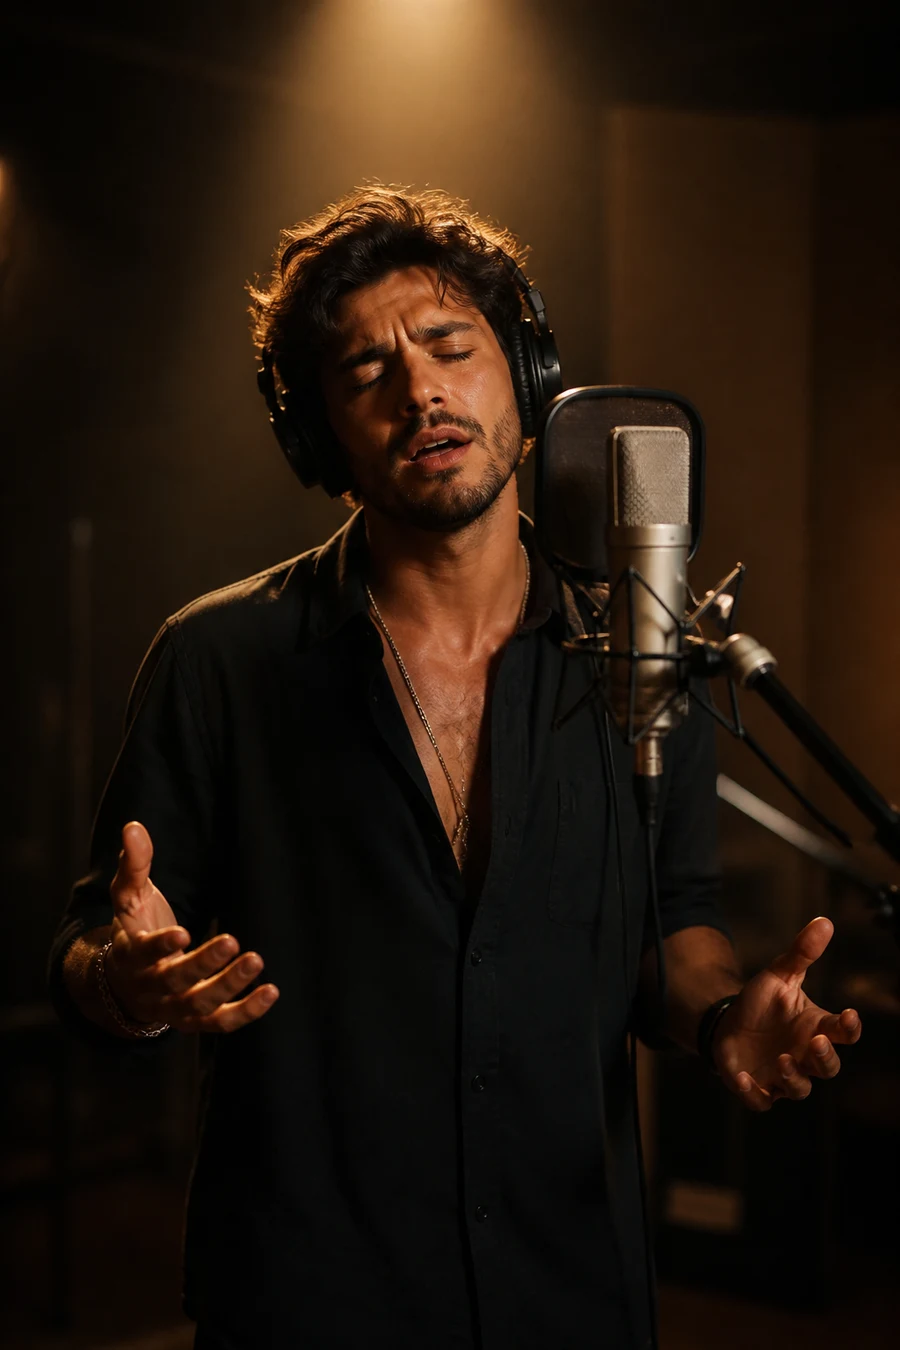
Music capability: golden sound waves against a dark stage mood

AI music

From mood and lyrics to a finished track

Generate listenable song directions for short video, podcast intros, or brand atmosphere—and quickly test style and arrangement with Suno AI music.

  • Mood-, style-, and lyric-driven creation
  • Ideal for short video and brand soundtracks
  • Quick overview of leading music model strengths
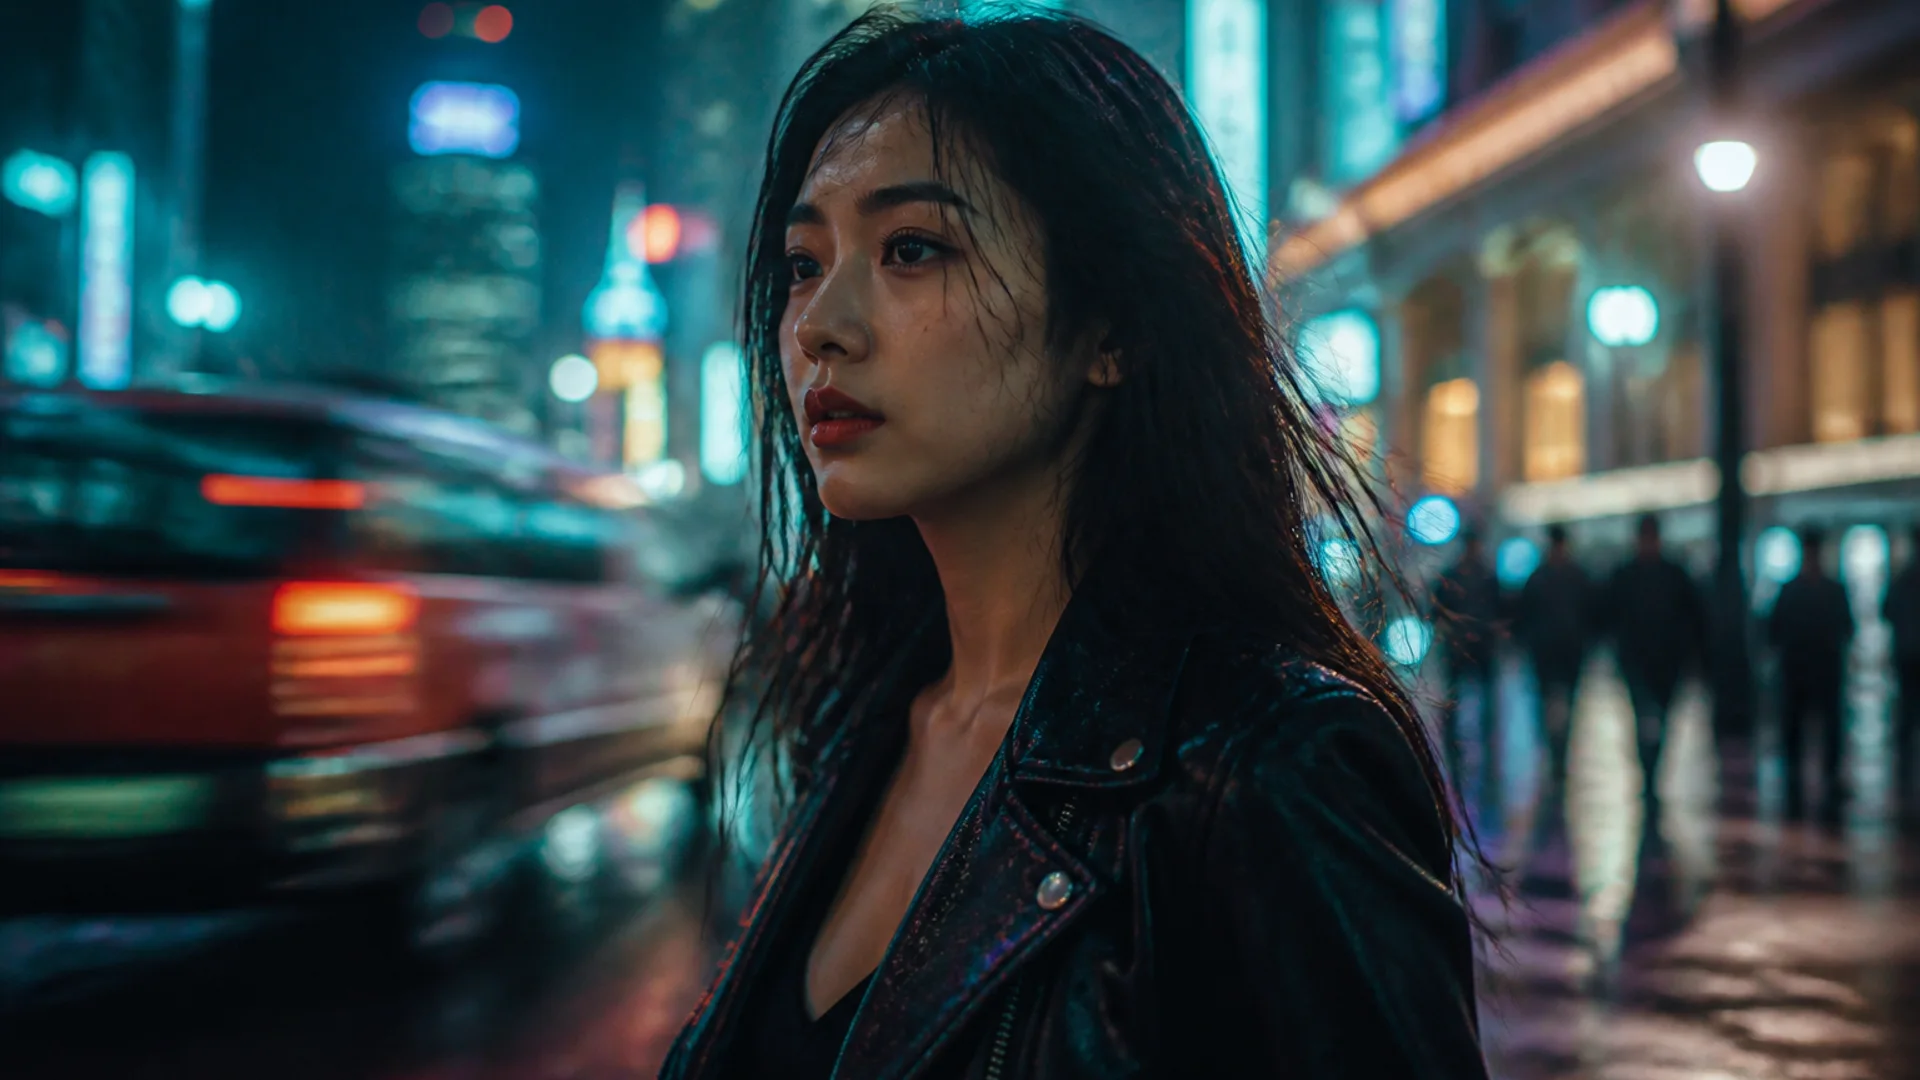
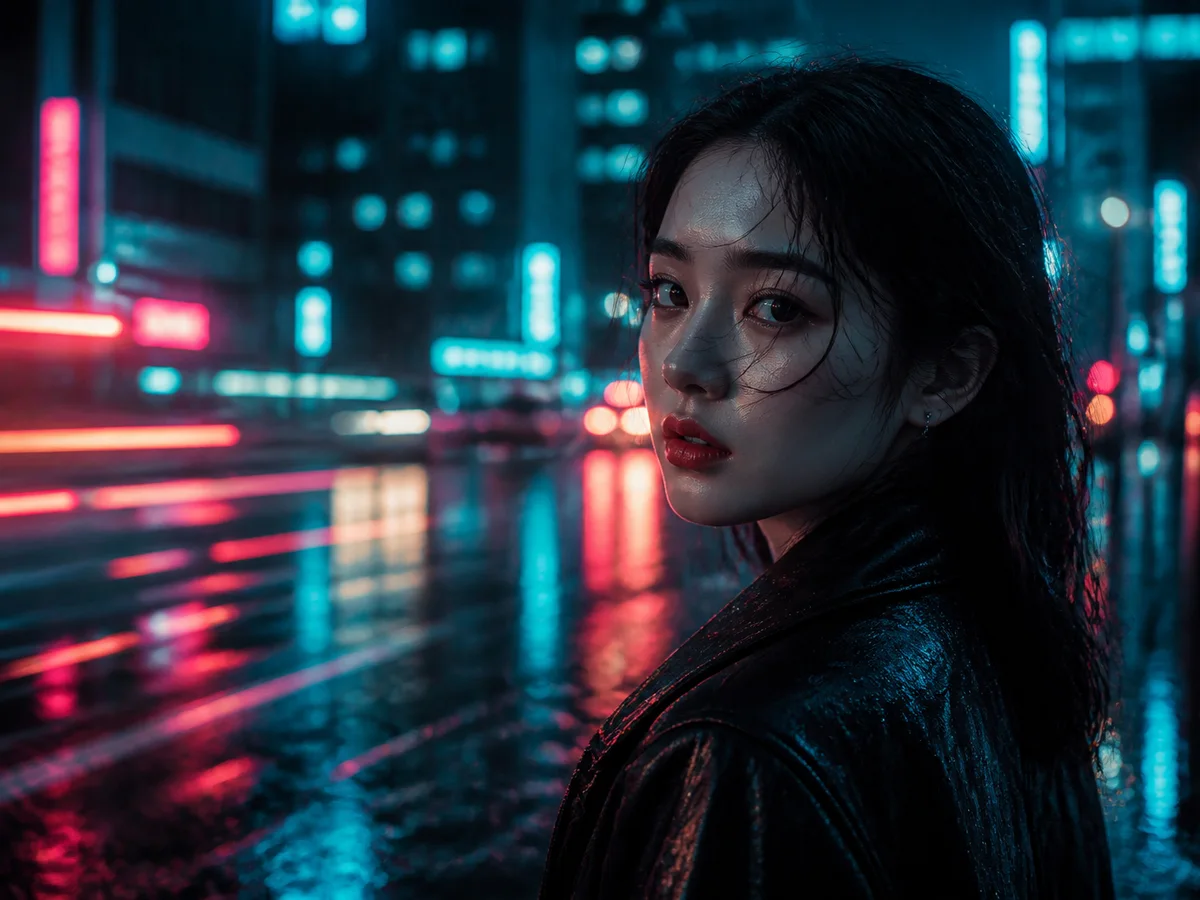
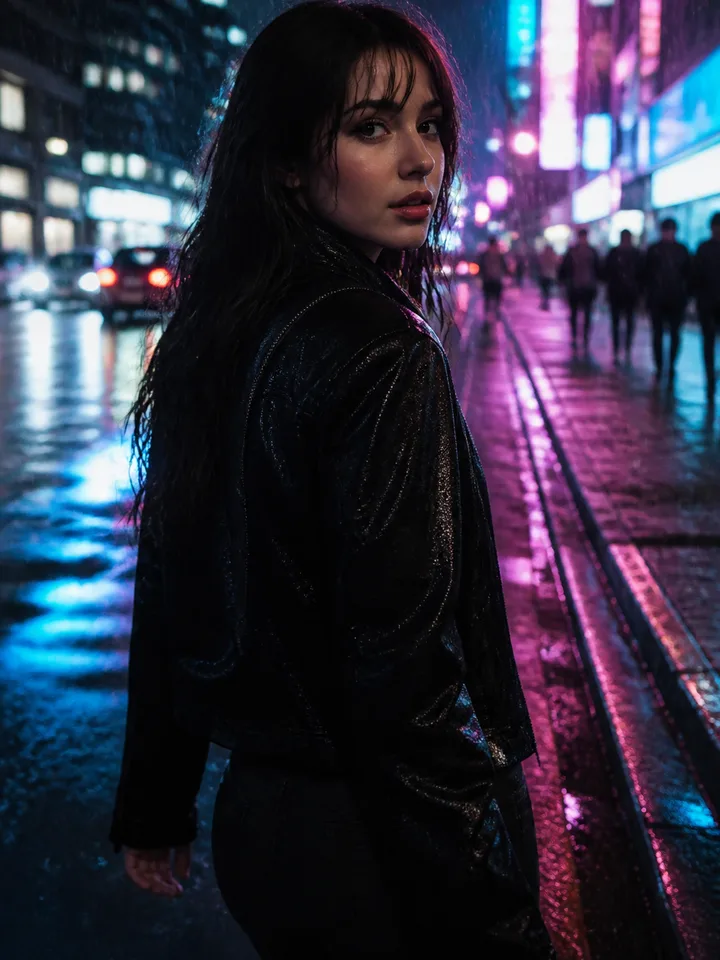
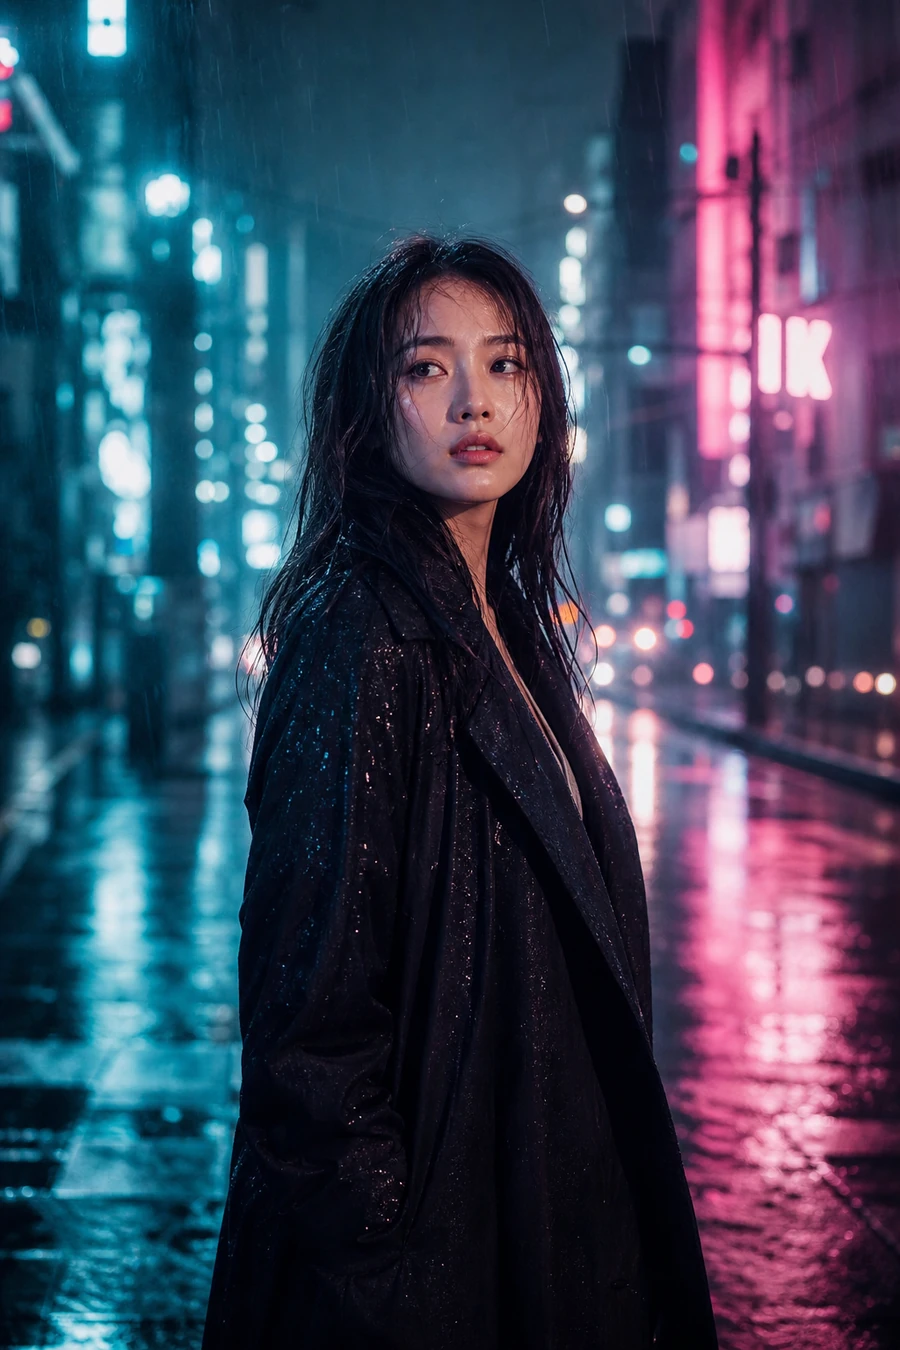
Video capability: cinematic rainy neon street atmosphere

AI video

Bring stills to life and finish the last mile

From camera moves to narrative pacing, Seedance, Kling, Veo, and other AI video models help extend hero visuals into publishable motion.

  • Image-to-video and camera motion
  • Short-form storytelling and atmospheric shots
  • Entry points to compare leading video models

How to start creating with bikabika AI

Pick an AI use case, choose an AI model, then open an AI tool—three steps to publish-ready content.

  1. Set your creative goal: social covers, product shots, and headshot examples

    Step 01 Set your AI creative goal

    Start from use cases or core capabilities and define the deliverable—social cover, product shot, headshot, anime art, character design, background swap, and more—then continue in that direction.

    Browse core AI capabilities
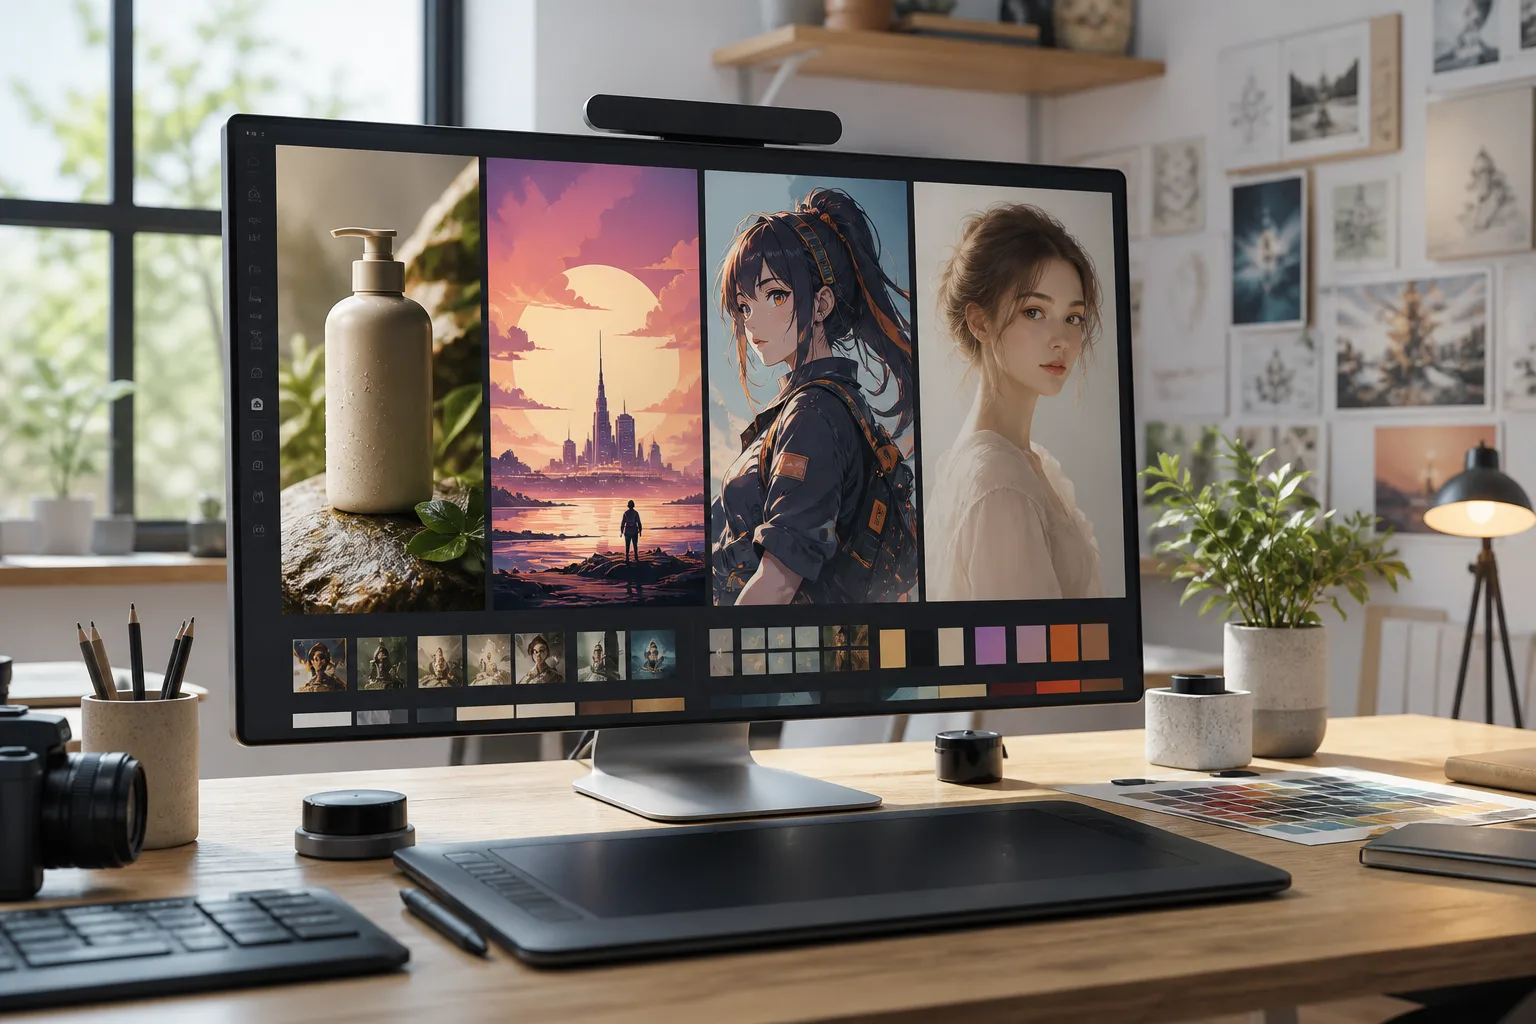
  2. Choose an AI model: visual comparison of leading models

    Step 02 Choose the right AI model

    Browse covers and highlights on the models page. Compare looks for photoreal, anime, AI chat, AI music, or AI video, then open a model guide to understand the workflow before you decide.

    Browse all AI models
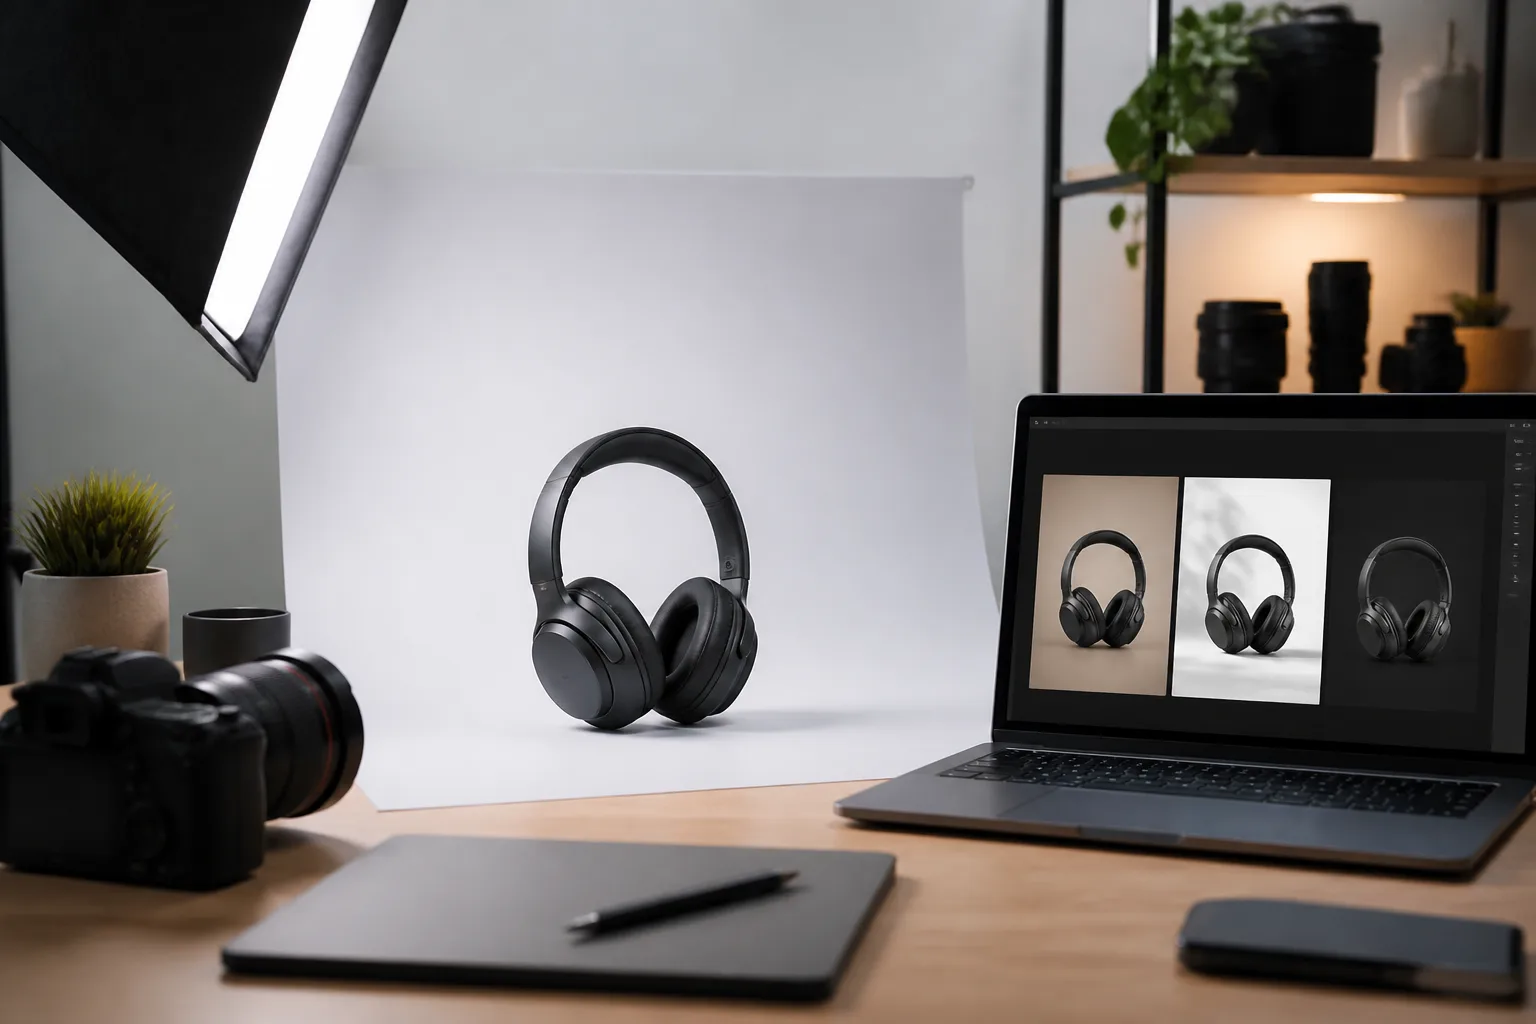
  3. Open an AI tool and create: publish-ready result example

    Step 03 Open an AI tool and create

    Jump into the matching AI tool page, generate, tune prompts and parameters, then iterate until inspiration lands as publish-ready output.

    Go to AI Image Generator

FAQ

FAQ: creative workflow, model choice, and tools

Quick answers on how bikabika AI works—from creative workflow and model selection to how tool pages and model guides fit together.

What’s the recommended creative workflow on bikabika AI?

Follow goal → model → tool: define the deliverable in use cases or core capabilities (social cover, headshot, character design, and so on), compare look and control on the models page , then open the matching tool page to generate and iterate. For prompt inspiration, pair that with blog guides .

How should I choose an AI model when I’m unsure?

Start with the job: photoreal commerce, anime standing art, character consistency, drafting, soundtrack, or short video each favor different strengths. Browse covers and highlights on All models , open a guide for fit and workflow differences, and if you’re still unsure, try a mainstream entry in the Image Generator first—then fine-tune by the look of the results.

What do tool pages vs. model guides solve?

Tool pages are for hands-on creation—image generation, headshots, characters, anime, cutouts, and more as ready-to-start workflows. Model guides help you choose and understand—capability boundaries, best-fit scenarios, and usage tips. Typical path: learn the differences on model pages, then ship on tool pages. They’re complementary, not either/or.

Should I start with a use case or a model?

Prefer locking the use case and deliverable first—product shot, headshot, or anime art, for example. That clarifies aspect ratio, style, and tool path; the model is how you raise quality for the same goal. If you already prefer a model, read its guide , then jump to the related tool and generate.

How does the blog help my creative work?

The blog highlights prompt structure, model comparisons, and real cases—useful before and after you create: find frameworks when prompts stall, compare options when choosing models. Then return to a tool page or models page and keep going—shortening the path from idea to finished asset.

Best practices

Tips to get better results with bikabika AI

Define the goal, pick the right AI model, iterate in small steps, then finish delivery in the tool pages—your outputs will land closer to publish-ready quality.

  • 01

    Spell out the subject and the job

    Lead your prompt with what to show and who it’s for: subject, scene, aspect ratio, and use case (social cover, product shot, headshot, and so on). Clearer goals usually yield compositions you can use right away.

  • 02

    Choose models by task, not by hype

    Photoreal commerce, anime standing art, character consistency, chat, and video each favor different models. Compare covers and fit on the models page , then start in the matching tool page —fewer dead ends.

  • 03

    Iterate in small steps—change one thing at a time

    Lock direction first, then adjust lighting, lens, wardrobe, or background on their own. Changing one variable at a time makes it easier to see which prompt line actually moved the result.

  • 04

    Anchor signature character traits

    For series art or character sheets, repeat hair color, eye color, and wardrobe markers—and lean on the Character Generator . Stable traits keep multi-pose, multi-scene sets coherent.

  • 05

    Finish the last mile with the right tools

    After generation, refine with background removal , photo enhancement , or the headshot workflow as needed. Models set direction; tools make it publishable—together, delivery is faster.

  • 06

    Study blog examples before you grind

    When prompts or model choice stall, skim the blog for structure samples and model comparisons, then return to a tool page and apply them. Methodical trials beat blind regenerations.

Ready to start creating?

Jump into AI image tools and generate now, or keep exploring how leading models differ.