
bikabika AI
AI Photo Enhancer
Upload a photo to upscale, denoise, restore color, and refine portraits—ideal for retouching, e-commerce heroes, archive restoration, and social posts.
- AI upscale
- Smart denoise & sharpen
- Natural face enhance
- Popular models in one place
📖 Overview
What is an AI Photo Enhancer?
An AI Photo Enhancer improves photos you already have. Upload an original, and the model can raise clarity, reduce noise, restore color, and refine portrait detail—so soft, underexposed, or heavily compressed shots become closer to publish-ready.
Unlike text-to-image generation, enhancement prioritizes keeping the real captured content. The goal is higher usability without rewriting the subject’s identity or composition—great for retouching, product listings, digitizing archives, and everyday social posts.
On bikabika AI, we gather mainstream model entry points such as Midjourney, GPT Image 2, and Nano Banana so you can pick by task and jump into an online enhance workflow.
💡 Why us
Why creatives choose bikabika AI Photo Enhancer
Most tools promise a one-tap “make it sharper.” What matters for delivery is whether results stay natural, protect identity, and fit a fast workflow. bikabika AI aggregates leading models and high-frequency enhance paths in one place.
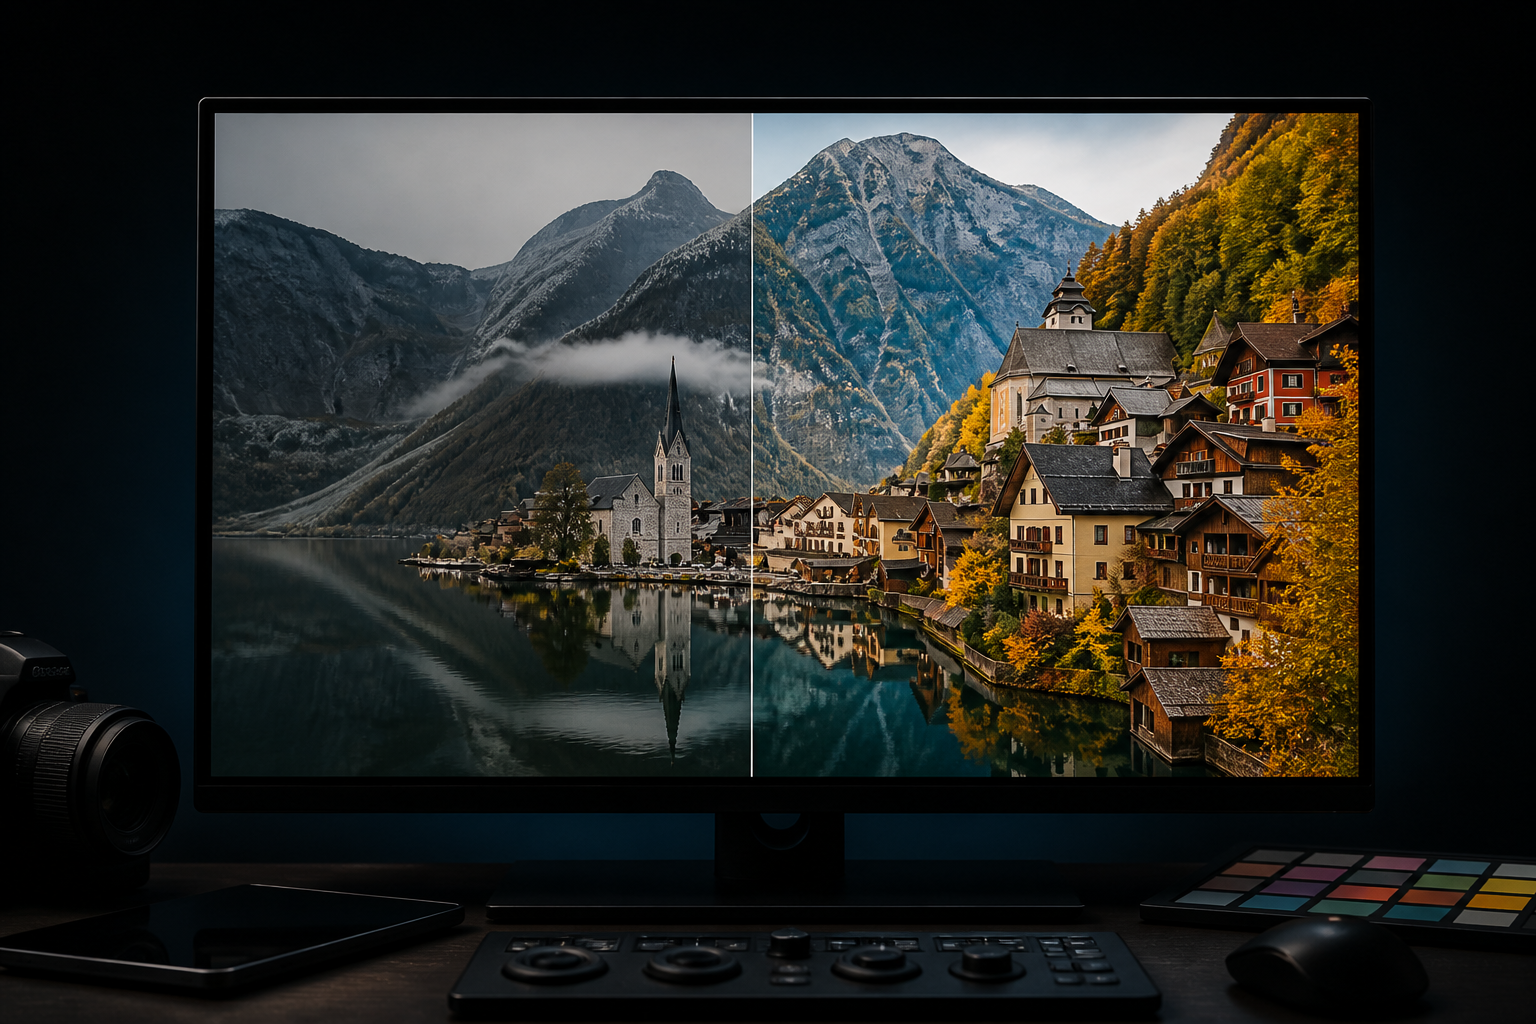
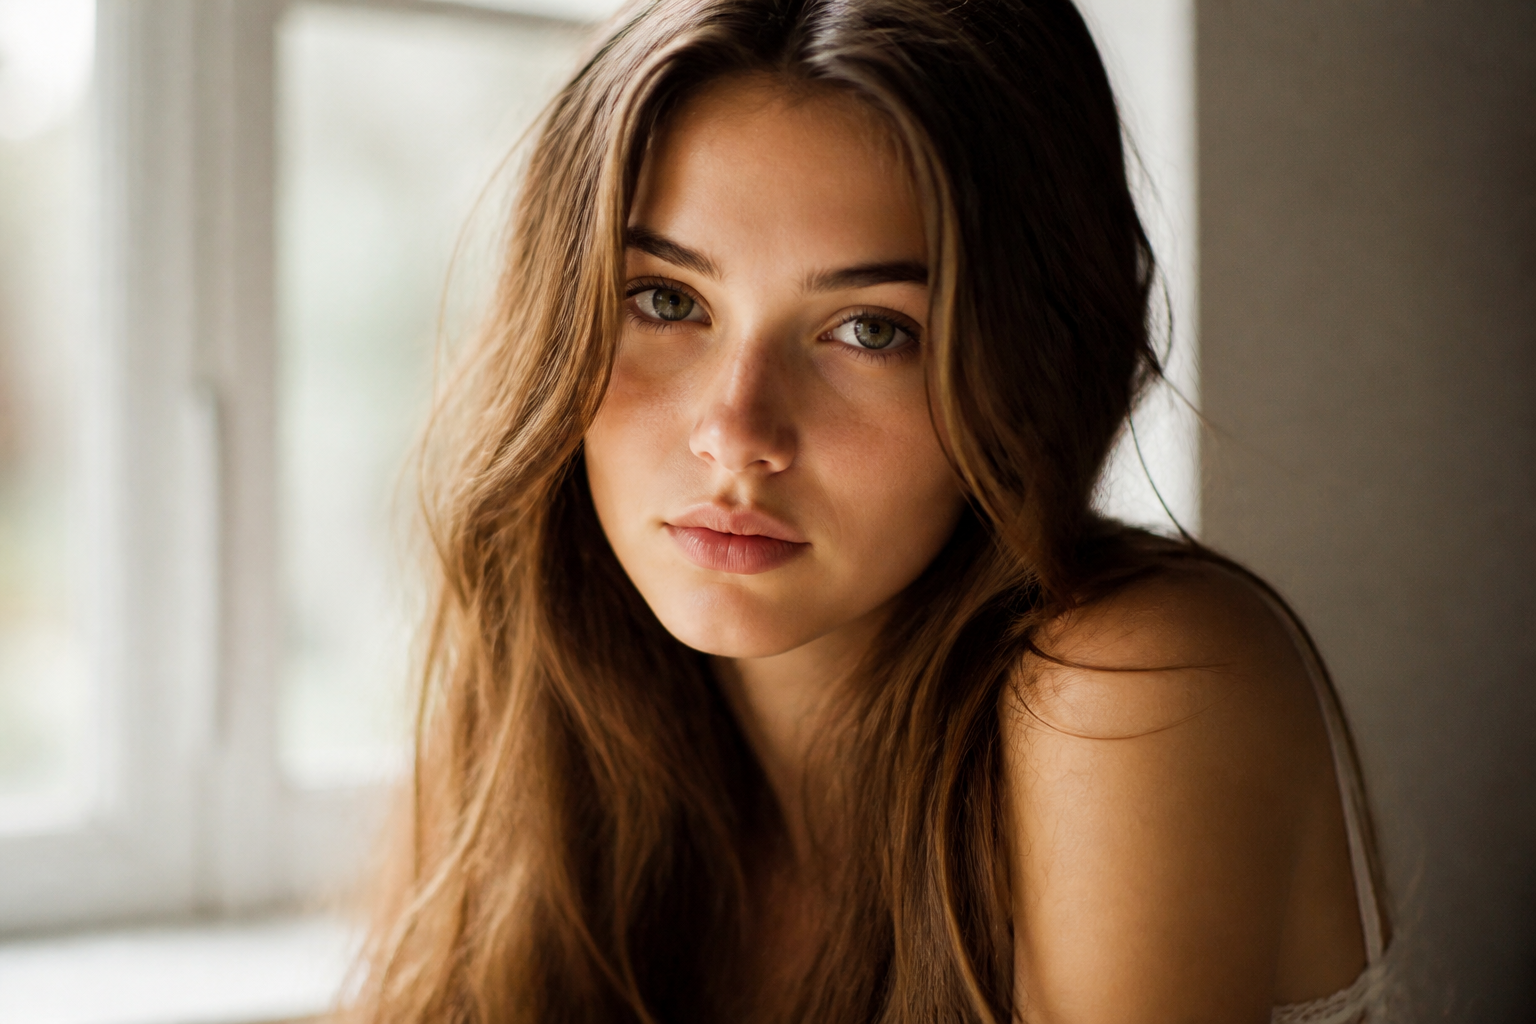
Clarity that holds up in real delivery
Optimize edges and texture for heroes, covers, and print—so results work beyond a small phone preview.
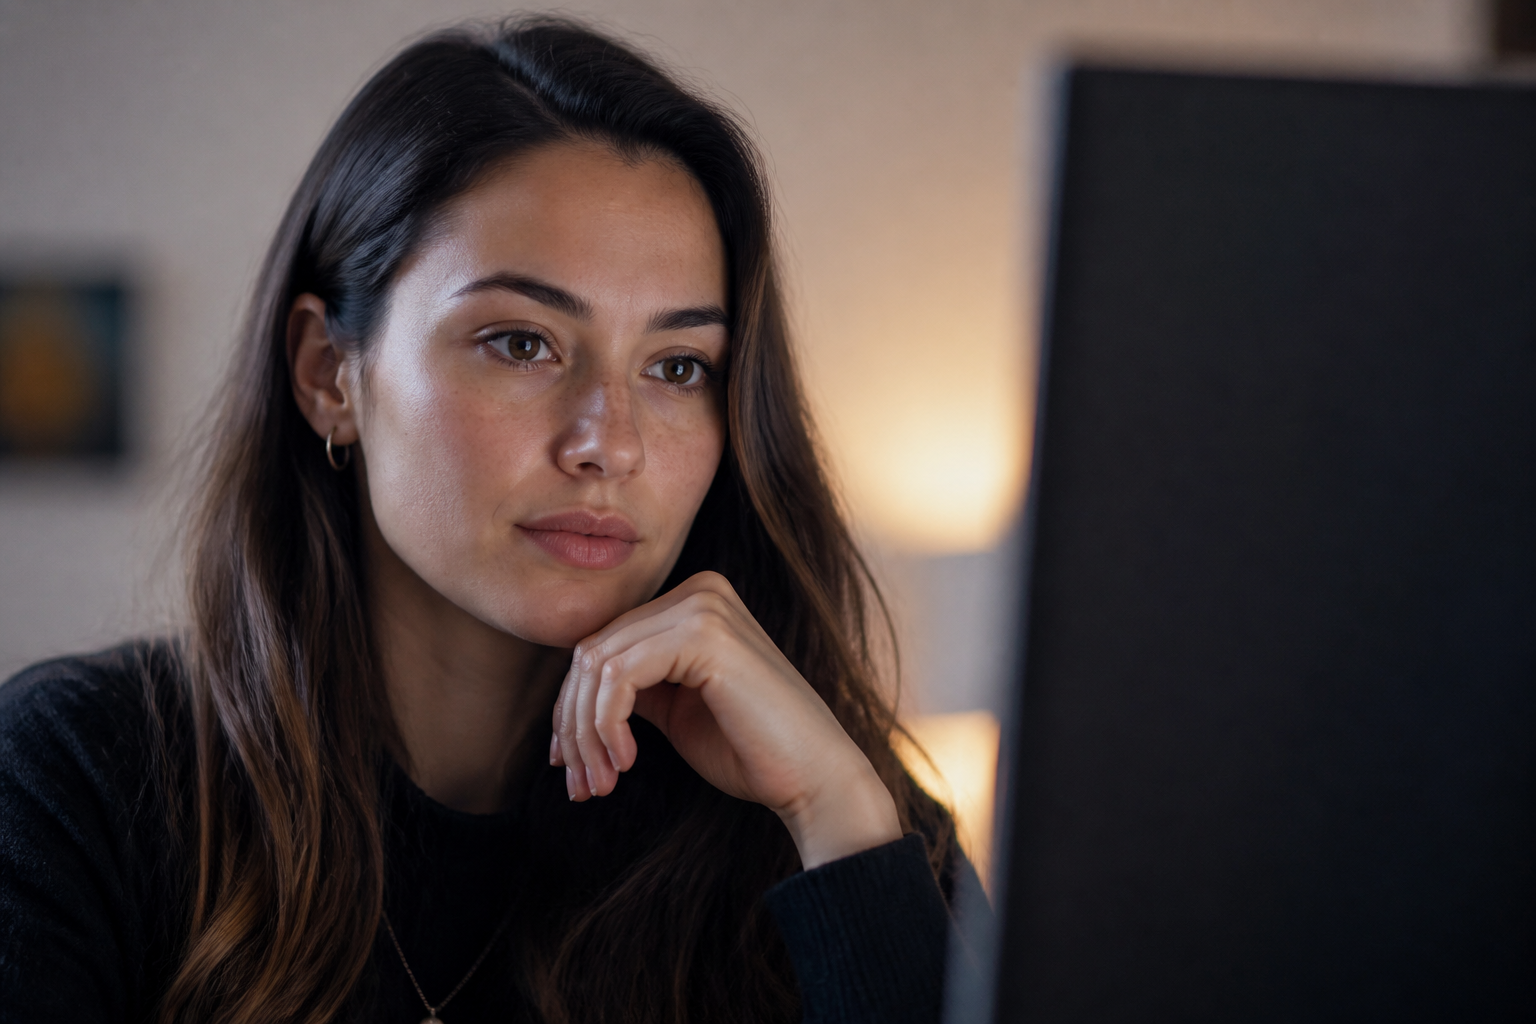
Natural look, not plastic skin
Portrait and product enhances prioritize real materials and skin texture—less fake glow, fake sharpening, or heavy blur.
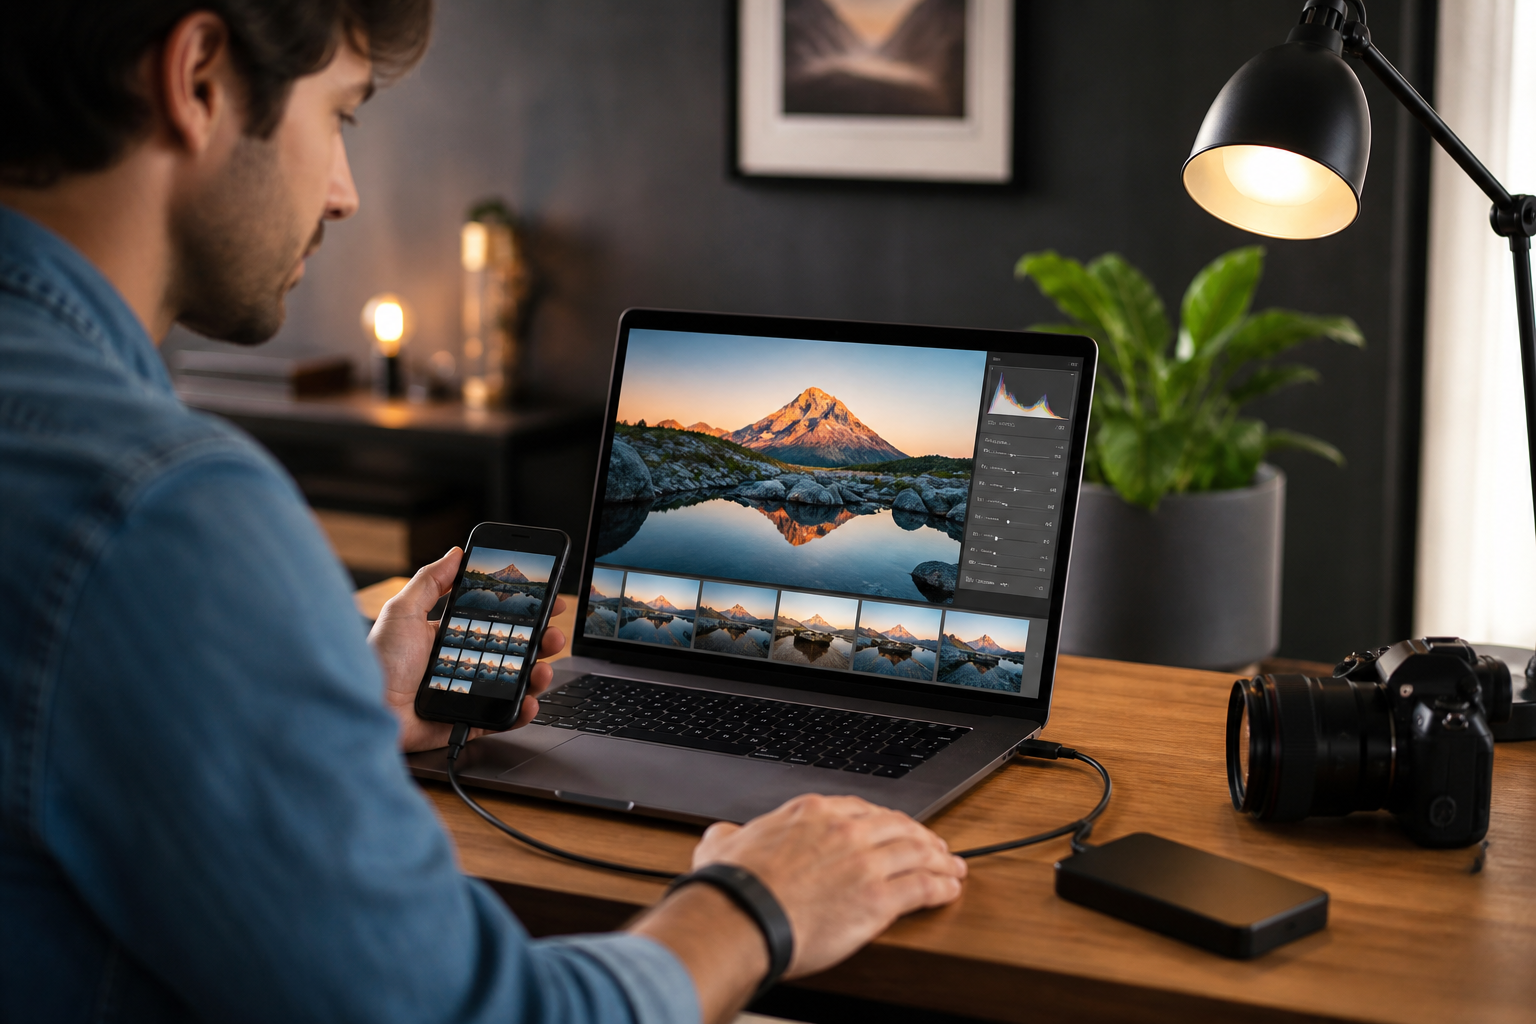
From upload to publish-ready faster
Phone JPEGs, event grabs, and batch listings can pass through a quick enhance round—shortening the gap from “usable” to “shippable.”
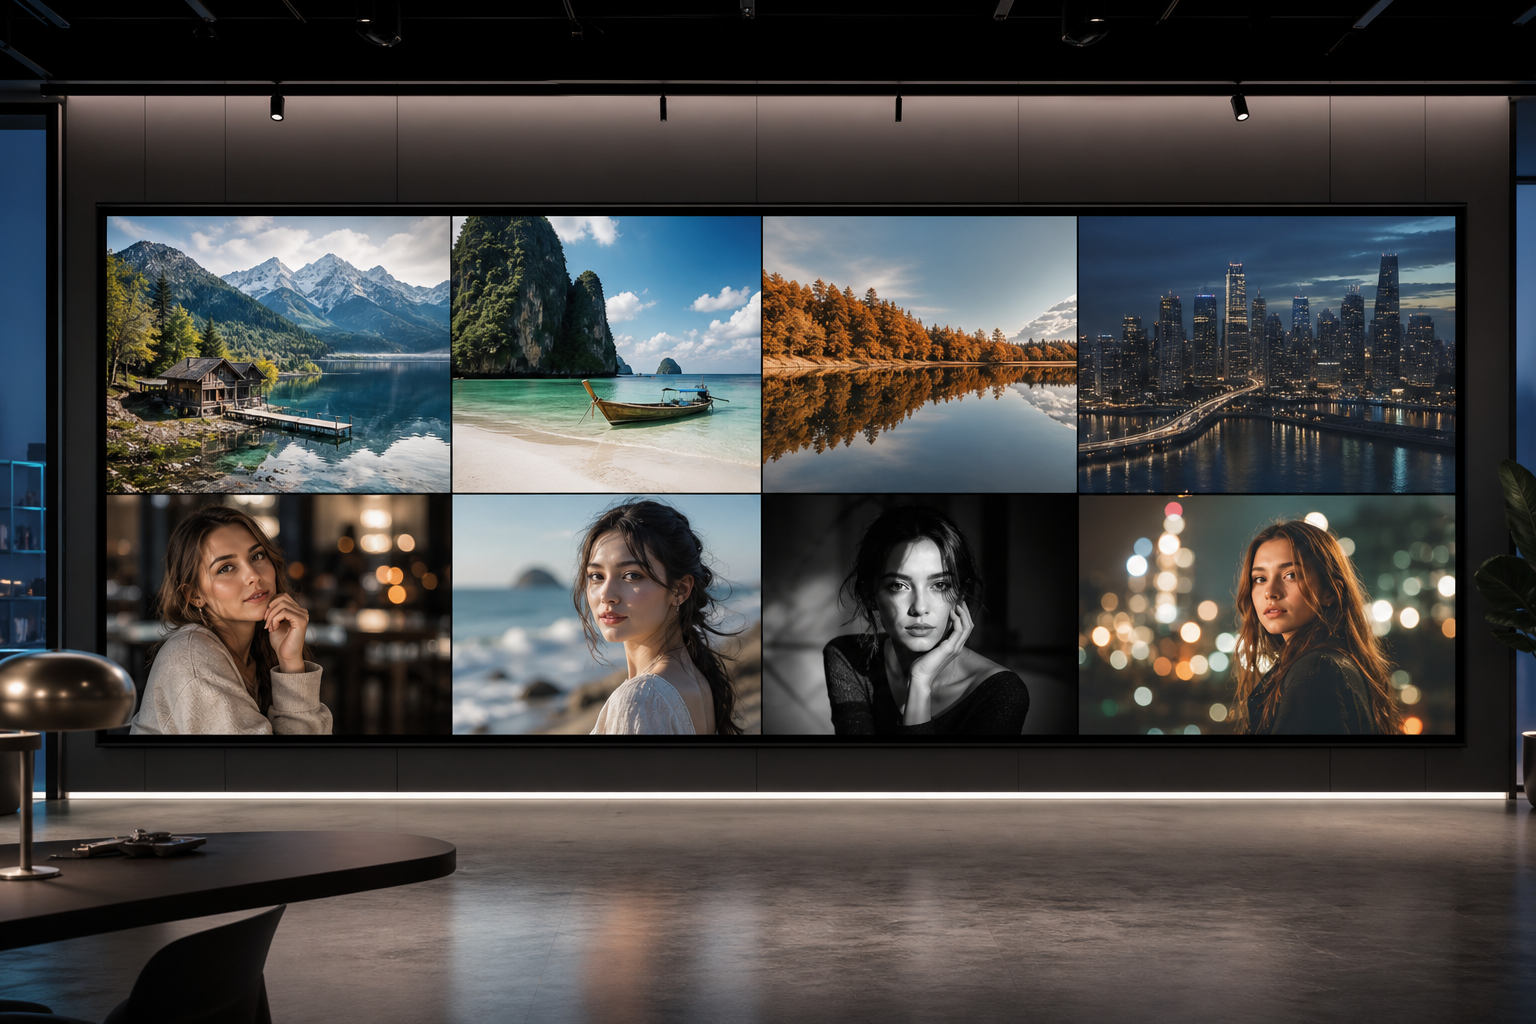
Multi-model entry by task
Compare Midjourney, GPT Image, Nano Banana, and more—then switch direction for portraits, products, landscapes, or restore jobs.
✨ Features
AI Photo Enhancer core features
Covers high-frequency jobs—upscale, denoise, color and lighting fixes, and face enhance—so you move from original to finished frame more smoothly.
01
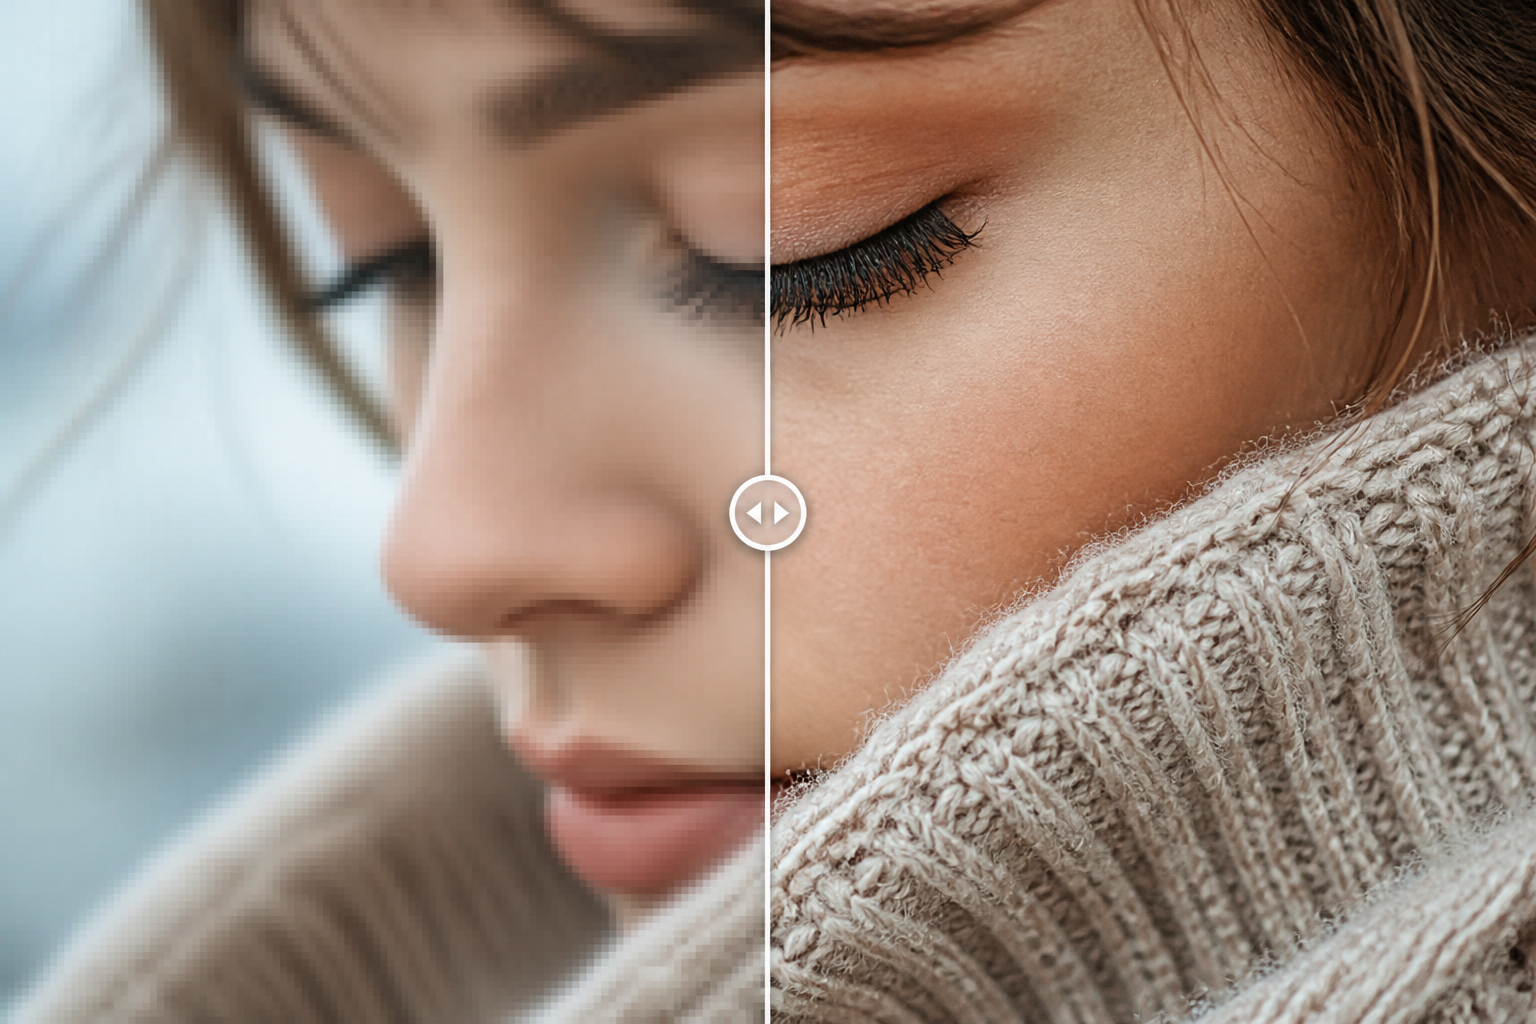
AI Upscale
Raise low-resolution photos to higher clarity with stronger edges and texture—suited for print, heroes, and large displays.
02
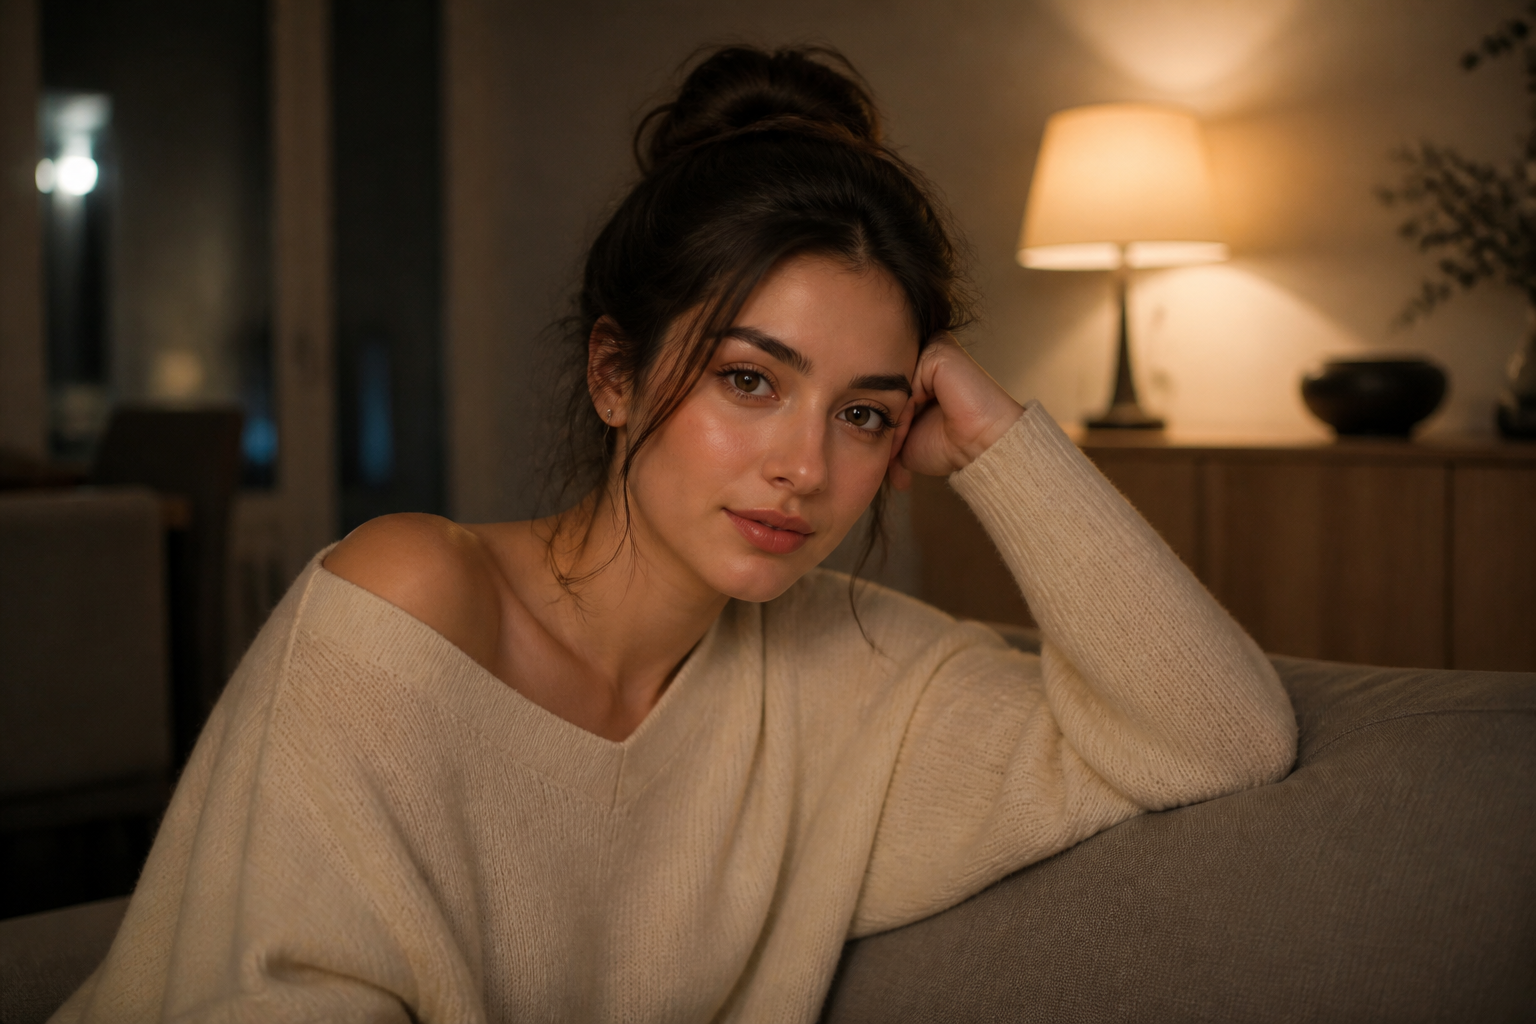
Smart Denoise
Reduce night-shot and high-ISO noise while keeping glow and material detail—avoid the “plastic mush” look.
03
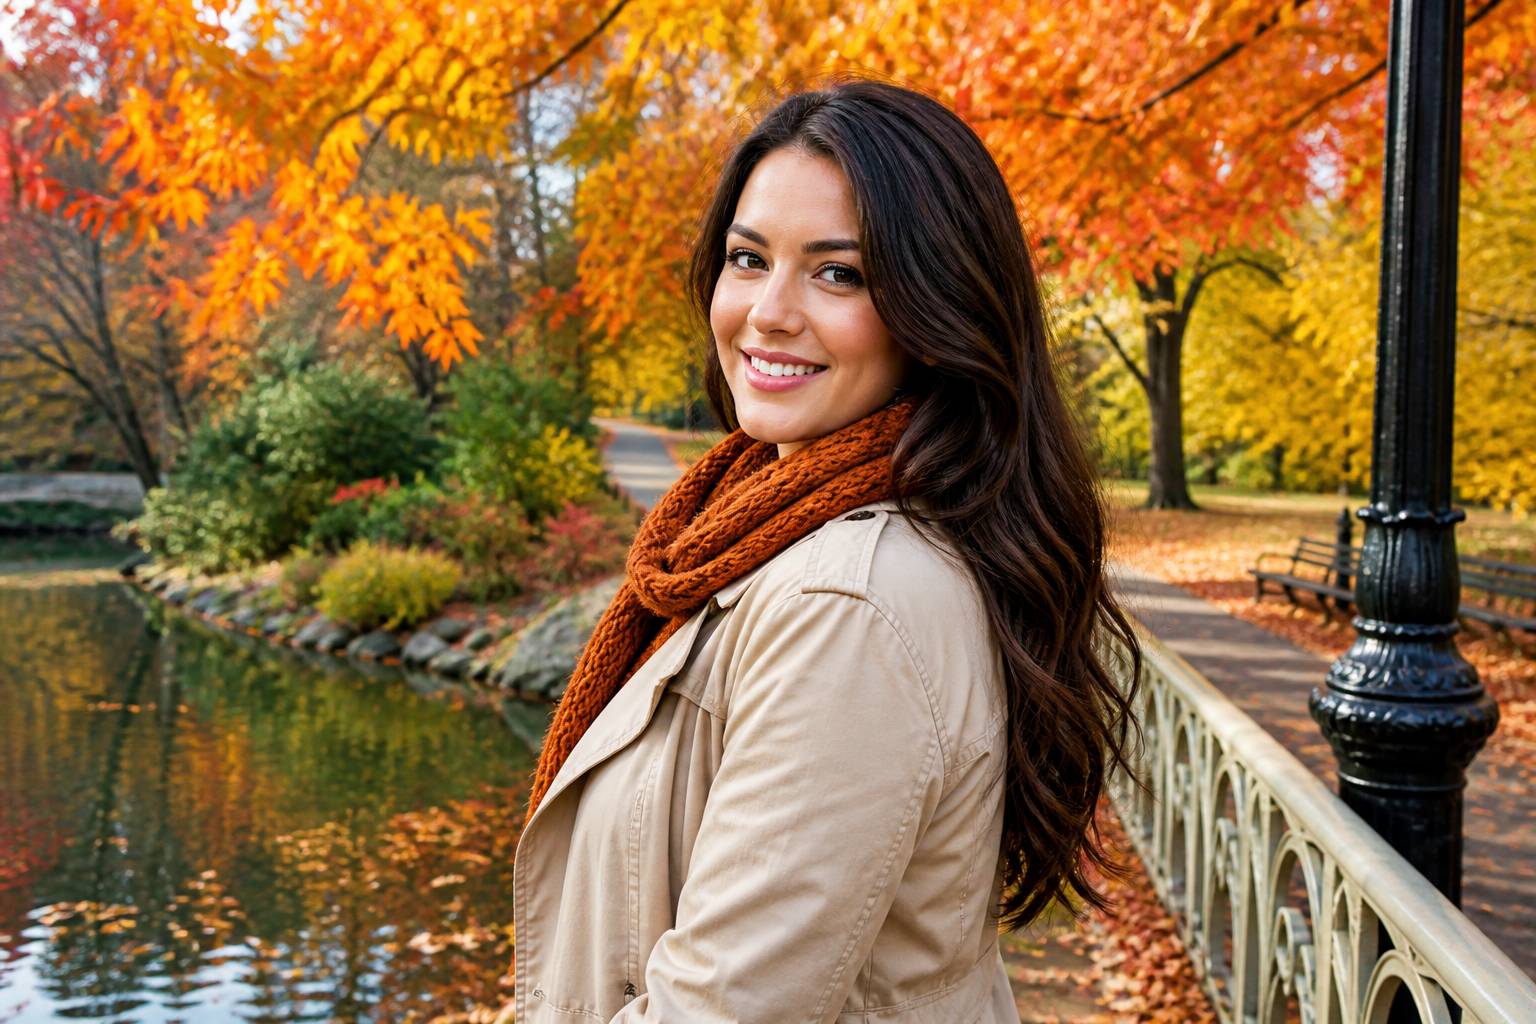
Color Restore
Correct casts, flat gray tones, and fade so product colors, skin tones, and landscapes look closer to reality.
04
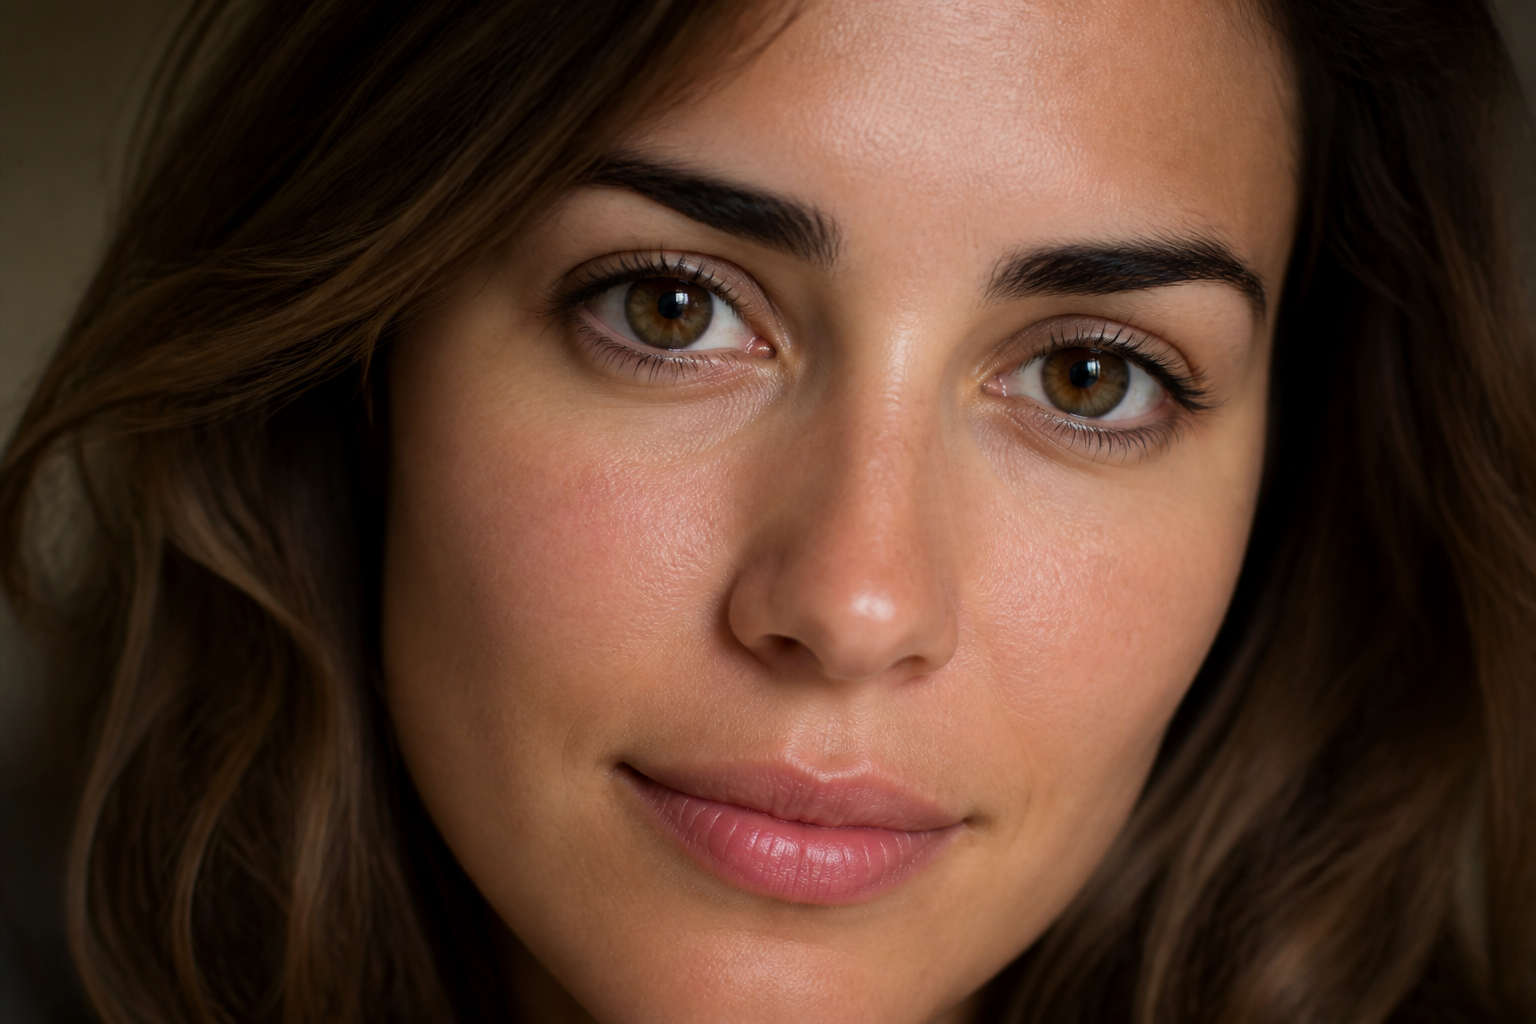
Face Enhance
Improve facial clarity and readable skin texture while staying natural—less over-smoothed beauty-filter artifacting.
05
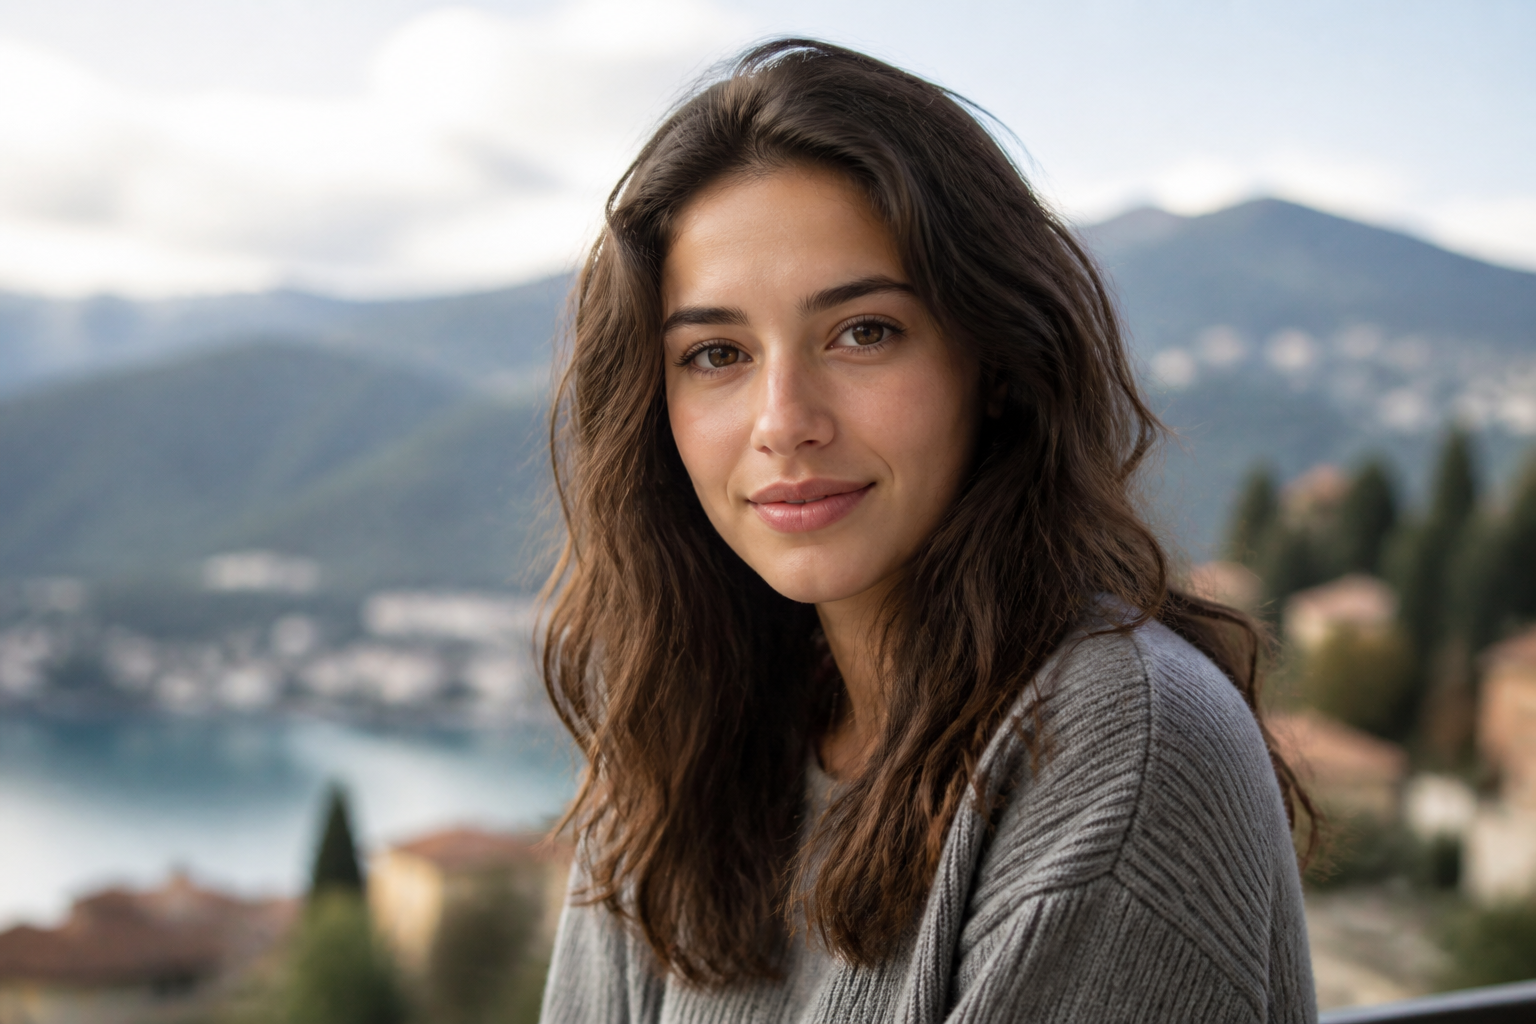
Lighting Fix
Recover underexposure, harsh backlight, and flat contrast so shadows and highlights feel more dimensional.
06
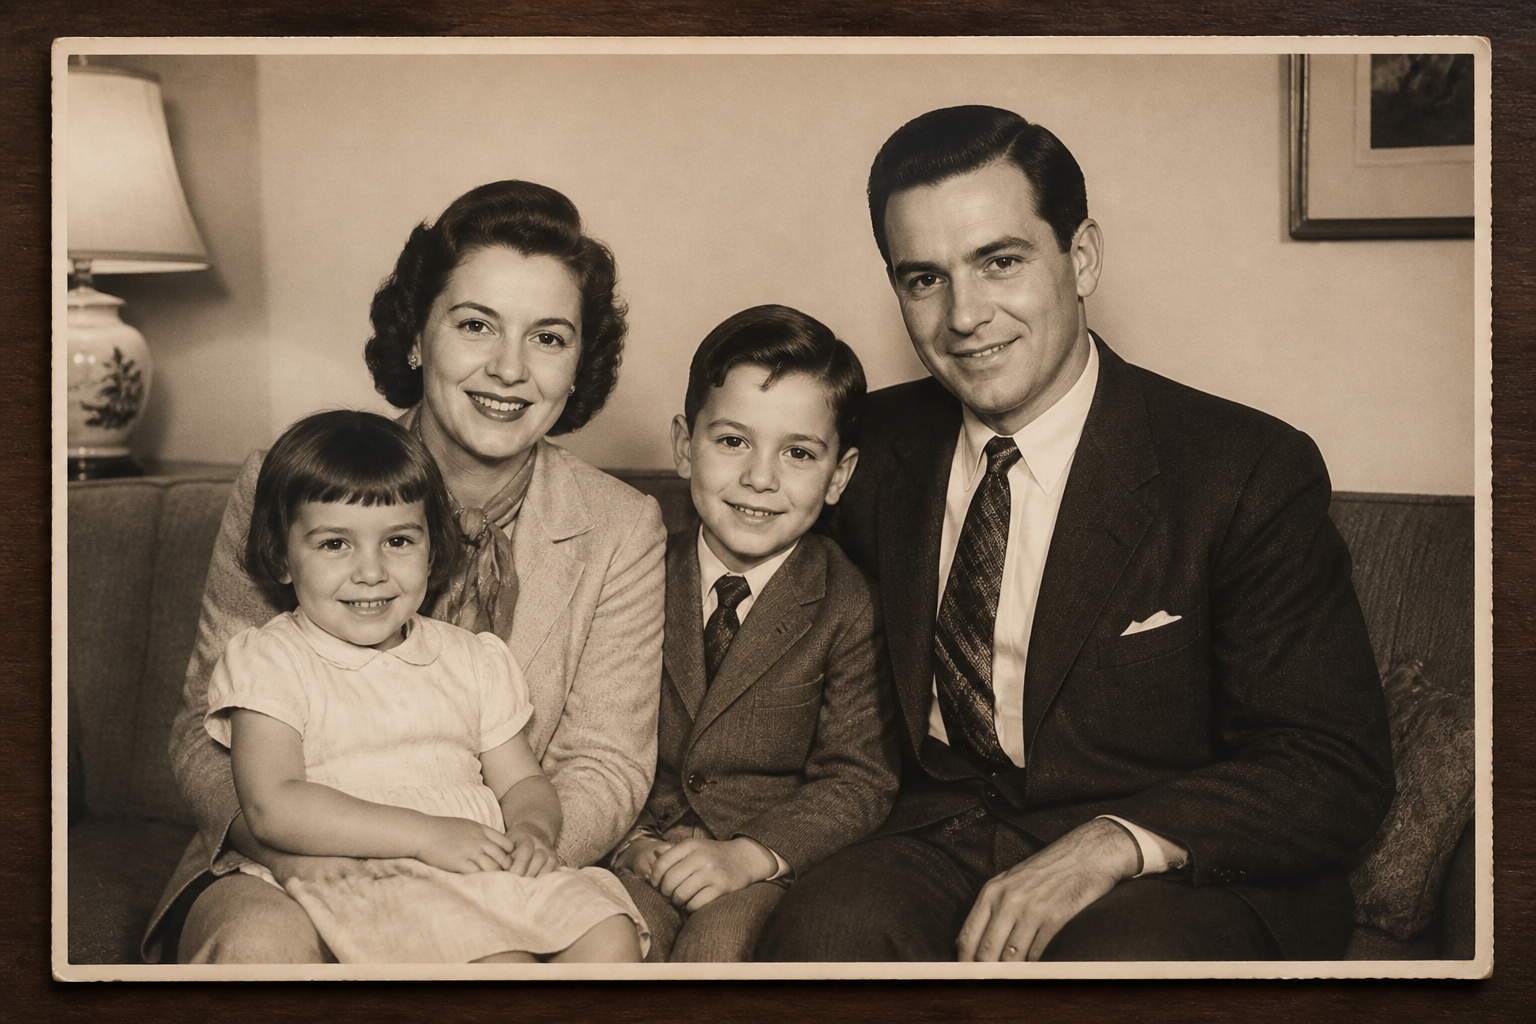
Scratch & damage repair
Repair scratches, creases, stains, and local damage on old photos while keeping people and scenes looking real—ideal for archive digitization.
🧭 How-to
How to use an AI Photo Enhancer
Four steps from original photo to an enhanced, publishable frame.
- EP.01
Upload the photo to enhance
Portraits, products, landscapes, and scans all work. Prefer complete subjects and avoid heavily recompressed files when possible.
- EP.02
Set a clear enhance goal
Decide whether you need upscale, denoise, color restore, or face/old-photo repair—don’t stack conflicting goals in one pass.
- EP.03
Generate and compare candidates
Review multiple outputs for clarity, noise, and naturalness, then keep the version closest to your publish bar.
- EP.04
Refine and export
Run a second pass or switch models if needed. Confirm skin/product color accuracy, then export for listing or posting.
🖼 Cases
AI Photo Enhancer featured cases
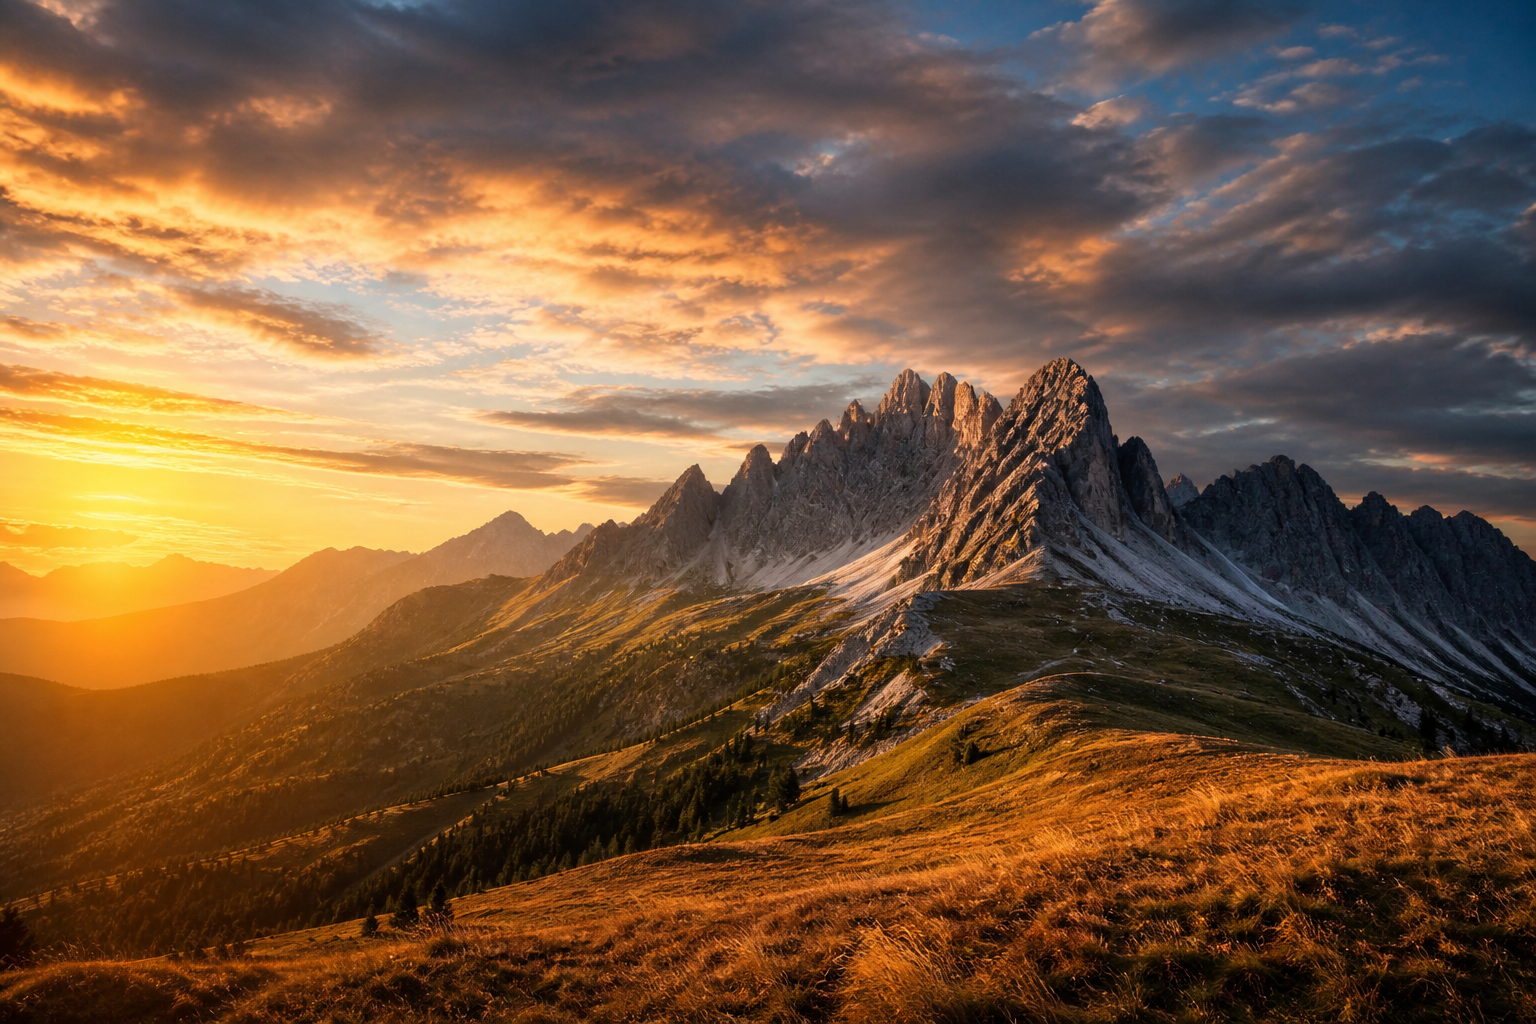
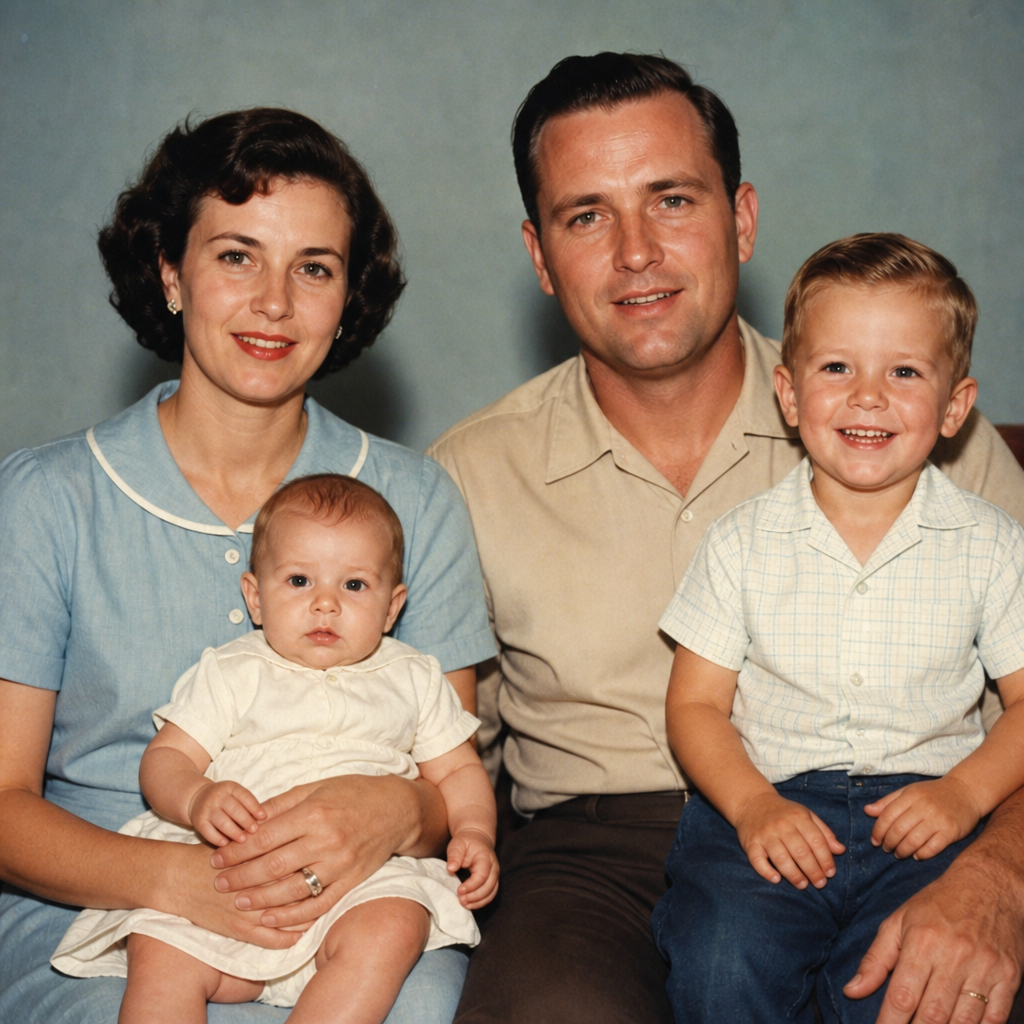
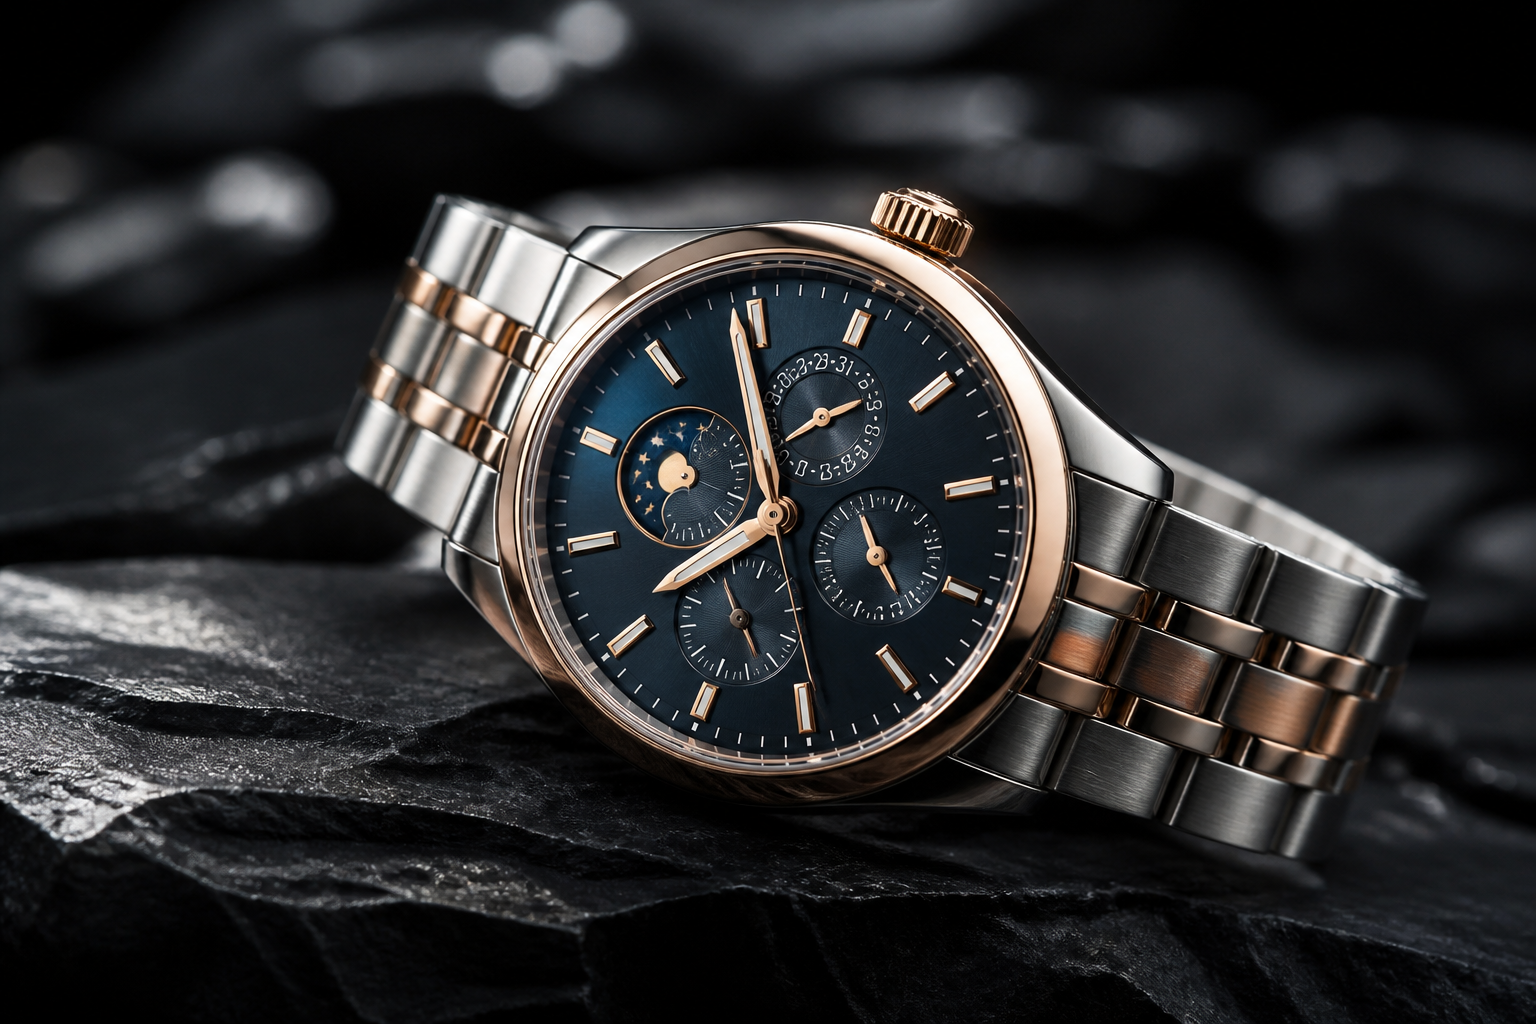
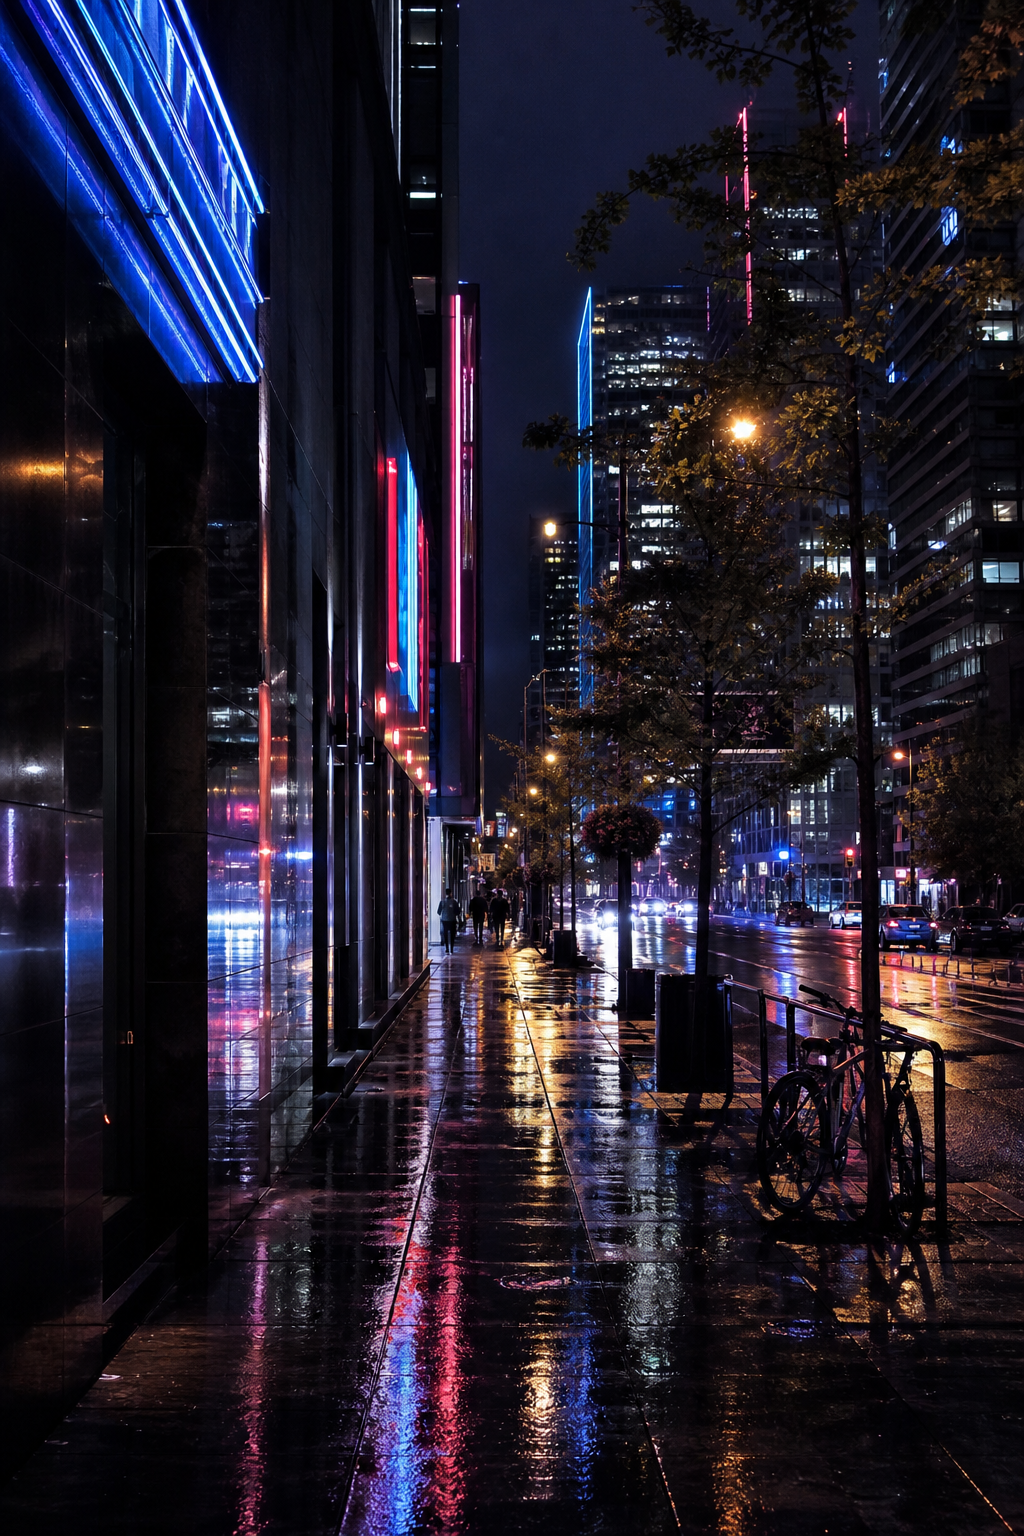
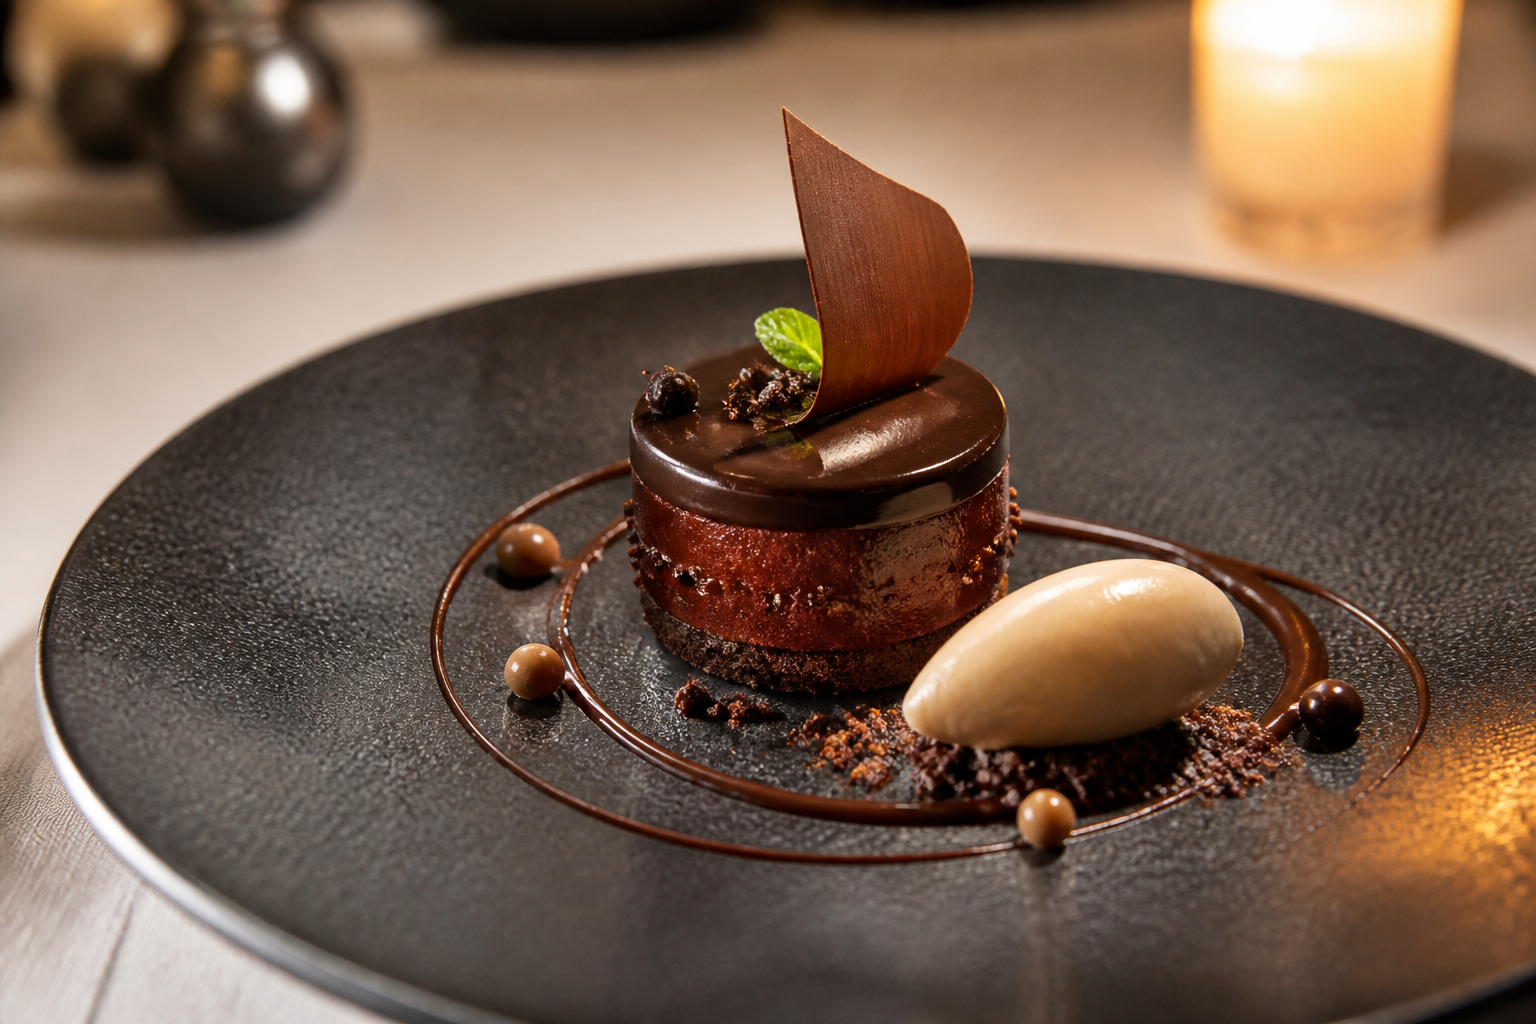
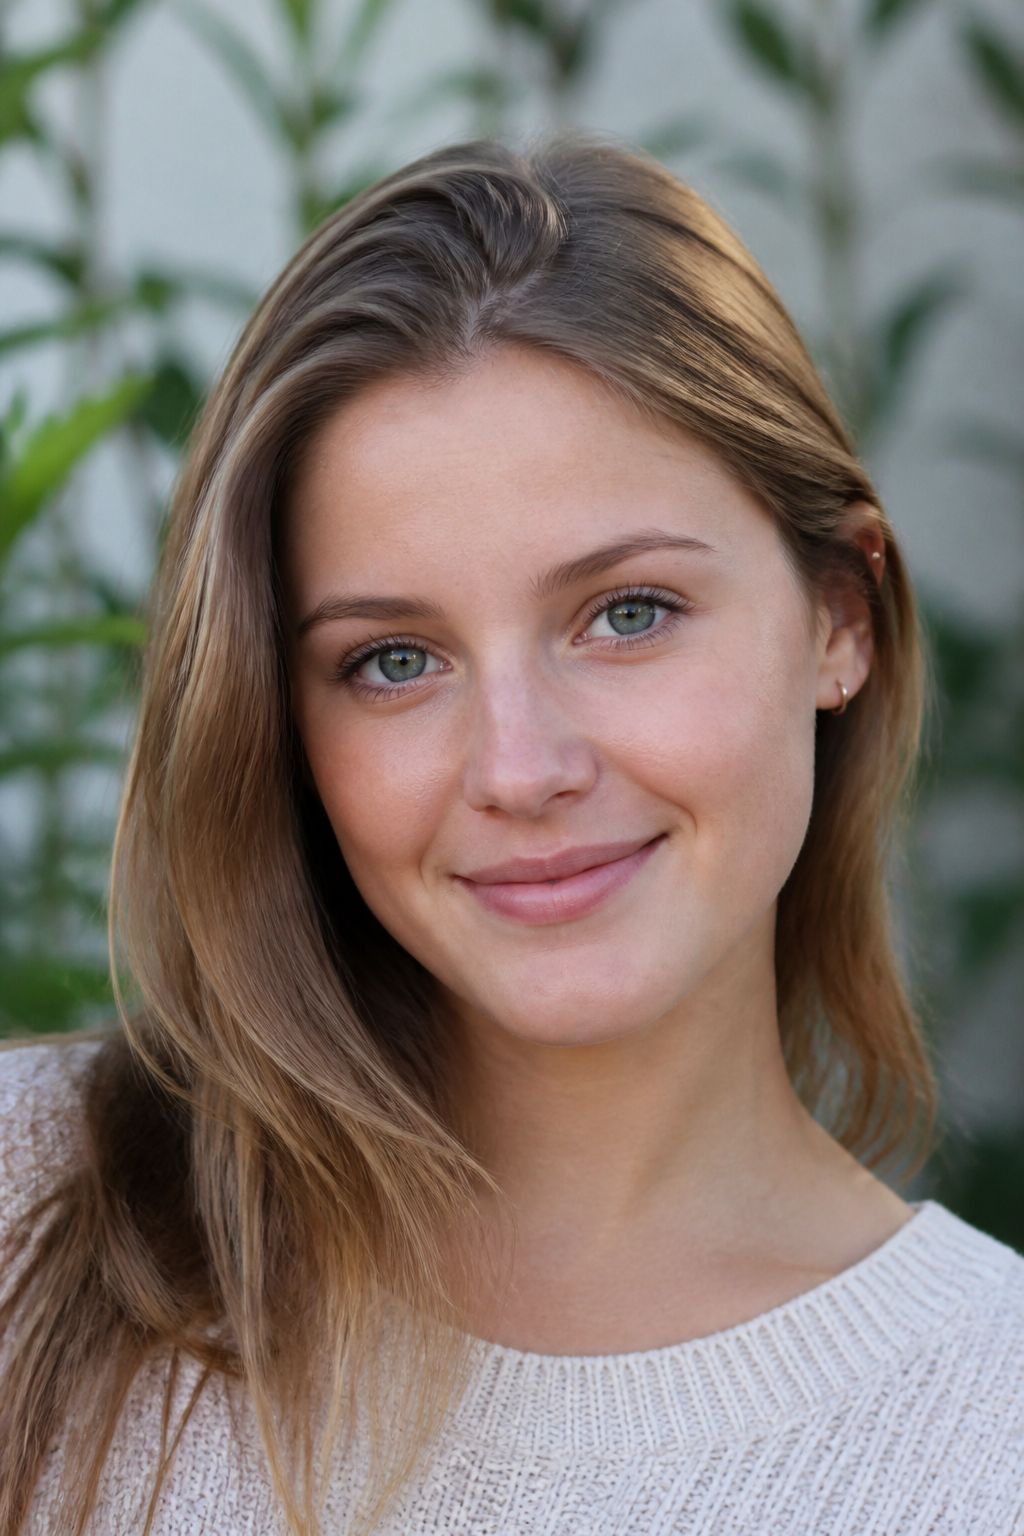
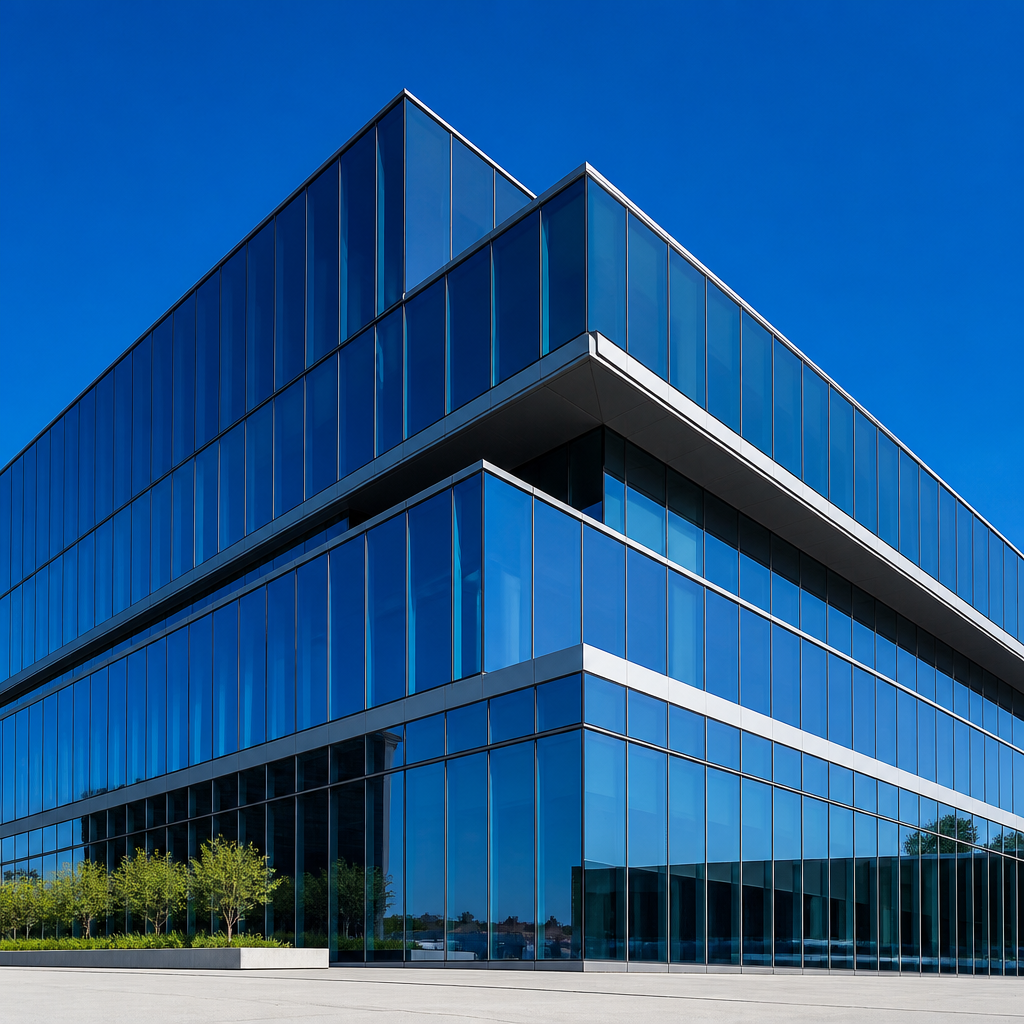
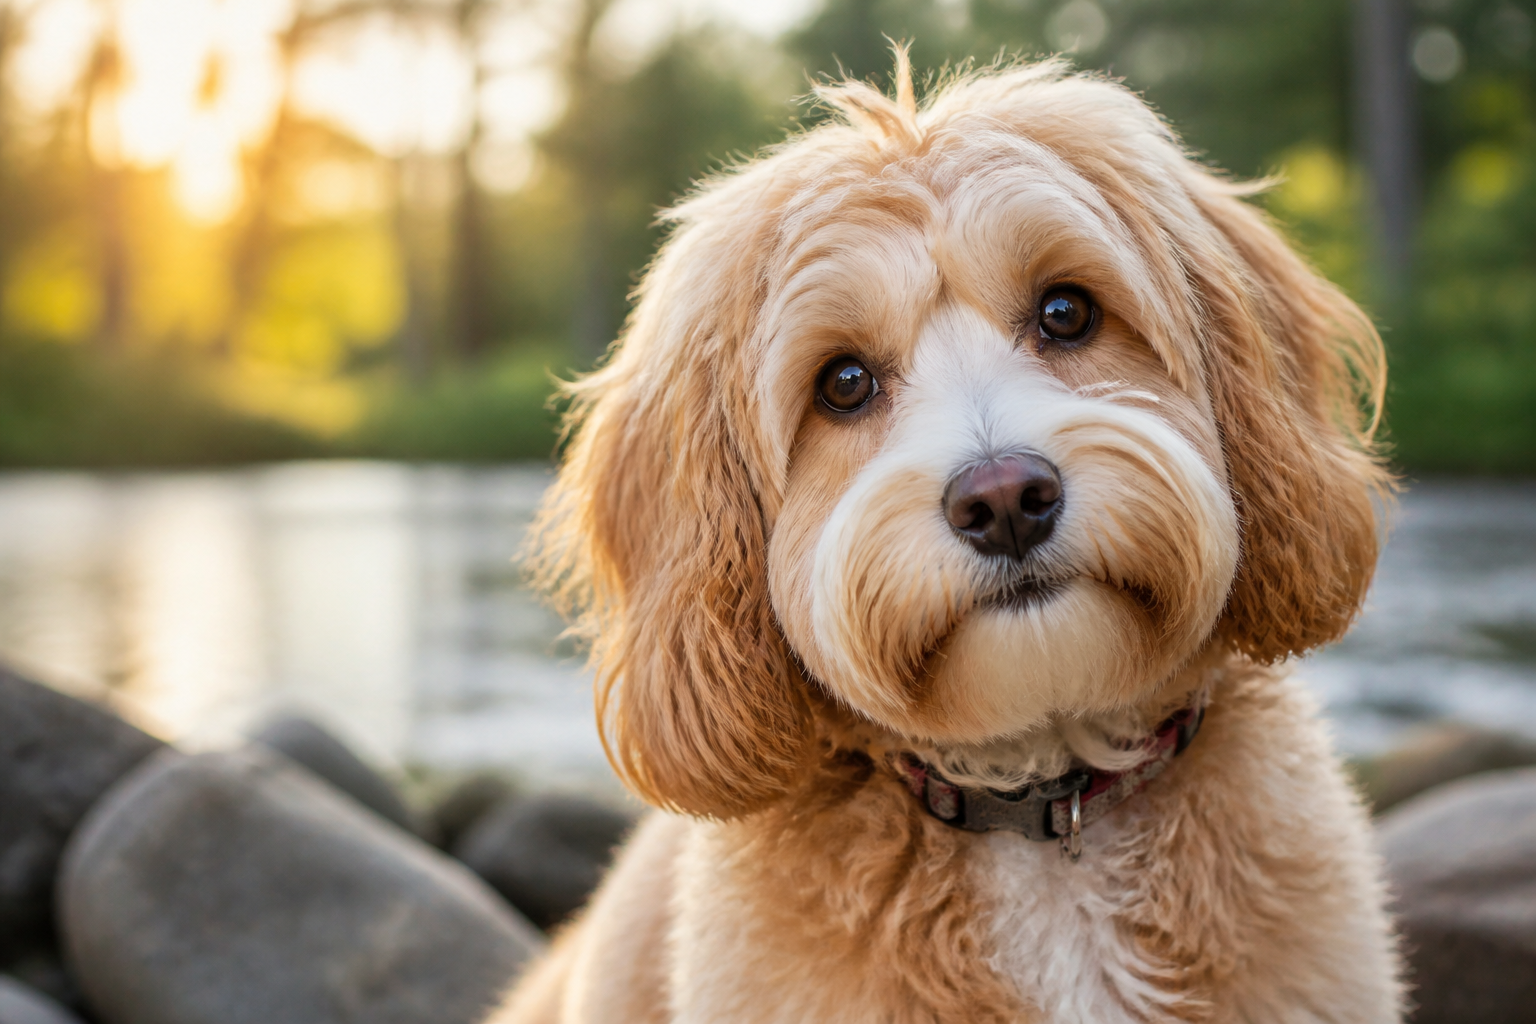
Browse enhance directions across portraits, landscapes, products, night scenes, archives, and pets.
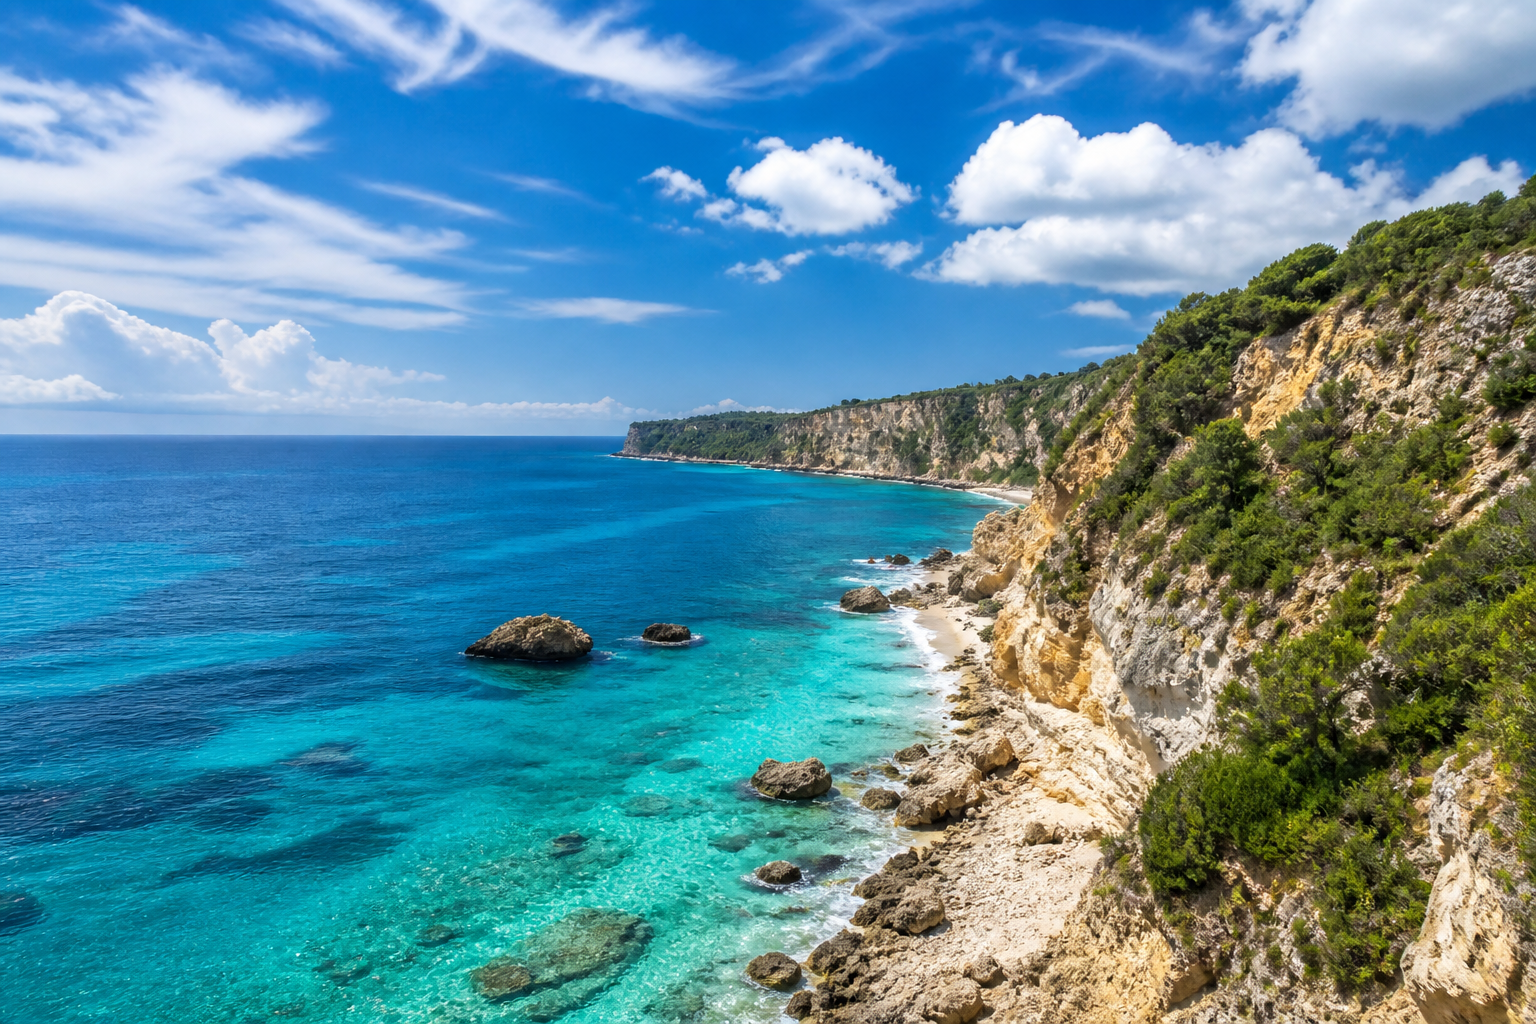
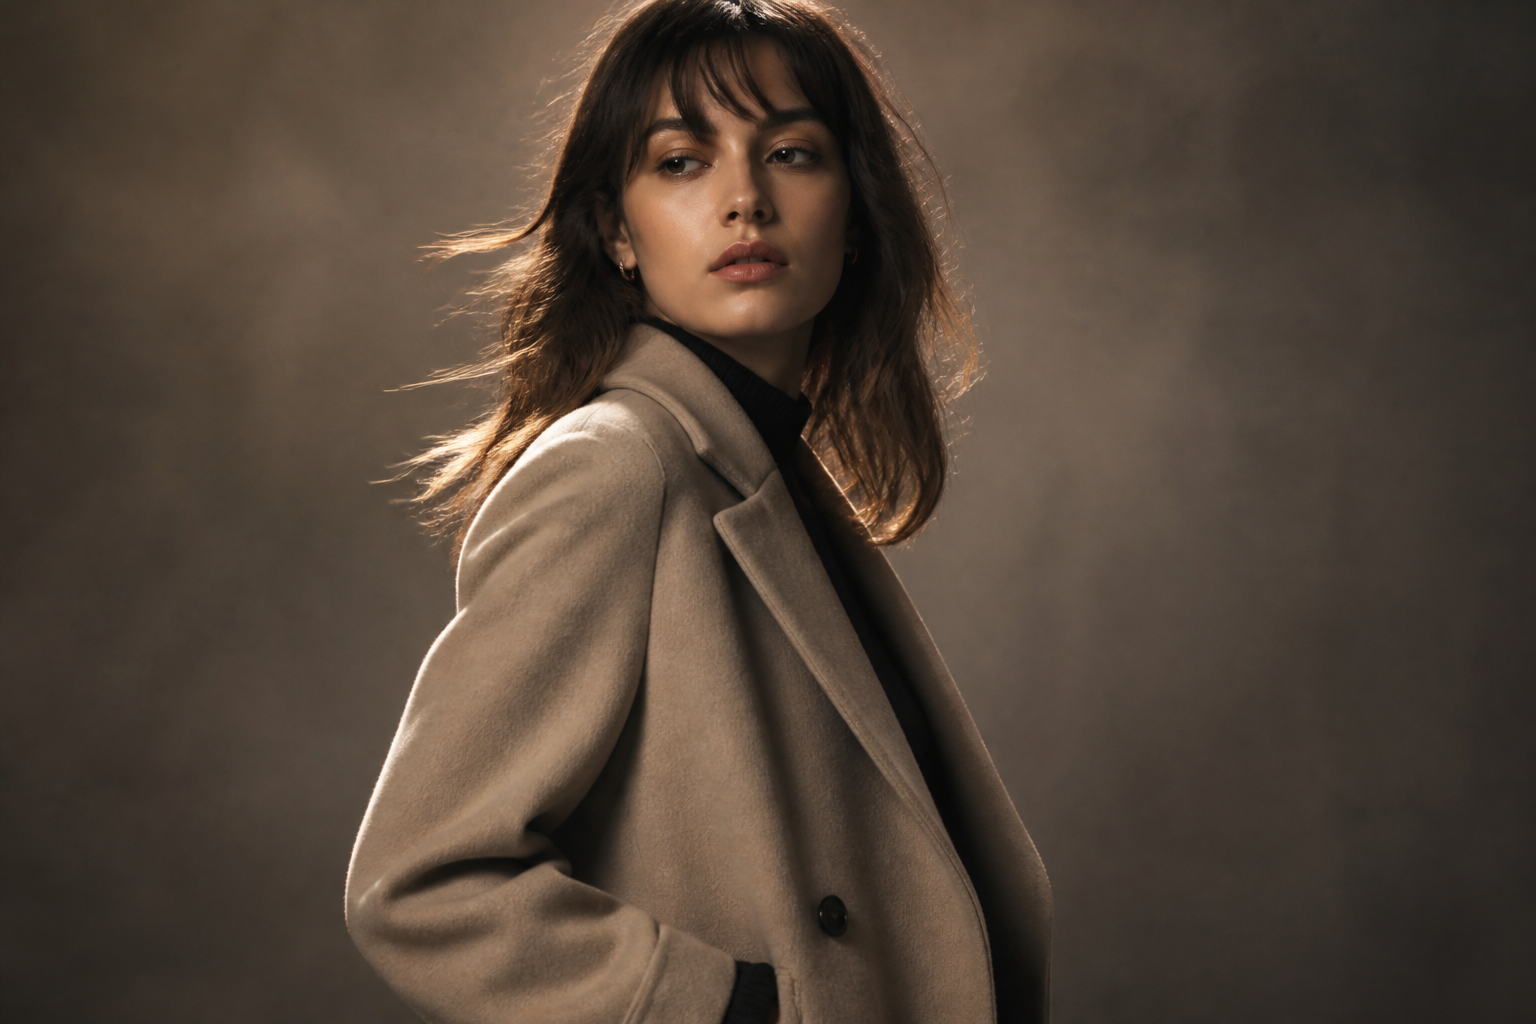
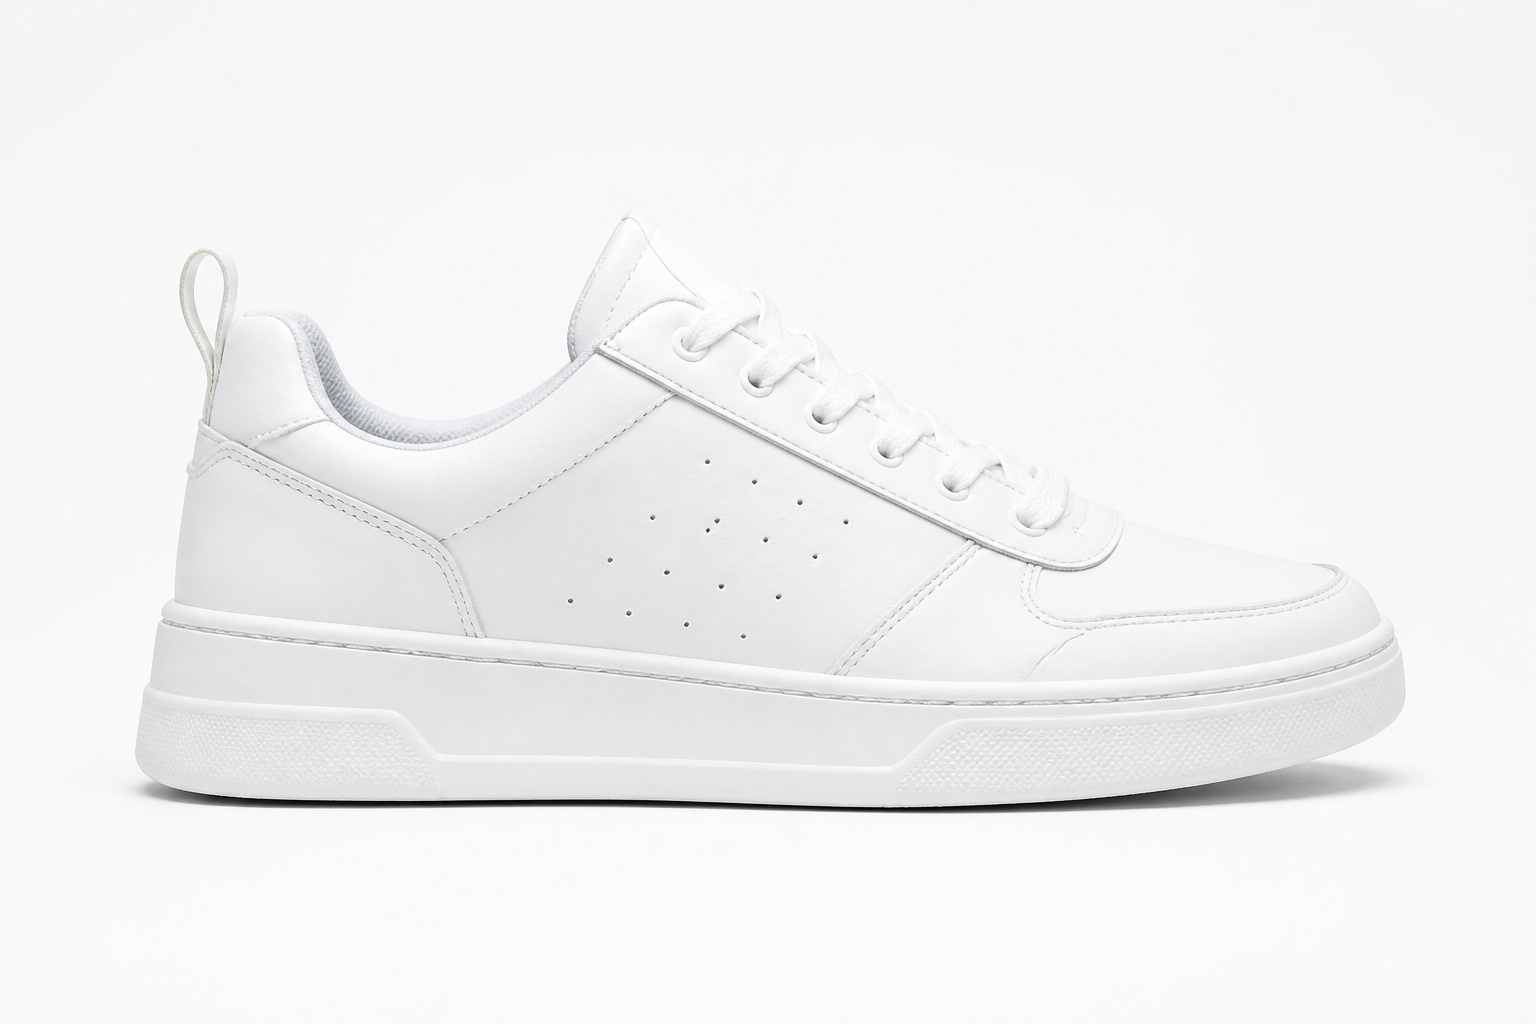
-
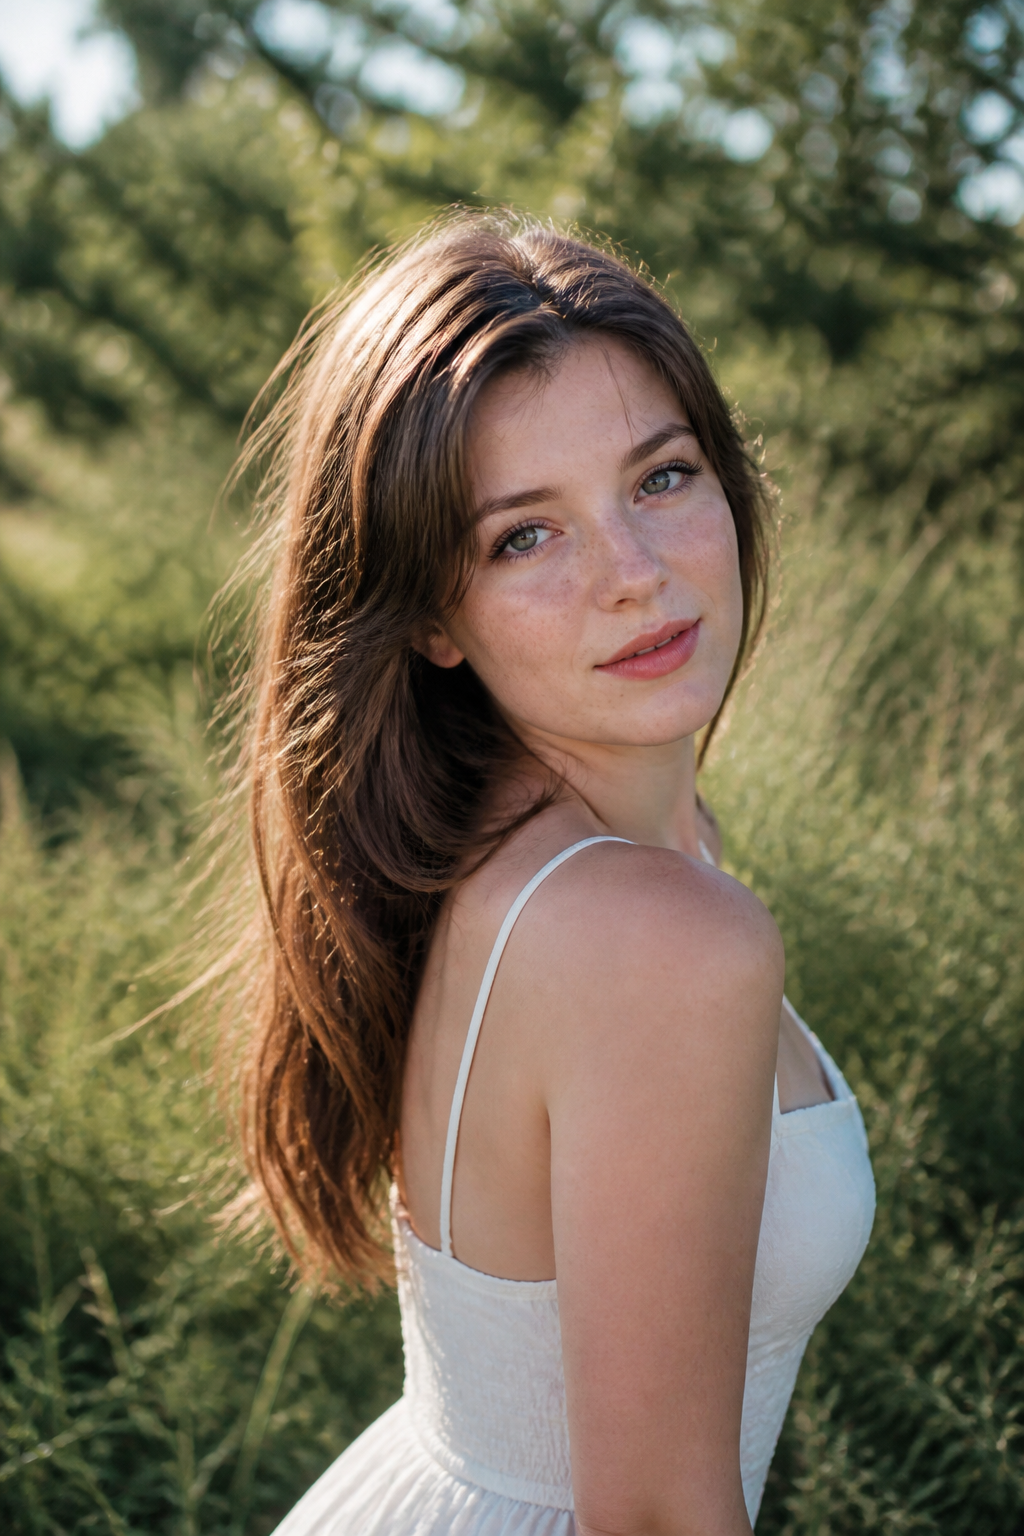
Portrait & profile enhance
Raise facial clarity and readable skin texture for avatars, portfolios, and profile refreshes.
-
E-commerce detail enhance
Sharpen materials and edges so products pop in listing grids—and shorten retouch turnaround.
-
Archive & night restore
Revive faded scans or calm night noise so precious photos and event grabs become usable again.
👥 Audiences
Who is an AI Photo Enhancer for?
From pro retouching and product launches to family archives and everyday social posts—find your lane.
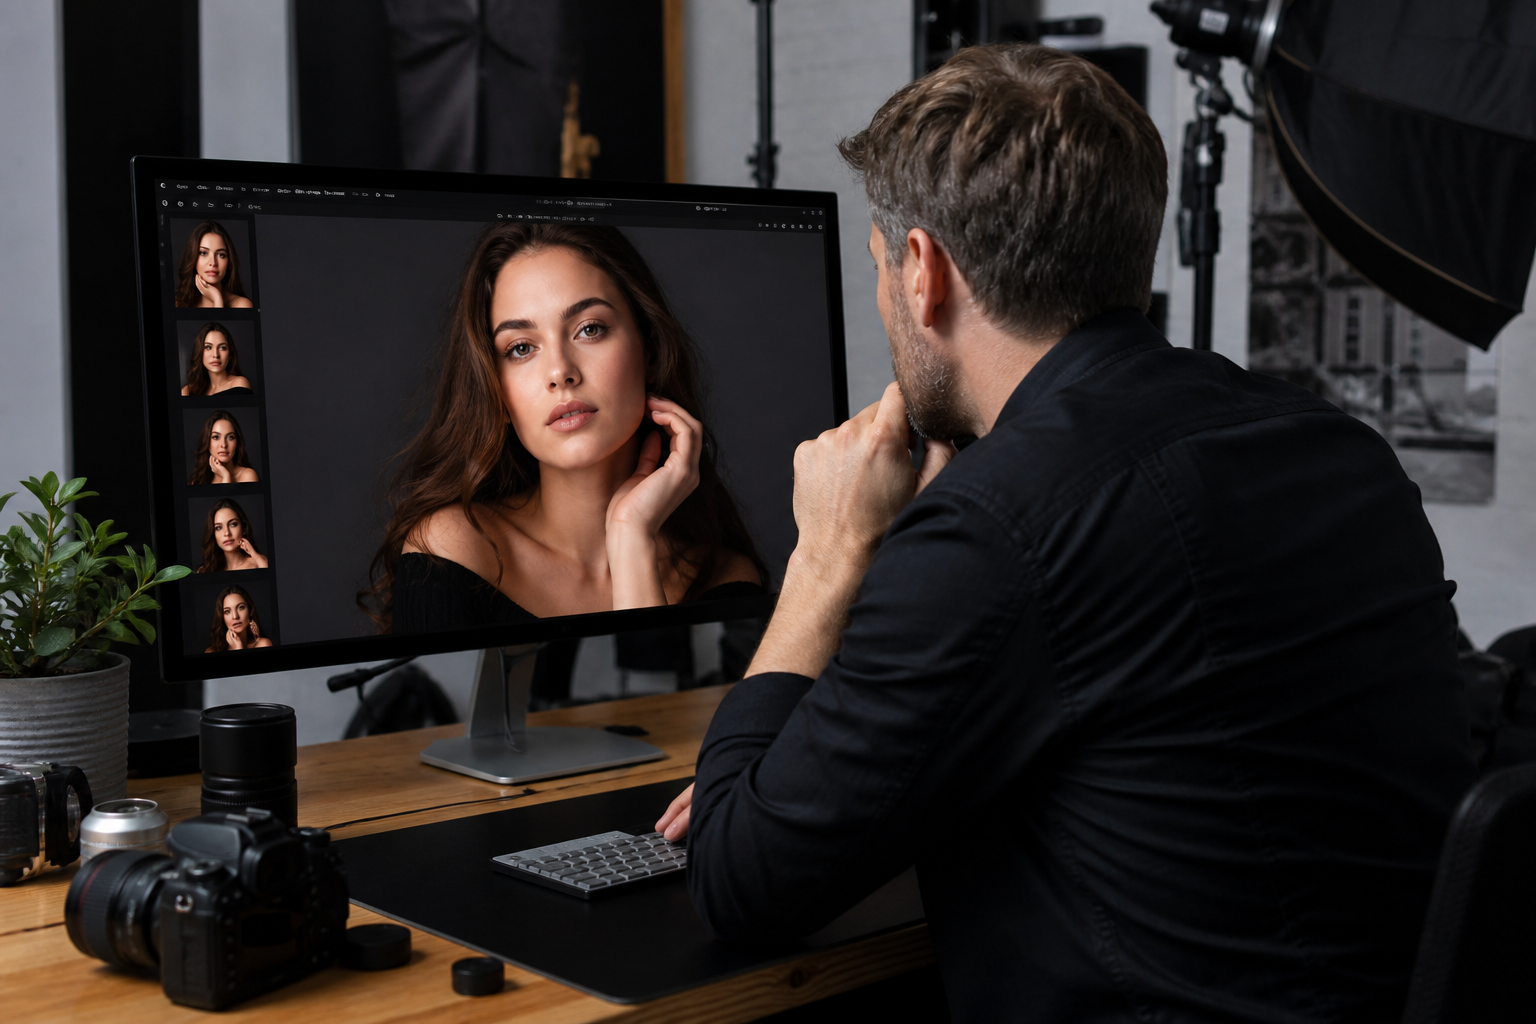
Retouch Faster
Photographers & retouchers
Let AI handle baseline clarity and noise so you keep time for craft and clients.
Weddings, events, and commercial jobs leave many “almost ready” frames. Pre-enhance clarity and noise first, then move into local retouch—delivery cycles get shorter.
- Batch pre-enhance selects
- Night / high-ISO denoise
- More time for local craft
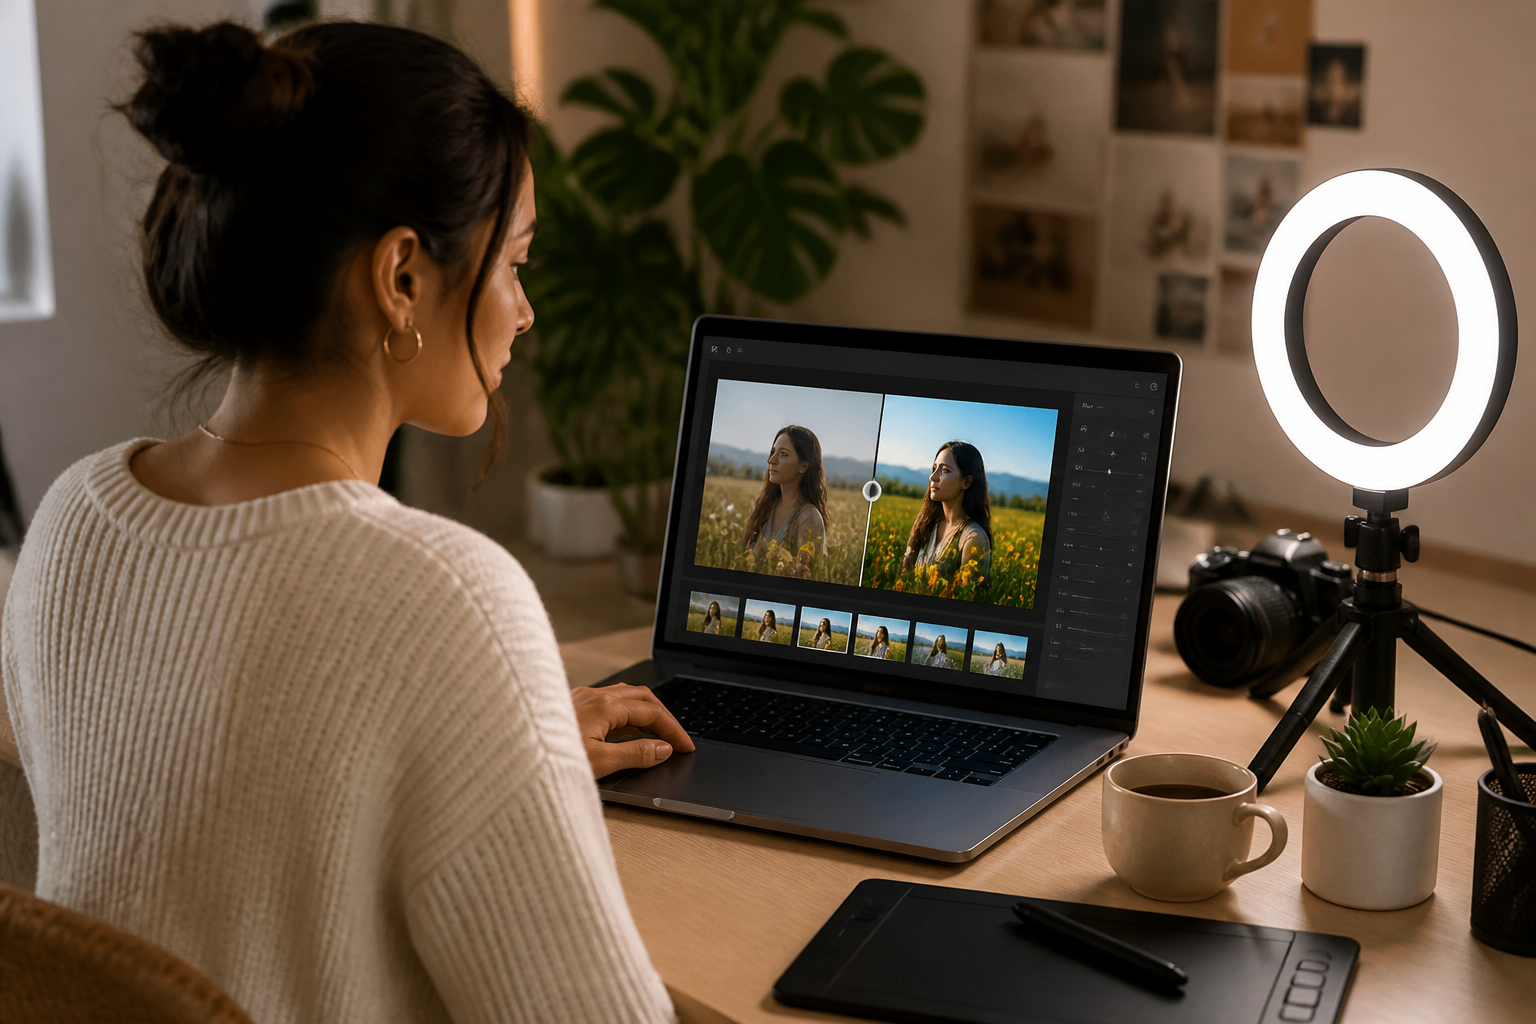
Post-ready Faster
Creators & social teams
Turn phone JPEGs into cover-ready clarity faster.
Trend content rewards speed. Enhance before crop and publish to reduce soft, gray, noisy drop-off—and keep series covers more consistent.
- Clearer short-video covers
- Consistent feed sharpness
- Fewer reshoot loops
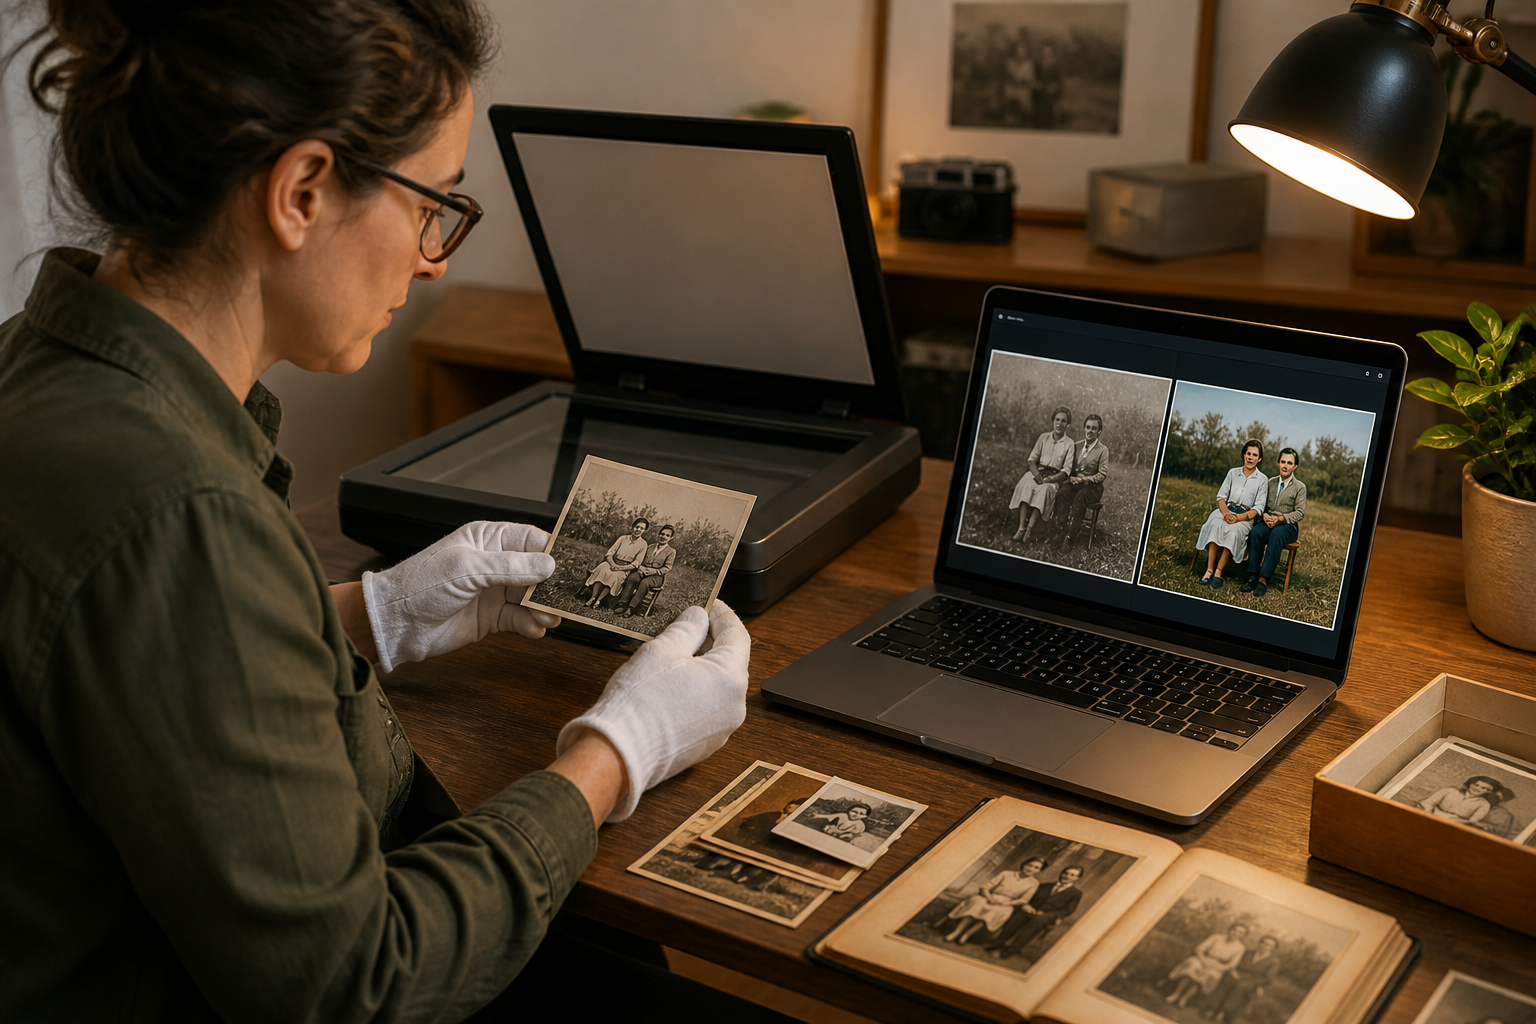
Restore Memories
Family archives & digitization
Make old prints and scans shareable—and printable—again.
Fade, scratches, and low-res scans are common. Pull usability back with enhance/restore first, then decide if deeper manual repair is worth it.
- Revive faded color
- Scratch & stain assist
- Home archive digitization
Listing Ready
E-commerce & product visuals
Listing heroes need instantly readable materials and edges.
Product shots often suffer from gear limits and compression. Stronger edges, texture, and color consistency can lift CTR and cut rework.
- Cleaner hero edges
- Readable material texture
- Faster launch polish
Detail Matters
Travel & landscape creators
Bring distant texture and sky separation back.
Handheld haze and compression steal landscape detail. Upscale and color enhance can raise finish quality without a reshoot.
- Distant texture recovery
- Richer tonal separation
- Ready for large display
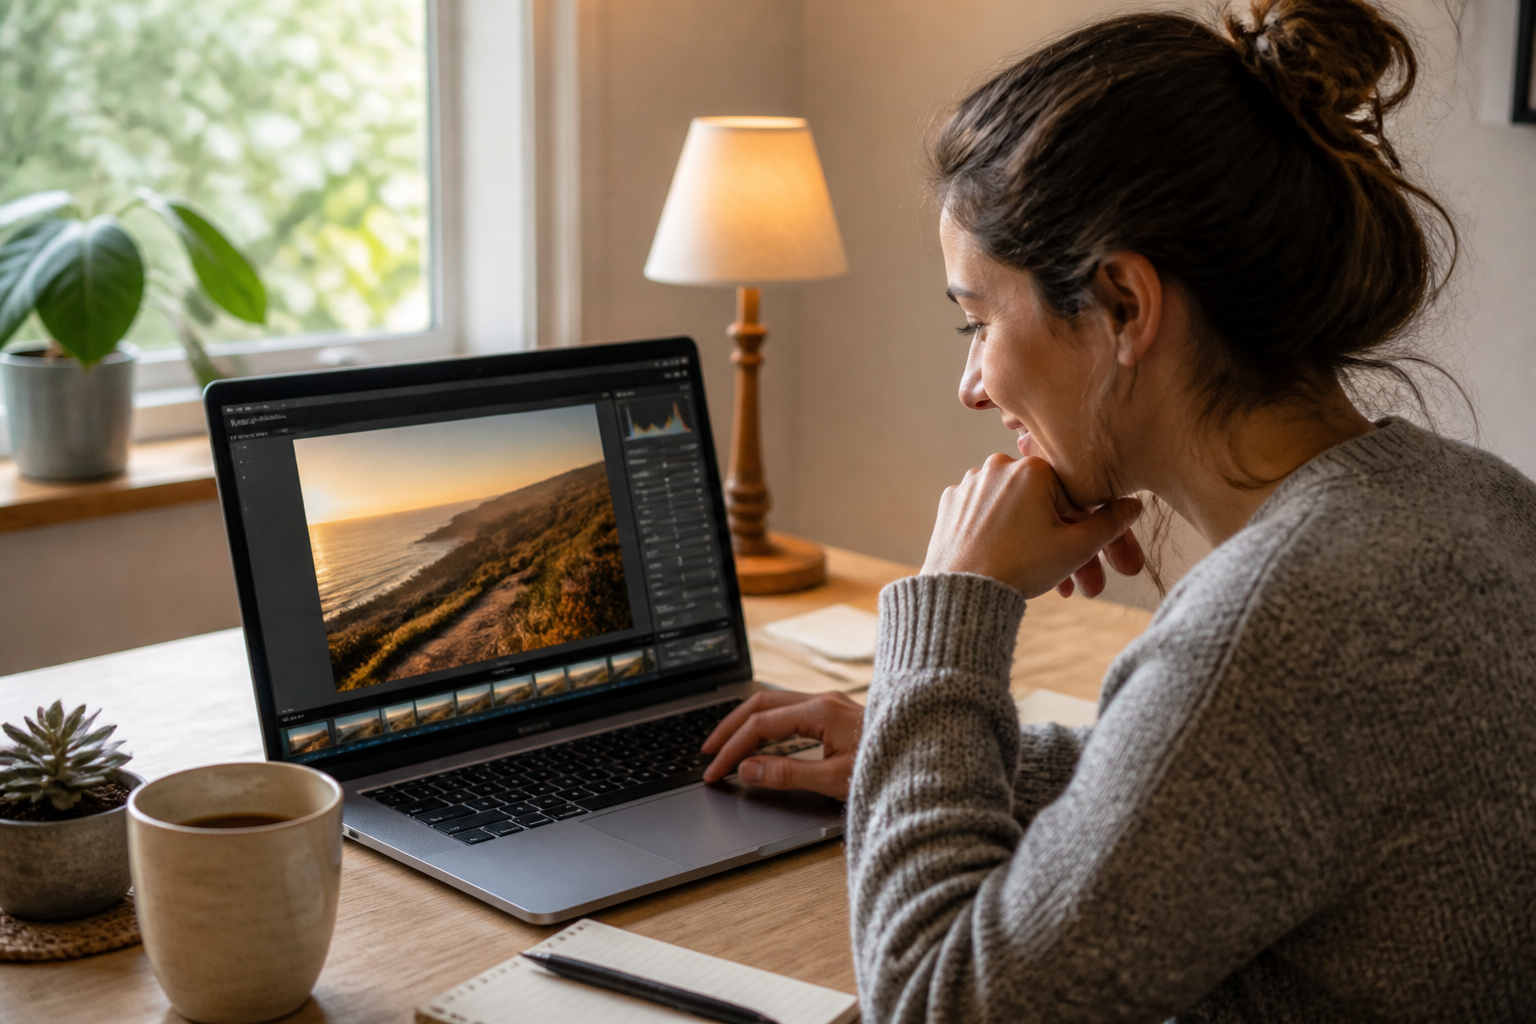
One Upload
Beginners & everyday users
No complex grading skills required to make phone photos postable.
Upload, pick an enhance direction, compare candidates. Fix clarity and cleanliness first—then grow your eye for finer taste over time.
- Upload and go
- Few knobs, real gains
- Everyday sharing friendly
💡 Tips
Practical tips for photo enhance
- Prefer originals that aren’t heavily recompressed—double compression caps recoverable detail.
- Optimize one primary goal per pass: upscale, then denoise, or color first then faces—easier to judge.
- After face enhance, check skin tone and teeth for naturalness—avoid fake white / fake sharpen.
- For product shots, verify brand colors and materials didn’t drift for the sake of sharpness.
- After night denoise, zoom into glow and signage to ensure text and bokeh weren’t smeared away.
🎨 Models
Recommended AI image models
Enhance jobs also benefit from model taste—detail handling and style bias differ across engines.
Midjourney V8.1
Strong stylistic range—great when you want atmospheric, artful enhance directions.
View guide →
GPT Image 2
More stable instruction following for constrained restore, local enhance, and text-heavy frames.
View guide →
Nano Banana
Cost-efficient speed for batch trials and shortlisting enhance settings.
View guide →
❓ FAQ
FAQ
Common questions about AI Photo Enhancer results, rights, and workflow.
What is an AI Photo Enhancer?
An AI Photo Enhancer improves existing photos—raising clarity, reducing noise, restoring color, and refining portrait detail. bikabika AI gathers mainstream models and entry points so you can start enhancing online faster.
What kinds of photos work best?
Portraits, products, landscapes, night shots, social JPEGs, and scanned archives are all common. Intact subjects and lightly compressed originals usually recover better; heavily cropped or twice-compressed files have less real detail to restore.
Can enhanced photos be used commercially?
Commercial rights depend on your ownership of the original and each model provider’s terms. Confirm you have rights to the source photo, then read Midjourney, OpenAI, and similar licenses before commercial use.
Will face enhance change someone’s identity?
Good enhance should preserve identity. Compare candidates and avoid heavy beauty settings; if drift appears, lower strength or retry with a more stable model.
How blurry is too blurry to fix?
Mild shake, compression, and soft focus usually improve a lot. Severe defocus or missing information can only look sharper—it can’t invent true lost detail.
How does this relate to Photoshop retouching?
AI enhance raises the quality floor quickly; Photoshop shines at local craft and compositing. In practice: enhance first, then finish in your editor of choice.
Will enhanced results look over-sharpened?
They can. Compare candidates and prefer versions with natural texture—no harsh “knife edges” or plastic highlights. If it’s too sharp, lower strength or retry with a more natural-looking model.
AI ENHANCE
Ready to enhance your next photo?
Upload an original, pick an enhance direction, and turn soft, noisy, or faded shots into publish-ready frames.