
AI Product Photo Workflow 2026: Generate, Cut Out, Enhance, Ship
A practical 2026 AI product photography workflow—generate heroes in the AI Image Generator, clean backdrops with Background Remover, sharpen with Photo Enhancer, and ship ecommerce-ready frames on bikabika AI.
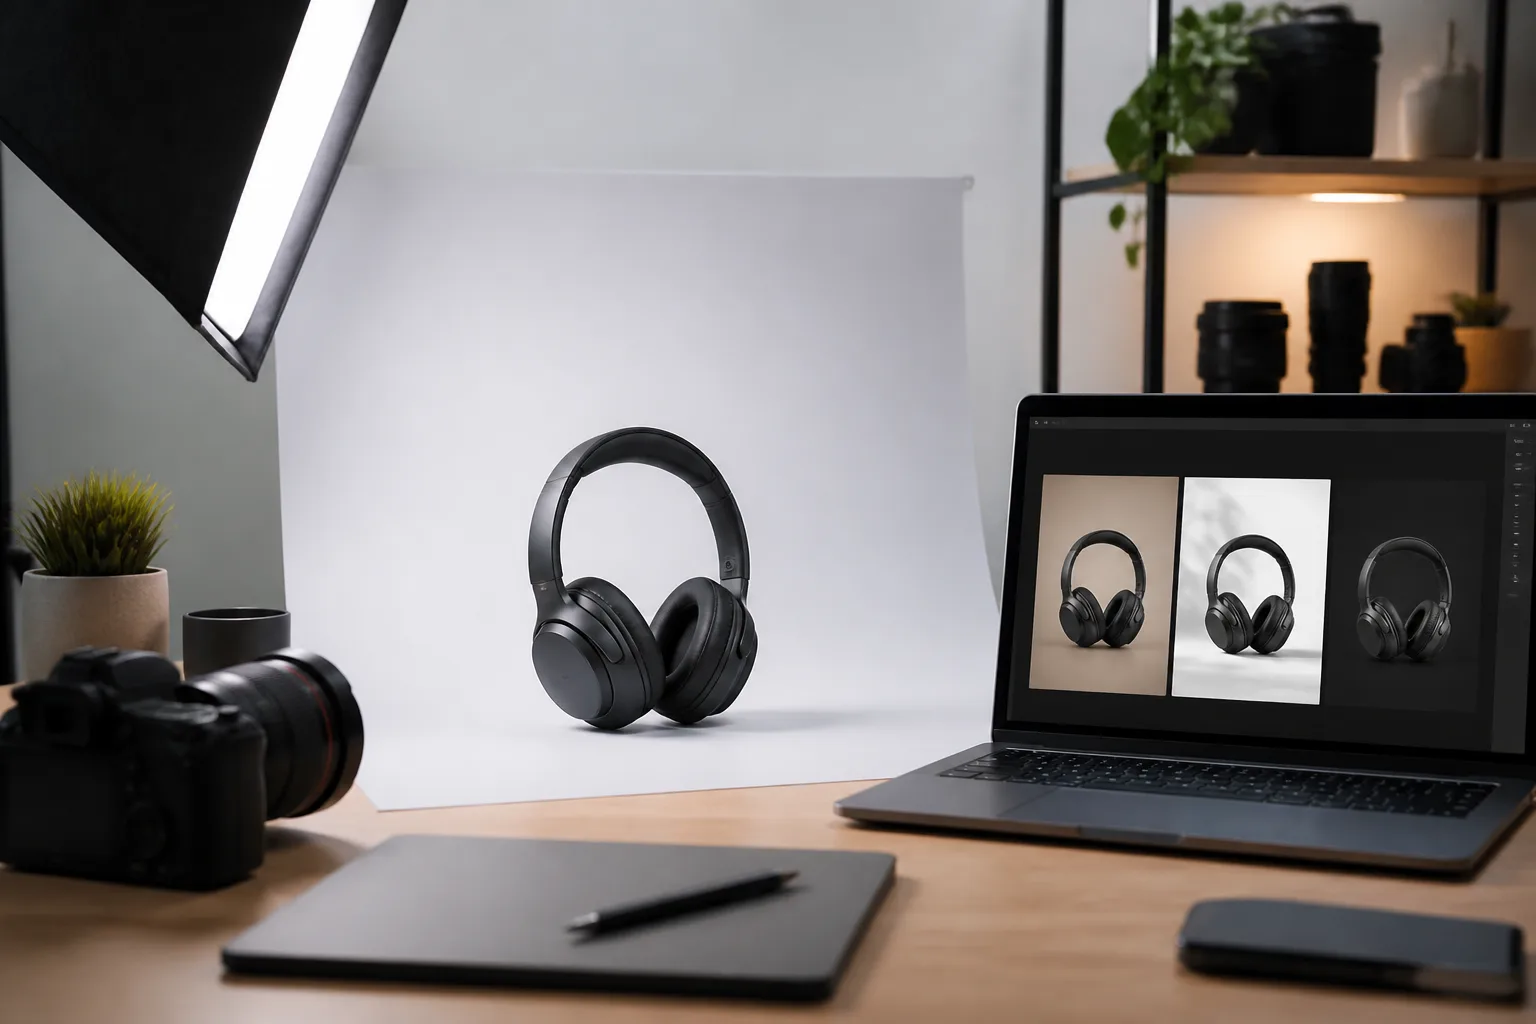
Ecommerce teams do not need another “best AI image generator” ranking. They need a product photo pipeline: one path from prompt to listing-ready assets—hero shots, lifestyle scenes, white-bg cutouts, and sharpened detail crops.
In 2026, that pipeline is rarely a single click. The winners treat AI like a studio assistant: generate candidates → shortlist → remove or swap backgrounds → enhance clarity → export for the marketplace crop.
This guide is a practical AI product photo workflow on bikabika AI. You will map tools, pick models by job, copy a reusable prompt skeleton, and know when to leave generation for cutout and enhance steps.
Why product photos need a workflow (not one lucky roll)
A pretty first generation still fails listing requirements when:
- Edges melt into the backdrop
- Packaging text is almost readable—but not
- Marketplace wants pure white / seamless / lifestyle, and you only have one mood
- Soft detail looks fine at thumbnail size and collapses at 100% zoom
Studio photography solved this with roles: photographer, retoucher, art director. AI product work needs the same split—generation, isolation, finish—even when one person runs every step.
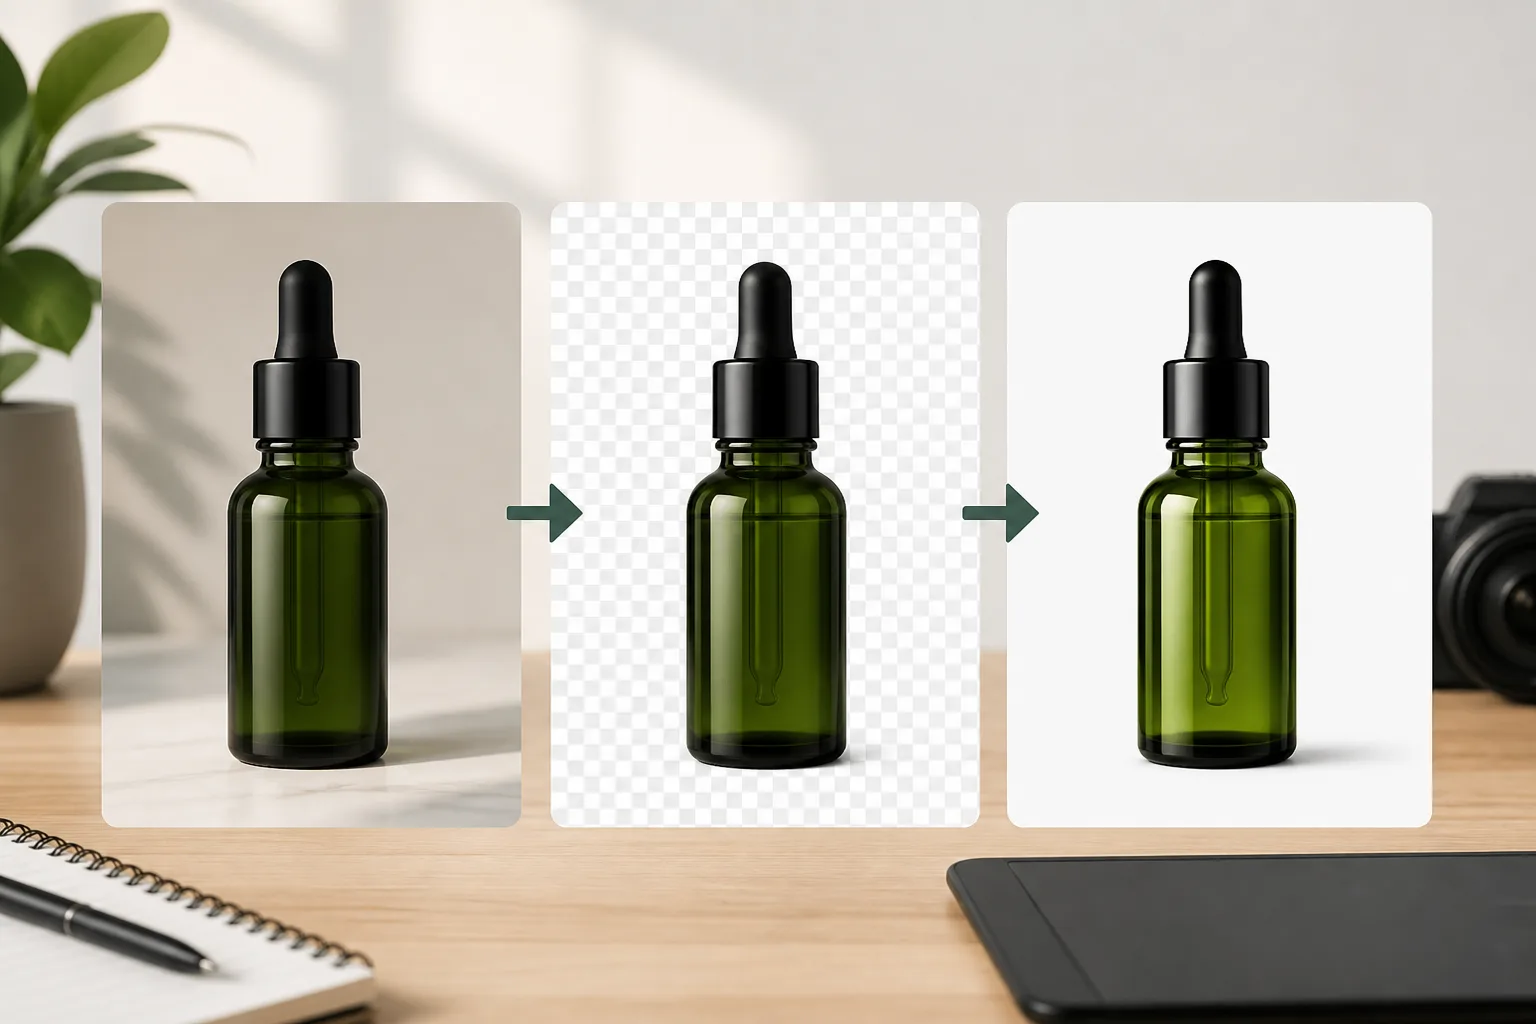
The three-tool product lane on bikabika AI
| Step | Tool | Job |
|---|---|---|
| 1. Generate | AI Image Generator or start generating online | Heroes, lifestyle, angle variants |
| 2. Isolate | AI Background Remover | Clean cutouts, marketplace white-bg, collage plates |
| 3. Finish | AI Photo Enhancer | Sharper materials, clearer labels, listing polish |
Optional later: headshot tools are for people, not SKUs. Anime tools are for 2D characters—not product stills. Keep product work in the photo lane.
For broader multi-model routing, see Best AI art generator: multi-model workflow 2026 and Midjourney vs GPT Image 2 vs Nano Banana.
Which model for which product job?
Inside the image generator, pick by constraint—not brand loyalty:
| Product need | Lean first | Why |
|---|---|---|
| Hard packaging rules, short on-pack text, exact colors | GPT Image 2 | Stronger instruction stickiness for commercial stills |
| Mood lifestyle / campaign energy around the SKU | Midjourney | Atmosphere and editorial light |
| Cheap angle / composition A/B before you lock a hero | Nano Banana Lite | Fast draft volume; promote winners |
Model pages and craft guides: GPT Image 2, Midjourney V8, Nano Banana, plus the GPT Image 2 prompt guide and Midjourney V8.2 prompt guide.
Acceptance checks before you leave generation
Shortlist only frames that pass:
- Silhouette — product shape is readable at thumbnail size
- Material honesty — metal, glass, fabric, plastic look believable at 100%
- Edge quality — hairline reflections and logos are not melted mush
- Negative space — room for price badges / marketplace overlays if needed
- One job per frame — hero, lifestyle, or detail crop—not all three jammed together
If text-on-pack is critical, keep phrases short and re-run spelling before changing light.
Step-by-step: AI product photo workflow (copy this)
Step 1 — Write a three-line product brief
- SKU + angle — e.g. matte black wireless headphones, 3/4 front
- Channel — Amazon main image, Shopify hero, Instagram lifestyle
- Acceptance — e.g. “one clean cutout candidate + one lifestyle candidate”
Step 2 — Generate in the image hub
Open the AI Image Generator (or workspace). Run the same skeleton in two lanes when unsure (Lite for volume, GPT Image 2 for control).
Hero / studio skeleton:
Clean studio product photo of [SKU], [material cues], on a seamless [backdrop color], soft gradient lighting, crisp edge highlights, centered composition with negative space for marketplace badges, commercial product photography, sharp focus on materials, no fingerprints, no melted logos, no watermark
Lifestyle skeleton:
Lifestyle product photo of [SKU] on a [surface] in a [scene], natural window light from the left, shallow depth of field, brand-friendly color palette, ecommerce campaign feel, product remains the clear subject, no cluttered background props fighting the silhouette
More product-ready lines live in 50 best AI image prompts for GPT Image 2 and 10 best AI image prompts 2026.
Step 3 — Shortlist with reject notes
Keep winners and why losers failed (soft edges, wrong color cast, unreadable label). Change only one layer per retry: light or angle or backdrop.
Step 4 — Cut out or clear the background
Take the best hero into the AI Background Remover when you need:
- Pure marketplace white / transparent PNG
- Collage plates for seasonal banners
- Clean isolation before a new scene composite
Do not force Midjourney to “invent” a perfect white-bg if cutout + listing template is faster and cleaner.
Step 5 — Enhance for listing sharpness
Run keepers through the AI Photo Enhancer when:
- Fabric weave / metal bevels look soft after generation
- Labels need a clarity bump without plastic oversharpening
- You are exporting a detail crop for zoom galleries
Enhance after shortlisting—not on every draft—so you do not polish lottery tickets.
Step 6 — Export for the real crop
Preview Amazon / Shopify / social safe zones. A beautiful wide render that loses the crown of a bottle in a square main image is still a fail.
Scenario playbooks
Amazon-style main image
Generate controlled studio heroes (GPT Image 2 first) → shortlist → Background Remover for white-bg → light Photo Enhancer pass → square crop check.
Shopify / brand site hero
Lifestyle Midjourney or GPT Image 2 mood → keep brand palette consistent → enhance detail → optional cutout for secondary modules.
Launch pack (many SKUs, one week)
Nano Banana Lite for angle volume → promote 1–2 winners per SKU to GPT Image 2 → shared cutout + enhance recipe so the catalog looks consistent.
Common product-photo mistakes with AI
- Judging only thumbnail beauty while edges fail at zoom
- Stacking empty “8k ultra detailed” tokens instead of naming materials and light
- Asking for a paragraph of on-pack text in one shot
- Skipping cutout tools and fighting the generator for perfect white forever
- Enhancing every draft instead of enhancing shortlisted winners
- Mixing anime/photoreal cues on commercial SKUs
FAQ
Can AI replace a full product photoshoot?
For many digital-first listings and concept packs, AI can cover heroes and lifestyle drafts. Regulated packaging claims, exact color matching, and legal pack copy still need human QA—and sometimes a real shoot.
Should I generate white-bg directly or use Background Remover?
Both work. When edges are messy or you need transparent assets for design systems, generate a clean hero first, then finish in the AI Background Remover.
Which model is best for AI product photography?
Constraint-heavy commercial stills often favor GPT Image 2; lifestyle mood often favors Midjourney; draft volume often favors Nano Banana Lite. Compare on your SKU—see the model comparison guide.
Where does Photo Enhancer fit?
After you have a keeper. Use the AI Photo Enhancer to lift material clarity and listing sharpness—not to rescue a bad silhouette.
Next step
Pick one SKU today. Run the six-step workflow: generate → shortlist → cut out → enhance → crop check.
Start in the AI Image Generator or start generating online, then finish with the AI Background Remover and AI Photo Enhancer so the listing gets a pipeline—not another random pretty frame.