
2026 AI उत्पाद फोटो वर्कफ़्लो: जनरेट, कटआउट, एन्हांस, लिस्टिंग तैयार
2026 की व्यावहारिक AI उत्पाद फोटोग्राफी वर्कफ़्लो—AI Image Generator में hero बनाएँ, AI Background Remover से पृष्ठभूमि साफ़ करें, AI Photo Enhancer से तीक्ष्ण करें, और Flipkart/Amazon India के लिए तैयार फ्रेम bikabika AI पर तैयार करें।
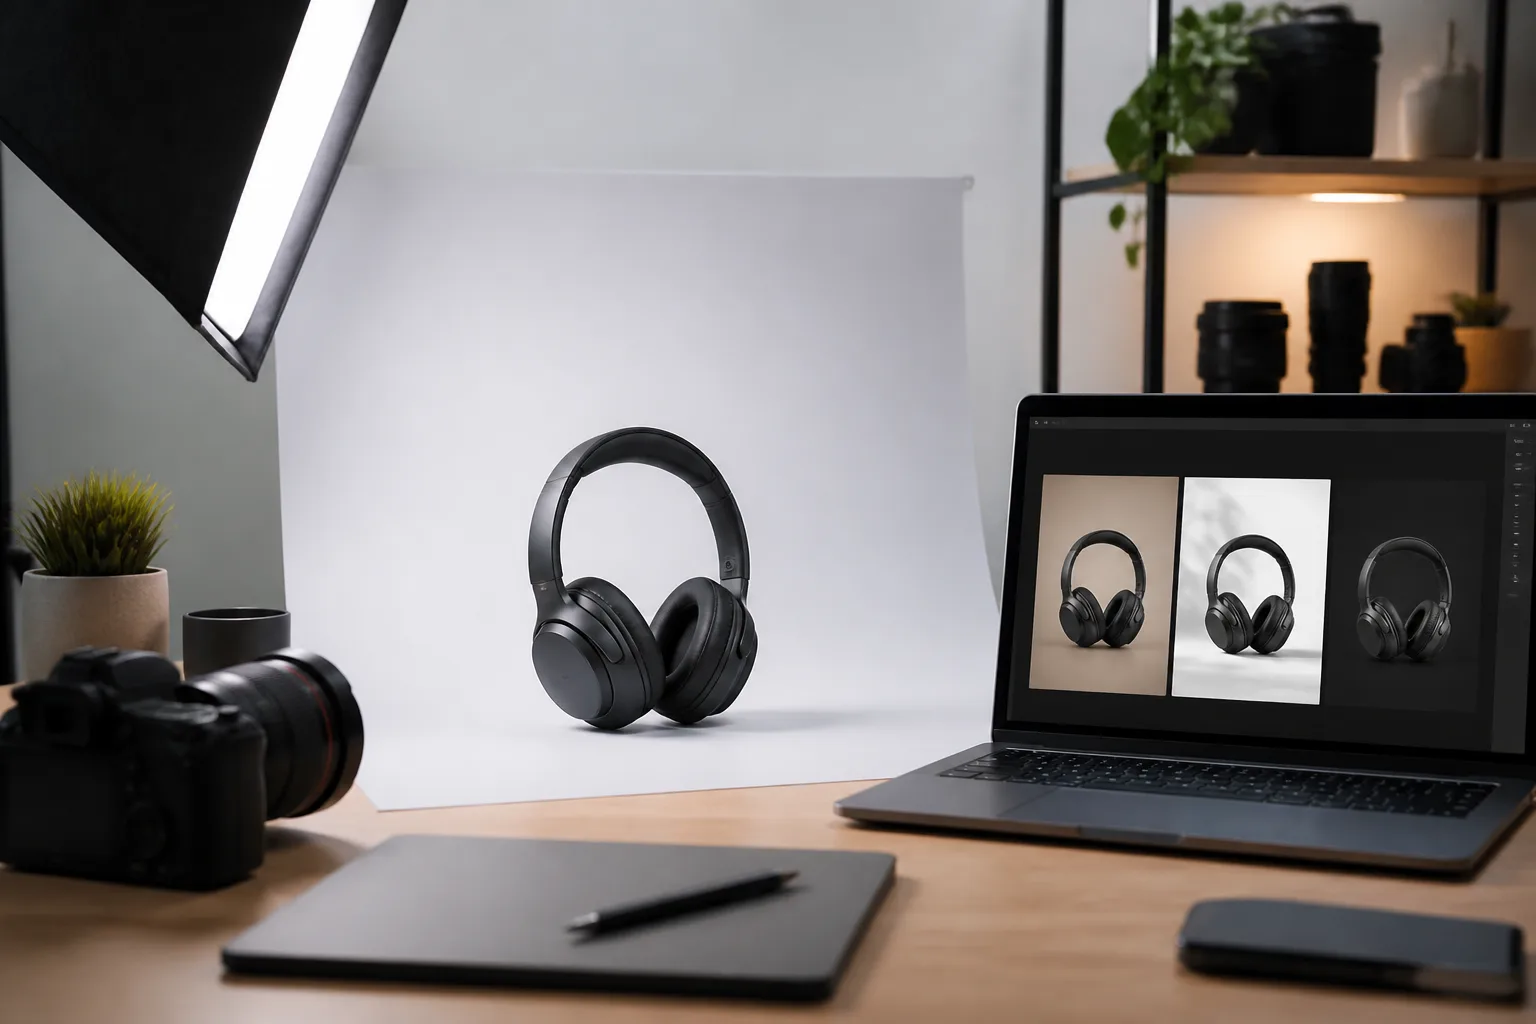
भारत में छोटे ऑनलाइन विक्रेता और D2C ब्रांड अक्सर «सर्वश्रेष्ठ AI इमेज जनरेटर» की सूची देखते हैं—लेकिन उन्हें वास्तव में उत्पाद फोटो पाइपलाइन चाहिए: prompt से लेकर लिस्टिंग-तैयार asset तक—hero शॉट, lifestyle दृश्य, सफेद पृष्ठभूमि cutout, और zoom पर भी साफ़ detail crop।
2026 में जो टीमें आगे हैं, वे एक क्लिक पर भरोसा नहीं करतीं। AI को स्टूडियो सहायक की तरह चलाया जाता है: उम्मीदवार जनरेट करें → शॉर्टलिस्ट → पृष्ठभूमि हटाएँ या बदलें → स्पष्टता बढ़ाएँ → marketplace crop के अनुसार export।
यह bikabika AI पर एक व्यावहारिक AI उत्पाद फोटो वर्कफ़्लो है। आप टूल मैप करेंगे, काम के अनुसार model चुनेंगे, दोबारा इस्तेमाल होने वाला prompt ढाँचा कॉपी करेंगे, और जानेंगे कि generation छोड़कर cutout और enhance कब करें।
उत्पाद फोटो को वर्कफ़्लो क्यों चाहिए (एक भाग्यशाली roll नहीं)
पहली generation सुंदर दिखे, फिर भी listing fail हो सकती है जब:
- किनारे पृष्ठभूमि में पिघल जाते हैं
- पैकेजिंग टेक्स्ट लगभग पढ़ा जा सकता है—पर नहीं
- Flipkart/Amazon India/Meesho को शुद्ध सफेद / seamless / lifestyle चाहिए, आपके पास एक mood है
- thumbnail पर ठीक detail, 100% zoom पर गिर जाता है
पारंपरिक स्टूडियो में भूमिकाएँ थीं: photographer, retoucher, art director। AI उत्पाद काम में भी generation, isolation, finishing की यही बाँट जरूरी है—चाहे हर कदम एक ही व्यक्ति चलाए।
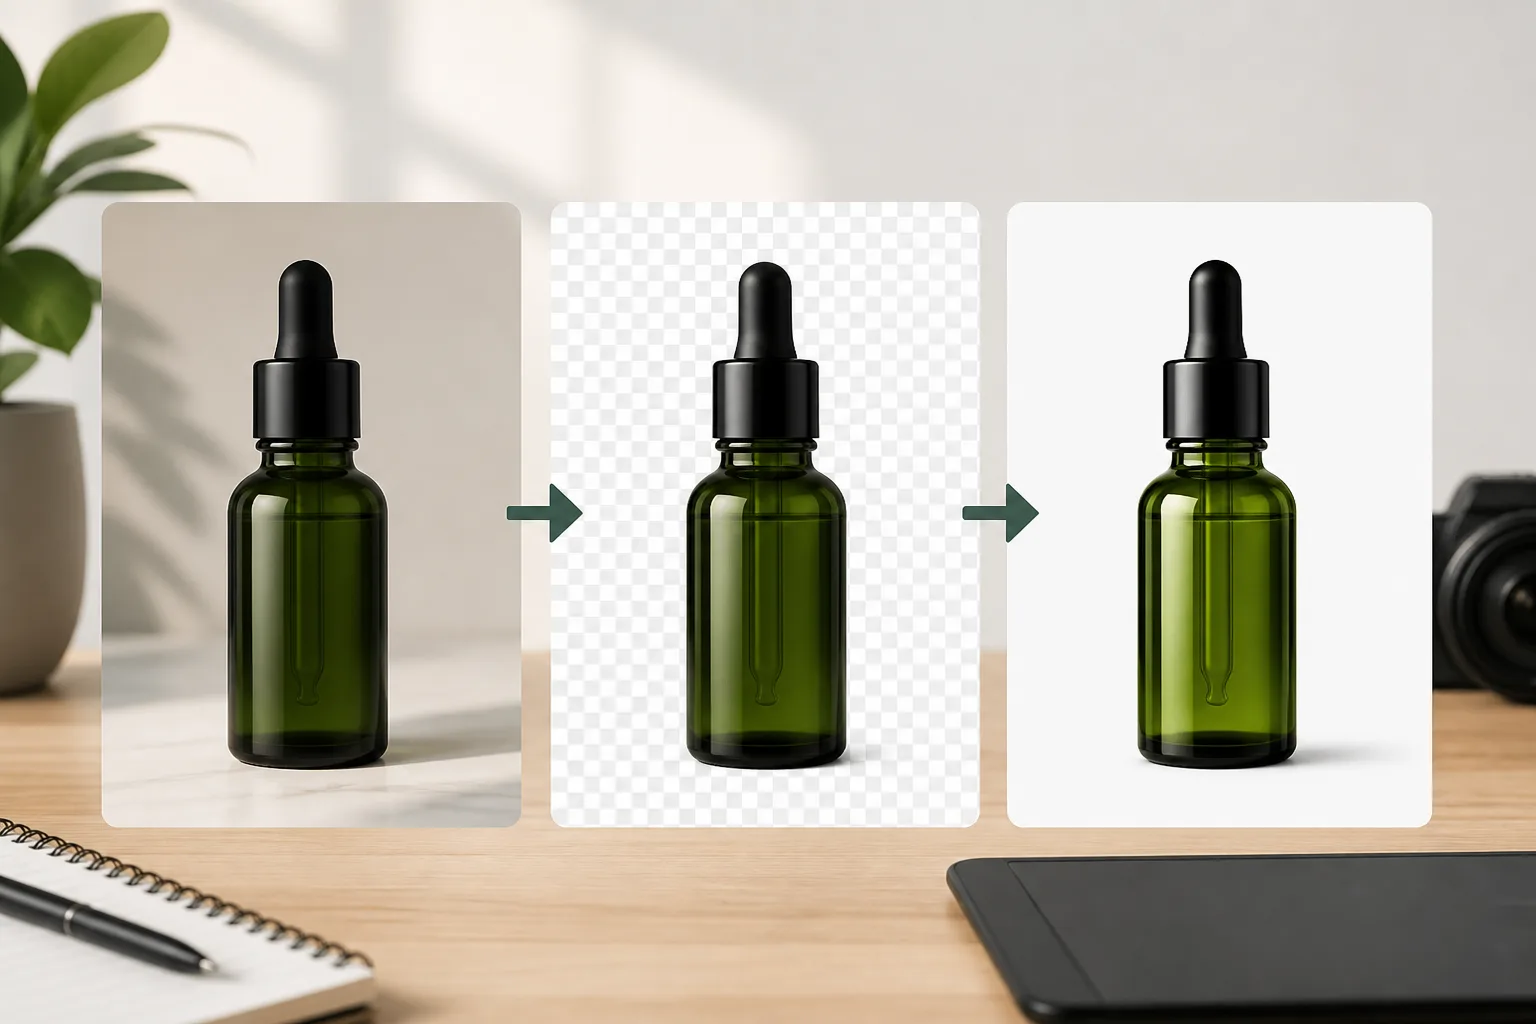
bikabika AI पर तीन-टूल उत्पाद lane
| चरण | टूल | काम |
|---|---|---|
| 1. जनरेट | AI Image Generator या ऑनलाइन जनरेट शुरू करें | Hero, lifestyle, कोण वेरिएंट |
| 2. अलग करें | AI Background Remover | साफ cutout, marketplace white-bg, collage plate |
| 3. अंतिम | AI Photo Enhancer | तेज material, स्पष्ट label, listing polish |
बाद में वैकल्पिक: headshot टूल लोगों के लिए, SKU के लिए नहीं। Anime टूल 2D characters के लिए—उत्पाद stills के लिए नहीं। उत्पाद काम photo lane में रखें।
व्यापक multi-model routing के लिए 2026 का सर्वश्रेष्ठ AI आर्ट जनरेटर: बहु-मॉडल वर्कफ़्लो और Midjourney vs GPT Image 2 vs Nano Banana देखें।
कौन सा model किस उत्पाद काम के लिए?
Image generator के अंदर brand loyalty से नहीं, constraint से चुनें:
| उत्पाद जरूरत | पहले झुकें | क्यों |
|---|---|---|
| कठोर पैकेजिंग नियम, छोटा on-pack टेक्स्ट, exact रंग | GPT Image 2 | व्यावसायिक stills में मजबूत instruction stickiness |
| SKU के आसपास lifestyle mood / campaign ऊर्जा | Midjourney | वातावरण और editorial प्रकाश |
| Hero लॉक करने से पहले सस्ता कोण / composition A/B | Nano Banana Lite | तेज draft volume; winners promote करें |
Model pages और craft guides: GPT Image 2, Midjourney V8, Nano Banana, साथ GPT Image 2 prompt गाइड और Midjourney V8.2 prompt गाइड।
Generation छोड़ने से पहले acceptance checks
केवल वे frames शॉर्टलिस्ट करें जो pass हों:
- Silhouette — thumbnail size पर उत्पाद आकार पढ़ा जा सके
- Material honesty — धातु, काँच, कपड़ा, प्लास्टिक 100% पर विश्वसनीय
- Edge quality — पतली reflections और logos पिघले न हों
- Negative space — price badge / marketplace overlay के लिए जगह
- प्रति frame एक काम — hero, lifestyle, या detail crop—तीनों एक साथ नहीं
on-pack टेक्स्ट महत्वपूर्ण हो तो वाक्य छोटे रखें और प्रकाश बदलने से पहले spelling फिर चलाएँ।
चरण दर चरण: AI उत्पाद फोटो वर्कफ़्लो (यह कॉपी करें)
चरण 1 — तीन-पंक्ति उत्पाद brief लिखें
- SKU + कोण — उदा. matte black wireless headphones, 3/4 front
- चैनल — Flipkart main image, brand site hero, Instagram lifestyle
- Acceptance — उदा. «एक साफ cutout candidate + एक lifestyle candidate»
चरण 2 — image hub में जनरेट करें
AI Image Generator (या workspace) खोलें। अनिश्चित हों तो एक ही ढाँचा दो lanes में चलाएँ (volume के लिए Lite, control के लिए GPT Image 2)।
Hero / studio ढाँचा:
Clean studio product photo of [SKU], [material cues], on a seamless [backdrop color], soft gradient lighting, crisp edge highlights, centered composition with negative space for marketplace badges, commercial product photography, sharp focus on materials, no fingerprints, no melted logos, no watermark
Lifestyle ढाँचा:
Lifestyle product photo of [SKU] on a [surface] in a [scene], natural window light from the left, shallow depth of field, brand-friendly color palette, ecommerce campaign feel, product remains the clear subject, no cluttered background props fighting the silhouette
और उत्पाद-तैयार lines GPT Image 2 के लिए 50 सर्वश्रेष्ठ AI इमेज prompts और 2026 के 10 सर्वश्रेष्ठ AI इमेज prompts में हैं।
चरण 3 — reject notes के साथ शॉर्टलिस्ट
winners और हारने वालों के fail कारण रखें (soft edges, गलत color cast, unreadable label)। प्रति retry केवल एक layer बदलें: प्रकाश या कोण या backdrop।
चरण 4 — cutout या पृष्ठभूमि साफ़ करें
सर्वश्रेष्ठ hero को AI Background Remover में लें जब चाहिए:
- शुद्ध marketplace white / transparent PNG
- मौसमी banner collage plates
- नए scene composite से पहले साफ isolation
cutout + listing template तेज़ और साफ़ हो तो Midjourney से perfect white-bg «बनवाने» की जिद न करें।
चरण 5 — listing sharpness के लिए enhance
keepers को AI Photo Enhancer से गुजारें जब:
- generation के बाद fabric weave / metal bevels soft लगें
- labels को plastic oversharpening के बिना clarity bump चाहिए
- zoom galleries के लिए detail crop export कर रहे हों
शॉर्टलिस्ट के बाद enhance करें—हर draft पर नहीं—ताकि lottery tickets polish न हों।
चरण 6 — वास्तविक crop के लिए export
Flipkart / Amazon India / social safe zones preview करें। square main image में bottle cap खो देने वाला सुंदर wide render भी fail है।
परिदृश्य playbook
Marketplace-style main image
नियंत्रित studio heroes जनरेट (पहले GPT Image 2) → शॉर्टलिस्ट → white-bg के लिए AI Background Remover → हल्का AI Photo Enhancer pass → square crop check।
Brand site hero
Lifestyle Midjourney या GPT Image 2 mood → brand palette consistent रखें → detail enhance → secondary modules के लिए वैकल्पिक cutout।
Launch pack (कई SKU, एक सप्ताह)
कोण volume के लिए Nano Banana Lite → प्रति SKU 1–2 winners GPT Image 2 पर promote → catalog consistent दिखे shared cutout + enhance recipe।
AI उत्पाद फोटो में आम गलतियाँ
- केवल thumbnail सुंदरता judge करना जबकि edges zoom पर fail
- material और प्रकाश बताने की बजाय खाली «8k ultra detailed» tokens जोड़ना
- एक shot में on-pack paragraph टेक्स्ट माँगना
- cutout टूल छोड़कर हमेशा perfect white के लिए generator से लड़ना
- शॉर्टलिस्ट winners की बजाय हर draft enhance करना
- व्यावसायिक SKU पर anime/photoreal cues मिलाना
FAQ
क्या AI पूरा उत्पाद photoshoot replace कर सकता है?
कई digital-first listings और concept packs के लिए AI heroes और lifestyle drafts cover कर सकता है। regulated packaging claims, exact color matching, और legal pack copy अभी भी human QA—and कभी-कभी real shoot—चाहते हैं।
सीधे white-bg generate करूँ या Background Remover?
दोनों चलते हैं। edges messy हों या design systems के लिए transparent assets चाहिए, पहले साफ hero generate करें, फिर AI Background Remover में finish करें।
AI उत्पाद फोटोग्राफी के लिए कौन सा model सबसे अच्छा?
constraint-heavy commercial stills अक्सर GPT Image 2; lifestyle mood अक्सर Midjourney; draft volume अक्सर Nano Banana Lite। अपने SKU पर compare करें—model comparison गाइड देखें।
Photo Enhancer कहाँ fit होता है?
keeper मिलने के बाद। AI Photo Enhancer material clarity और listing sharpness बढ़ाने के लिए—बुरी silhouette बचाने के लिए नहीं।
अगला कदम
आज एक SKU चुनें। छह-चरण वर्कफ़्लो चलाएँ: generate → शॉर्टलिस्ट → cutout → enhance → crop check।
AI Image Generator या ऑनलाइन जनरेट शुरू करें से शुरू करें, फिर AI Background Remover और AI Photo Enhancer से finish करें—listing को pipeline मिले, एक और random pretty frame नहीं।