
How to Create 2D Anime Images with AI Anime Generator
A practical 2026 workflow for 2D anime art on bikabika AI: open AI Anime Generator, lock character identity and one style lane, reuse a prompt skeleton, iterate with a clear shortlist checklist, and keep outputs on-model.
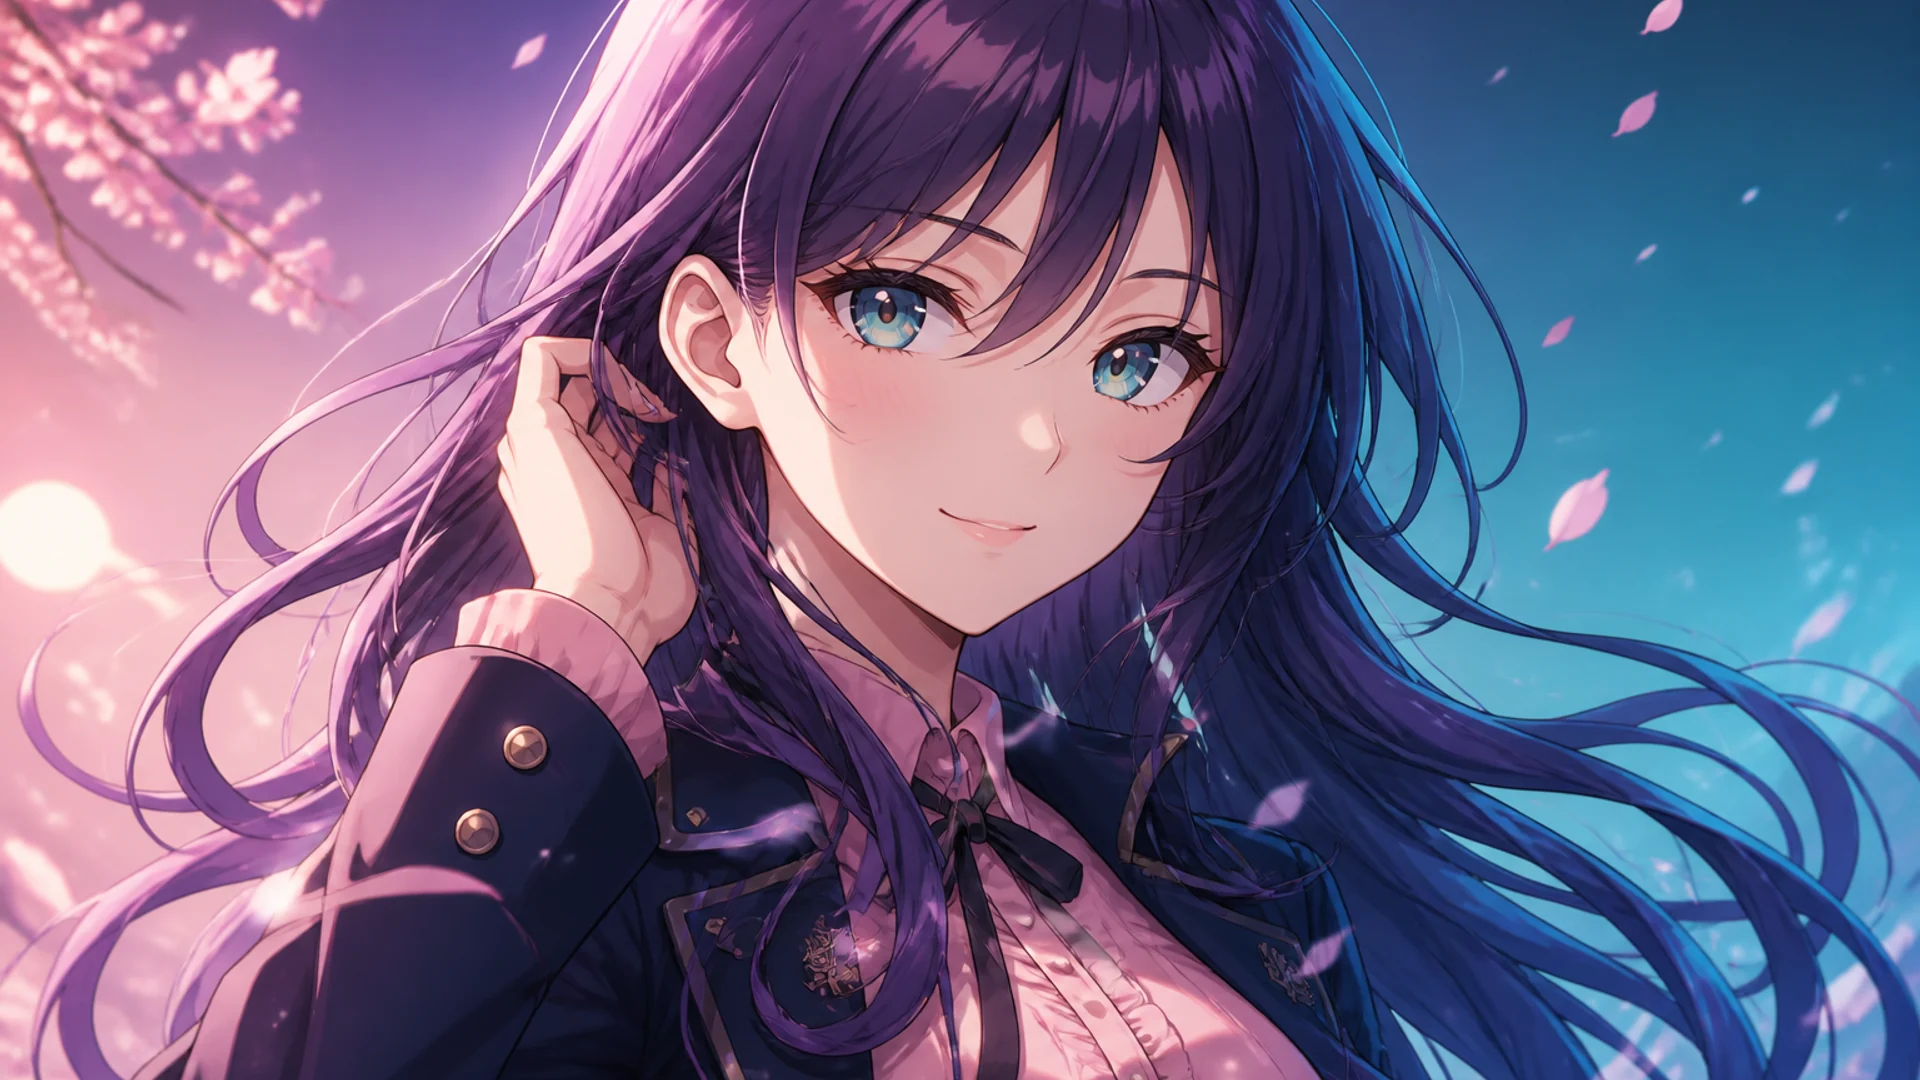
If you want images that read as 2D anime—not soft photoreal cosplay—two failure modes show up constantly: the style drifts into uncanny skin, and every new pose looks like a cousin. In 2026, the calmer path is not hopping models at random. Start inside the on-site AI Anime Generator, stay in an anime-first lane, and reuse one prompt skeleton while changing only a single layer each round.
This is a field workflow, not a slogan list. You’ll move in order: define the deliverable → open AI Anime Generator → lock identity and style → run starter prompts → shortlist with a checklist → pull in the character tool when consistency becomes the job. Example prompts stay in English because style tags tend to hold more reliably that way.
Decide the deliverable before you generate
One sentence should pin what you’re shipping. Different jobs change framing, style, and negatives:
| Deliverable | Usually needs | Prioritize in the prompt |
|---|---|---|
| OC / half-body character sheet | Hair, eyes, outfit markers | Half-body crop + one style + clean backdrop |
| Expression / costume variants | Same identity across frames | Freeze identity; change only expression or outfit |
| Anime scene illustration | Character–environment relationship | Mid/wide framing + light + scene keywords |
| Music cover / poster hero | Atmosphere, negative space, title room | Poster crop + strong light + “no clutter” |
If you actually need ID-style photoreal portraits, use the AI Headshot Generator. Product stills and commercial photoreal belong in the AI Image Generator. This article covers 2D anime images only.
Step 1: Open AI Anime Generator and stay in the anime lane
Open the AI Anime Generator on bikabika AI. The practical value is simple: portraits, scenes, posters, and style switches live in one anime-first pipeline, so you pay less “style drift tax” than you would in a photoreal-first toolbox.
Before the first run, confirm three things:
- The goal is anime, not photoreal. Don’t stack
photorealistic skinwithcel shadingin the same line. - One primary job this round. Half-body first—don’t ask for full-body, a nine-grid, and poster type in one prompt.
- Negatives are ready. At minimum: no photoreal skin, no extra fingers, no watermark, no muddy shadows.
Step 2: Write prompts as Identity → Framing → Style → Light → Clarity → Negatives
Use this order for most single-frame 2D anime jobs:
- Identity — age feel, hair, eyes, outfit markers (scarf color, badge, hair length)
- Framing — half-body / full-body / close-up / scene mid-shot
- Style — pick one lane (cel or painterly or soft Japanese illustration)
- Light & background — soft studio, neon night city, simple gradient
- Clarity —
clean line art,high clarity,no muddy shadows - Hard negatives —
no photoreal skin,no extra fingers,no watermark
Rule: change one layer per round. If you rewrite hair, light, and style together, you won’t know what helped.
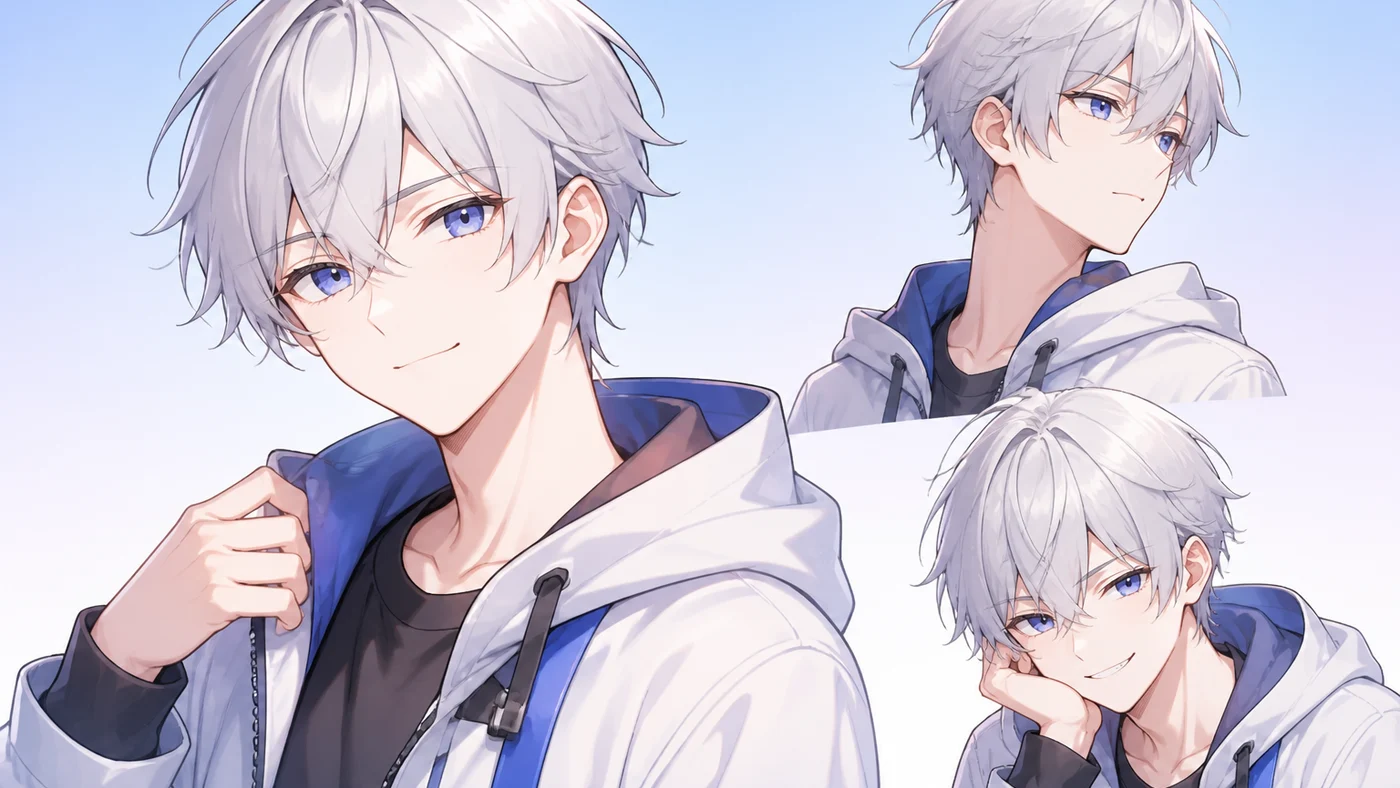
Step 3: Lock one 2D style direction (don’t name-drop three studios)
Mood references are fine. Three studio name-drops in one prompt usually produce mashups. Prefer a technical lane:
| Style lane | Best for | Example tags (keep in English) |
|---|---|---|
| Soft cel shading | Clear sheets, expression sets | soft cel shading, clean line art |
| Painterly anime | Cover mood, atmospheric art | painterly anime, soft brush texture |
| Modern Japanese illustration | Soft commercial anime looks | modern Japanese illustration, pastel palette |
| Cyber neon anime | Night-city key visuals | cyberpunk anime, neon rim light |
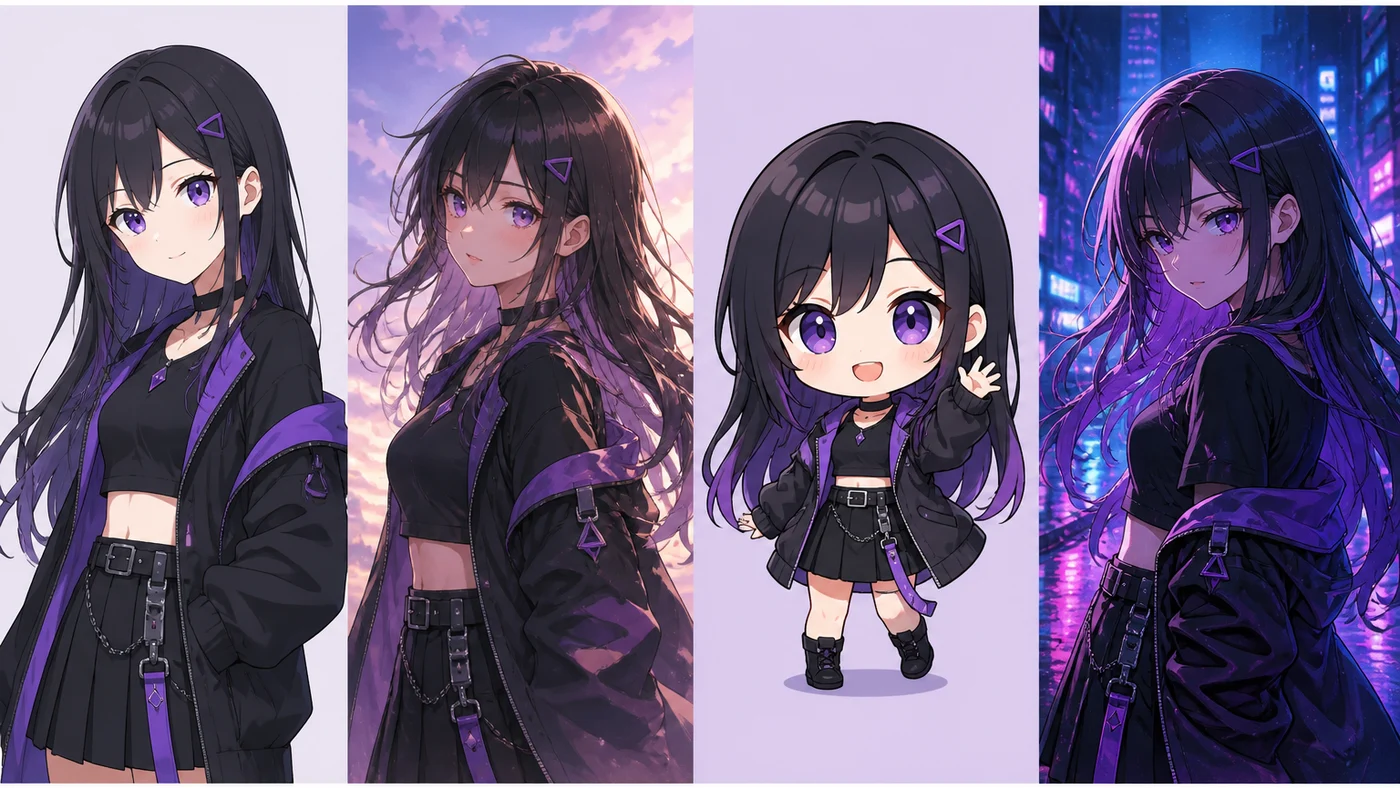
Step 4: Paste a starter skeleton into AI Anime Generator
The examples below are ready for the AI Anime Generator. Keep the prompt body in English; annotate intent in your notes however you like.
Example A — half-body OC (soft cel)
Anime-style half-body illustration of a young woman with silver hair and blue eyes, soft pastel color palette, clean line art, soft cel shading, gentle eye highlights, light breeze in hair, simple gradient background, modern Japanese illustration look, high clarity, no muddy shadows, no photoreal skin, no extra fingers, no watermarkExample B — neon city anime hero
Anime character standing on a rainy neon city street at night, half-body, cyan and magenta rim light, cyberpunk anime style, clean line art, dramatic reflections on wet asphalt, high clarity, cinematic composition, no photoreal skin, no blurry face, no watermarkExample C — costume variant (one layer only)
Keep Example A’s identity and style fixed; swap only the outfit clause, for example:
... wearing a dark school-uniform-inspired outfit with a soft cyan scarf ...Next round, change only the scarf to red. That’s how you build notes on which layer actually moved quality.
Step 5: Shortlist with a checklist, not first-glance sparkle
After 4–8 images, review like production—not like a mood board:
- Same person when zoomed? Hair, eyes, silhouette still hold.
- Still reads as 2D anime? No drift into plastic photoreal skin.
- Clean lines and shadows? Muddy shade and soft mushy faces usually fail.
- Framing matches the brief? Half-body crushed into a headshot, or poster negative space gone, counts as a miss.
- Structural damage? Extra fingers, twisted accessories, unreadable prop text.
Write one line for “why kept” and one for “why rejected.” Next prompt edits the notes, not the vibe.
Step 6: When sameness matters, add the character consistency path
When the job shifts from “one strong frame” to “three expressions and a turnaround that stay on-model,” lock identity in the AI Character Generator—hair, eyes, outfit markers—then return to AI Anime Generator for style and scene polish.
A clean split of labor:
- AI Anime Generator — anime style, scenes, poster energy, fast style trials
- AI Character Generator — cross-frame identity, variants without face swaps
- AI Image Generator — only when you need broader non-anime model comparison
Mistakes that quietly burn generations
- Stacking three studio names until the design sheet turns to mush
- Mixing photoreal and anime cues so skin and light fight each other
- Judging tools only on first-roll beauty, never on pose changes
- Keeping no notes—no winners, no reject reasons, only another lottery
- Using the wrong entry—ID headshots forced through anime, or anime covers forced through a headshot tool
A minimum practice you can finish today
- Open the AI Anime Generator.
- Run Example A for four images; shortlist with the five checks; keep one winner.
- Change only the outfit layer; run four more; note which pass was steadier.
- For expression sheets, lock the OC in the AI Character Generator, then return for anime polish.
2D anime images aren’t mysterious: name the deliverable, pick one style, write the prompt in layers, and shortlist with notes. Open the AI Anime Generator to stay in the right lane—or start generating online when you want a multi-model bake-off. The gap between average and reliable work is whether you change one layer at a time—and remember why that one frame survived.
Related anime guides
- Best AI anime generators 2026 — model pick by job
- Anime art & manga illustrations — cover and magazine energy
- Studio Ghibli style — soft pastoral frames
- Fan art & doujinshi — series and badge work