
How to Generate Professional AI Headshots in 2026
A practical guide to turning selfies into publish-ready portraits—workflows, prompts, style choices, and how to compare Midjourney, GPT Image, and more.
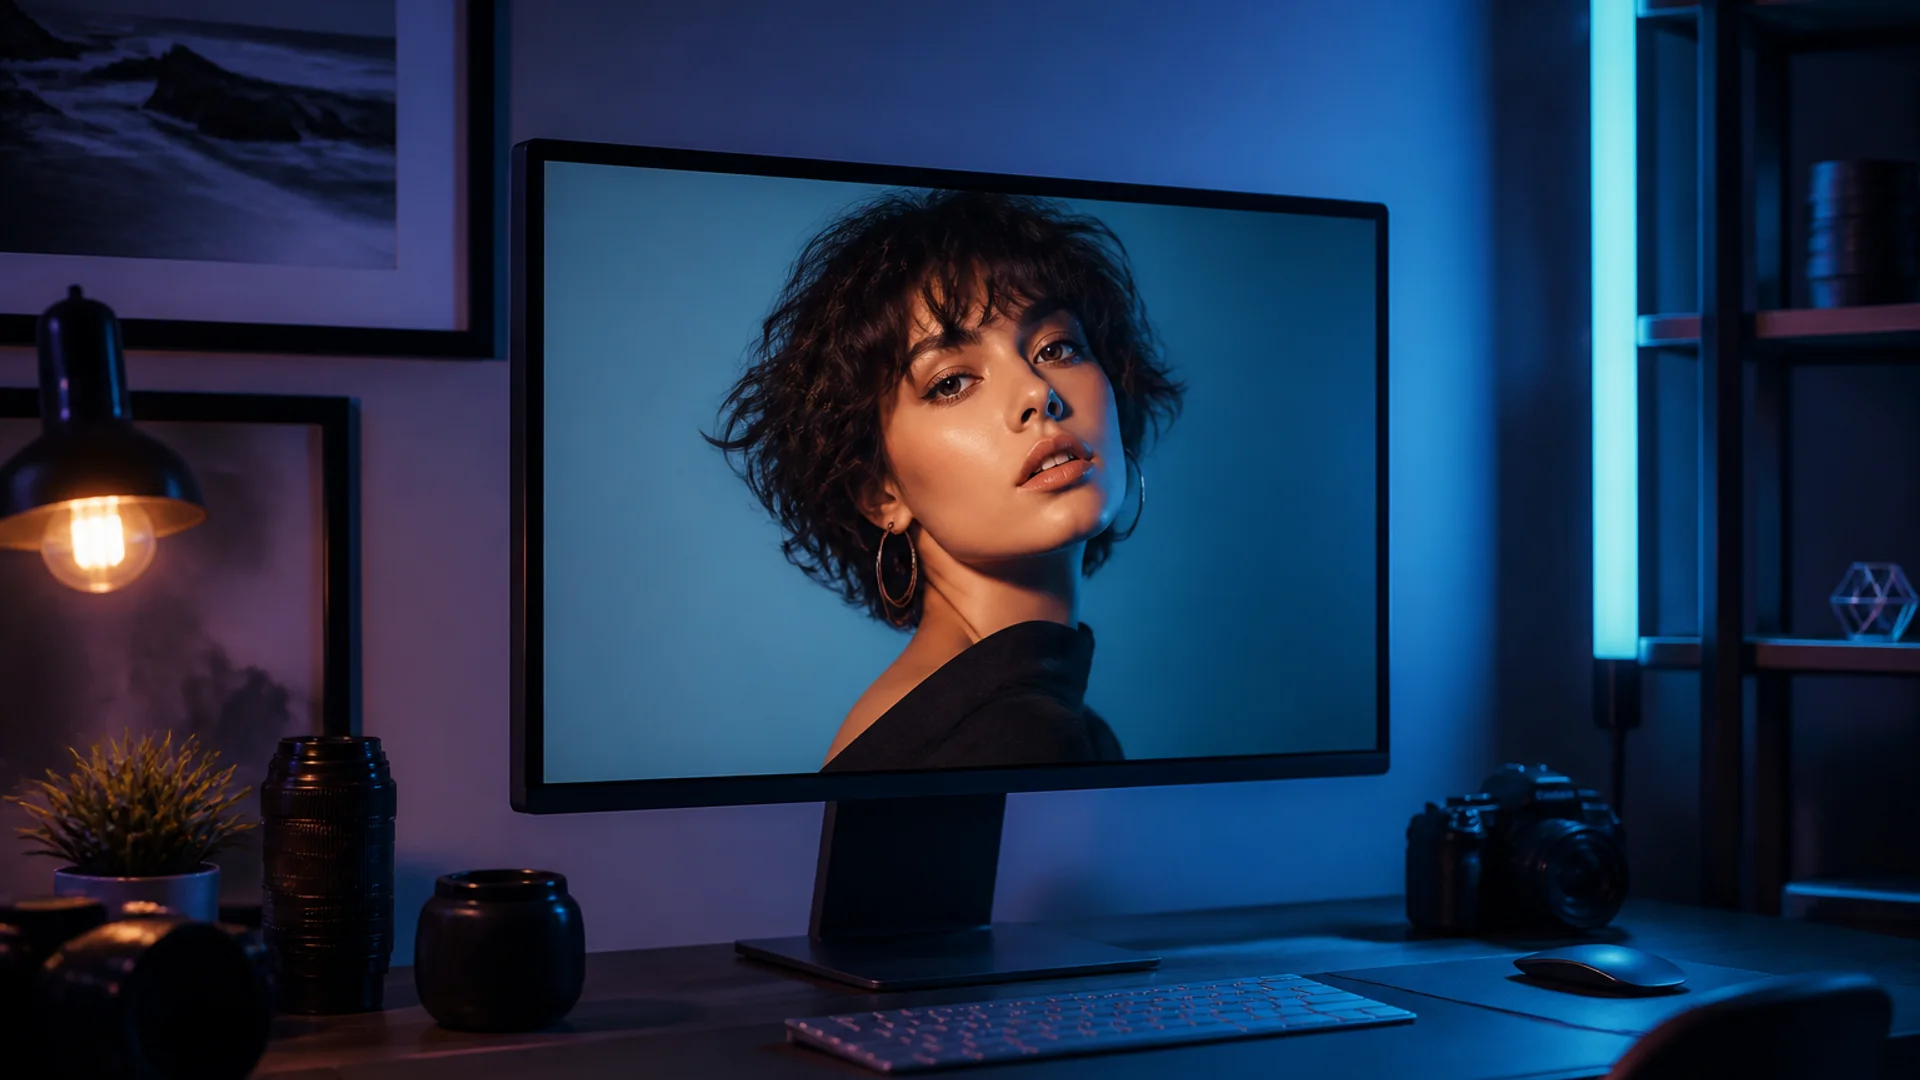
A polished headshot no longer has to mean booking a studio, ironing a suit, and waiting a week for proofs. In 2026, job seekers, creators, and small teams increasingly start with AI headshot generation when they need a fresh resume photo, LinkedIn portrait, about-page image, or social avatar.
This guide walks through a practical workflow: what photo to upload, how to prompt, which styles to pick, and when to use Midjourney, GPT Image, or a multi-model hub.
Why AI headshots make sense now
Studio sessions are still valuable—but they are expensive, slow to schedule, and painful when you only need a small tweak. AI portraits win on:
- Speed: shortlist multiple candidates the same afternoon
- Control: wardrobe, light, and backdrop can be constrained in text
- Iteration: switch crop ratios or vibes without rebooking a full shoot
If you already have a reasonably lit selfie or half-body photo, you usually have enough to start.
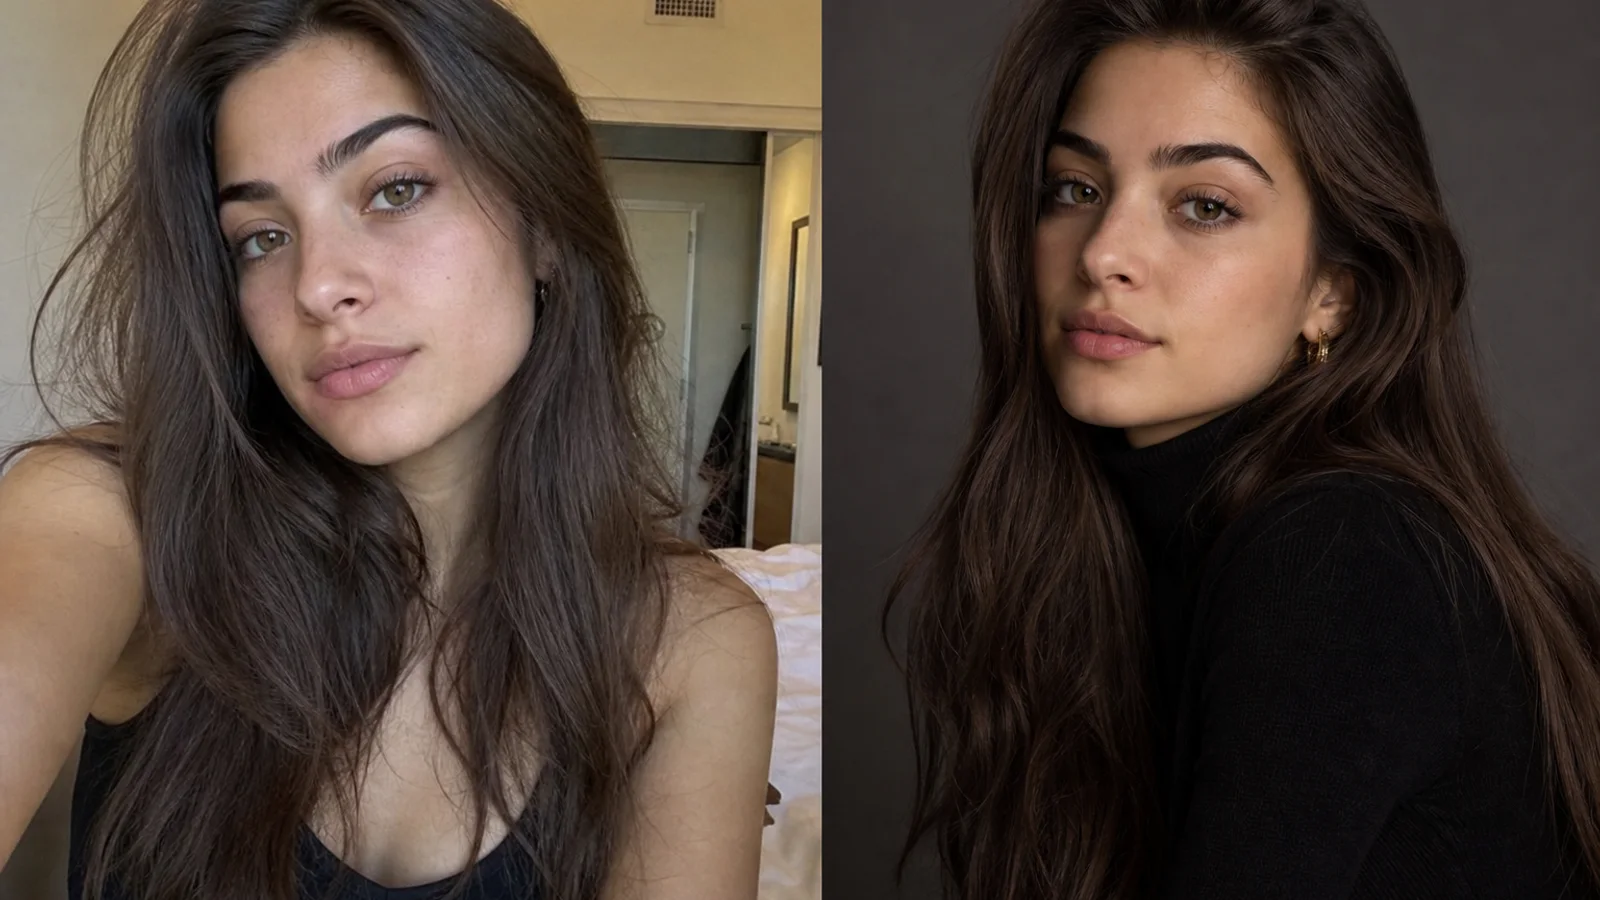
Before you start: prepare a usable source photo
Output quality still depends on input quality. Check for:
- Clear face: avoid heavy blur, blown highlights, or harsh backlight
- Natural angle: front or slight three-quarter views are steadier than extreme high/low angles
- Minimal occlusion: sunglasses, heavy bangs, or beauty filters can warp features
- Breathing room: shoulders-up framing is ideal for later square crops
You do not need a studio RAW file. Clean, real, and evenly lit beats over-retouched every time.
A four-step workflow: selfie to publish-ready
1. Define the use case before the style
The same face needs different energy for LinkedIn, resume-style photos, creator profiles, and brand pages. State the destination first, then wardrobe and backdrop:
- Job / profile pages: soft studio light, clean neutral backdrop
- Personal brand / social: younger fashion energy, natural expression, gentle ambient light
- Team pages: consistent framing, light direction, and retouch strength
2. Prompt with concrete constraints
Vague prompts like “professional headshot” are usually too thin. Steady results come from combining use case + wardrobe + lighting + backdrop + realism.
Example:
Convert this selfie into a resume and professional-profile portrait. Youthful fashion vibe, cream knit sweater, soft studio lighting, light beige seamless backdrop, natural skin texture, no heavy airbrushing, chest-up crop.
Useful photography terms: soft studio lighting, neutral backdrop, natural skin texture, chest-up portrait.
3. Generate several versions, then shortlist
Do not lock the first render. Score candidates quickly on:
- Likeness to you
- Clean backdrop
- Natural, trustworthy expression
- Crop friendliness for the target platform
4. Export for the platform, then fine-tune
Square crops fit most social avatars; vertical crops suit some portfolios and speaker bios. If needed, ask to “keep the same face and only adjust backdrop brightness / collar position.”
Which styles work in 2026?
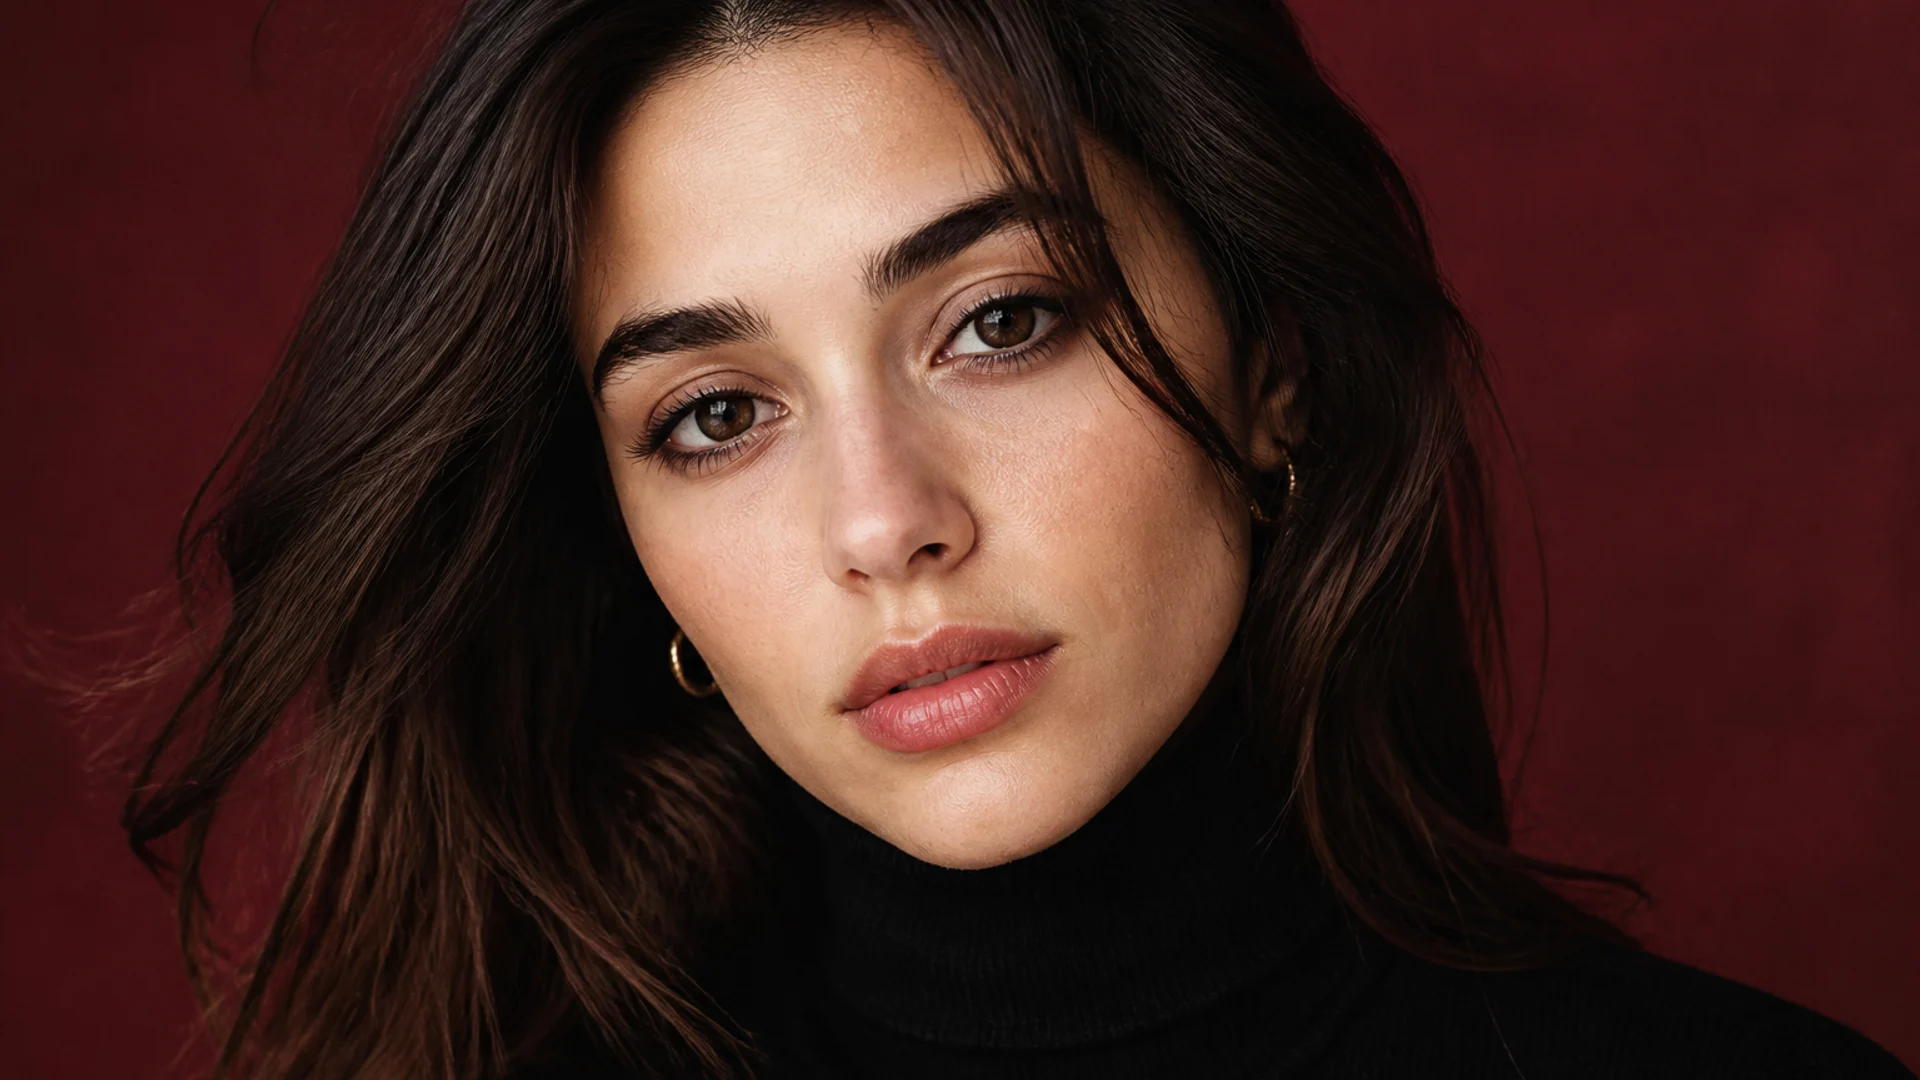
You do not have to default to a stiff executive suit. For many people, a cleaner, younger fashion portrait is more memorable:
| Style | Best for | Prompt cues |
|---|---|---|
| Soft studio | Resumes, websites, general profiles | soft studio light, clean backdrop |
| Lifestyle fashion | Creator pages, social | lifestyle portrait, natural window light |
| Creative color | Design/content roles, portfolios | colorful backdrop, editorial lighting |
The rule: match the platform, instead of forcing one outdated corporate look everywhere.
Choosing models: Midjourney, GPT Image, and multi-model hubs
Different models shine in different ways:
- GPT Image: steadier instruction following for backdrop rules, wardrobe details, and explicit use-case constraints
- Midjourney: stronger aesthetic atmosphere for creative identity and brand exploration
- Multi-model comparison: run the same prompt across models, then pick the version that looks most like you and fits the scenario
If you prefer not to bounce between multiple official sites, start from the AI Headshot Generator, pick a model by scenario, then jump into creation. For broader text-to-image work, see the AI Image Generator.
When a shortlist is close but not shippable, finish the photo workflow on-site: swap or clear the backdrop with the AI Background Remover, then lift clarity and skin detail in the AI Photo Enhancer before you export for LinkedIn or a resume.
Common failure modes
- Over-smoothing: plastic skin that quietly destroys trust
- Identity drift: eyes, jawline, or hair that no longer look like you
- Corporate sameness: every portrait in the same suit-and-backdrop template
- Crop blindness: a great wide render that loses the crown or shoulders in a square avatar
Always preview inside the destination platform—not only in the generator gallery.
Next step
The goal is not to look “AI-made.” It is to look like a clearer, more intentional version of you. Start with a clean selfie, constrain style with precise prompts, and shortlist across models—usually faster than booking another full studio day.
When you are ready, open the AI Headshot Generator and turn an everyday photo into a publish-ready portrait—or start generating online if you want to compare models in the workspace first.