
Midjourney V8.2 Prompt-Guide: Tipps und Beispiele
Praktischer Prompt-Guide für Midjourney V8.2: wiederverwendbares Gerüst, Tipps zu Raw / Style Reference / Personalization und kopierfertige Beispiele auf bikabika AI.
Midjourney V8.2 belohnt klare Vorgaben – nicht leere Superlative. Seit dem 24. Juli 2026 ist V8.2 das Standardmodell von Midjourney: mutiger und raffinierter. Wer noch wie in V7 „beautiful cinematic“ tippt, lässt oft die Hausästhetik übernehmen.
Dieser Midjourney-Prompt-Guide liefert wiederverwendbare Taktiken und Beispiele für den KI-Bildgenerator. Ändere pro Runde nur eine Variable und notiere „Gewinner + Ablehnungsgrund“. Modellüberblick: Midjourney V8.
Worin Midjourney V8.2 besonders stark ist
- Hohe Ästhetik-Exploration — Mode, Concept Art, Marken-Keyvisuals
- Strukturierte Prompts — Motiv, Medium, Umgebung, Licht, Komposition
- Serien mit Style Reference —
--sreffixiert den Look - Personalization — Profile mit mehr Samples treffen den Geschmack besser
- Native HD-Finals — ~2K bei Bedarf; Exploration in SD
Ein stabileres Gerüst für Midjourney V8.2
- Motiv 2. Medium 3. Umgebung 4. Licht + Linse 5. Materialien 6. Bildausschnitt + Parameter (
--ar,--raw,--sref,--no)
Fotografiebegriffe auf Englisch sind oft stabiler.
Tipp 1: Stimmung in ausführbare Specs verwandeln
Schwach: beautiful cinematic masterpiece
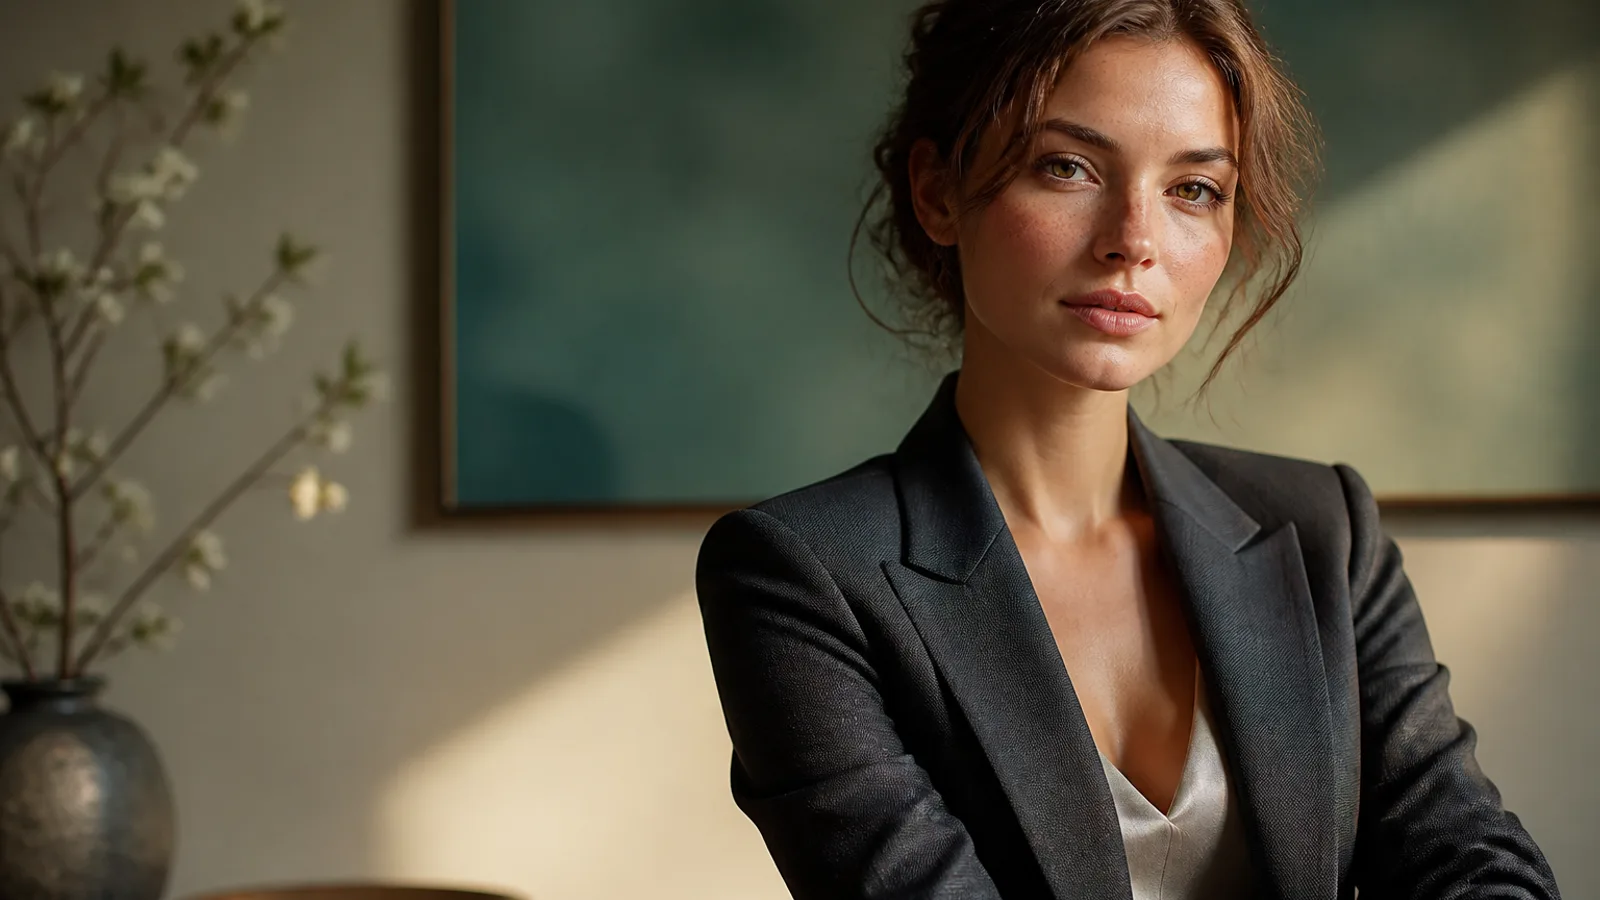
Stärker: soft window light from the left, 85mm lens, muted teal and cream palette
Ohne Licht und Palette füllt V8.2 mit der markanteren Standardästhetik.
Tipp 2: Raw für wörtliche Befolgung
Nutze --raw bei komplexen Layouts oder zu lautem Bold-Look. Migriere --style raw zu --raw.
Tipp 3: pro Runde nur eine Schicht ändern
A Motiv+Licht (SD) → B nur Outfit/Hintergrund → C nur Crop/--ar → D HD für Gewinner.
Tipp 4: Style Reference zuerst fixieren
--sref (oder Moodboard) trägt den Look – keine Fotokopie von Personen/Objekten.
Tipp 5: --ar vor der Komposition festlegen
Starte mit --ar 3:4, --ar 16:9 oder --ar 1:1.
Tipp 6: Ausschlüsse in --no
--no watermark, extra fingers, plastic skin, oversharpened HDR.
Tipp 7: das richtige Tool wählen
| Dein Ziel | Besserer Einstieg |
|---|---|
| Allgemeine Midjourney-Frames | KI-Bildgenerator |
| Profil-Headshots | KI-Headshot-Generator |
| Charakterkonsistenz | KI-Charaktergenerator |
| Anime-Ästhetik | KI-Anime-Generator |
Beispiel 1. Porträt mit fixiertem Licht
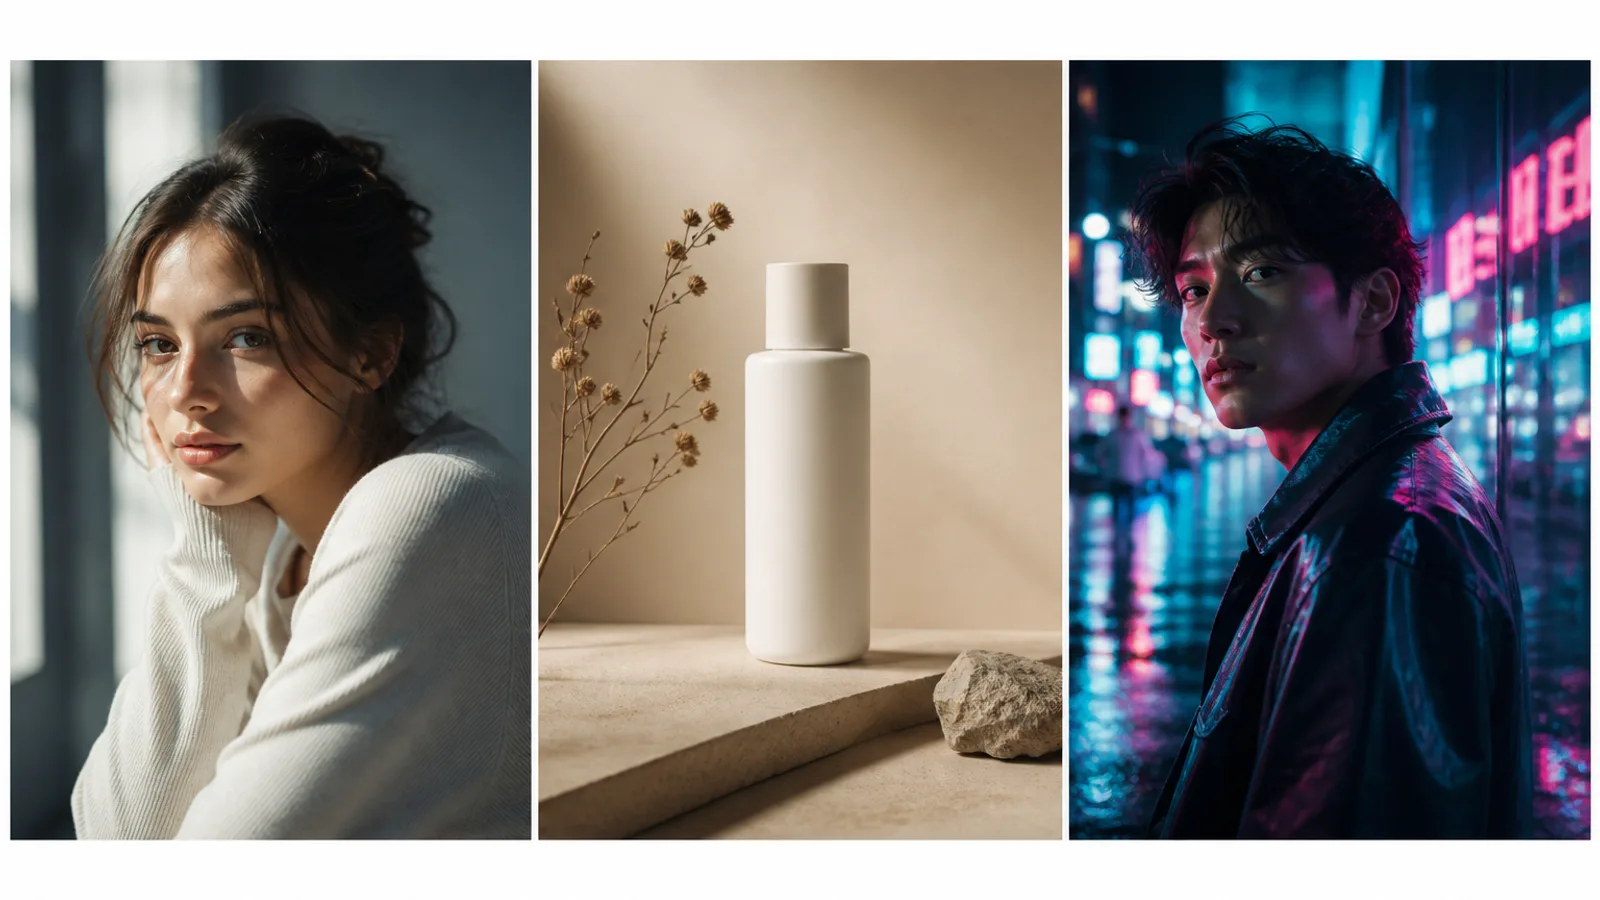
Prompt: Half-body portrait of a young woman with natural freckles and visible pores, soft daylight from a large window on the left, gentle shadow under the jaw, off-white wall, face slightly right of center, 85mm lens, f/2.0 shallow depth of field, both ears visible, natural skin texture —ar 3:4 —raw —no beauty blur, plastic skin, heavy makeup, watermark
Umschreib-Tipp: Zuerst Alter/Haare ändern; Licht und --raw eine Runde halten.
Beispiel 2. Produkt mit Headline-Raum
Prompt: Minimal product still life of a matte white skincare bottle on beige seamless backdrop, softbox key from upper left, gentle bounce fill, crisp bottle silhouette, generous negative space on the right for headline layout, commercial photography —ar 4:5 —stylize 100 —no harsh reflections, extra props, watermark, text
Umschreib-Tipp: Nur Farbe/Material ändern, bis Negativraum stabil ist.
Beispiel 3. Editorial mit Style Reference
Prompt: Editorial fashion portrait of a woman in a tailored black blazer, cinematic rim light from behind, cool teal fill from the front, sharp catchlights, subtle film grain, medium close-up on 50mm, realistic wool fabric texture —ar 3:4 —sref [your style reference] —stylize 150 —no oversaturated glow, melted facial features
Umschreib-Tipp: Bei fixem --sref nur Outfit oder Haarfarbe ändern.
Beispiel 4. Mutiges Sci-Fi-Konzept
Prompt: Futuristic canyon city at dusk, neon light strips along cliff roads, volumetric haze, cinematic wide shot, sophisticated sci-fi atmosphere, bold color contrast between amber sky and cyan streets, ultra-detailed architecture silhouettes —ar 16:9 —chaos 10 —stylize 250
Umschreib-Tipp: --chaos beim Explorieren erhöhen; danach senken.
Beispiel 5. Lifestyle-Interieur
Prompt: Woman reading by a large window in a quiet apartment, soft morning side light, linen curtains, light oak table, shallow depth of field, calm lifestyle photography, natural color grading, 35mm documentary feel, realistic interior materials —ar 3:2 —raw —no HDR look, staged smile, plastic skin
Umschreib-Tipp: Materialien (linen, oak) nennen statt „cozy“.
Beispiel 6. Markensicherer Avatar-Crop
Prompt: Professional head-and-shoulders portrait of a woman, clean light-gray seamless background, even soft studio light, confident calm expression, centered face with safe crop for circular avatar, natural skin texture, business-casual knit top —ar 1:1 —raw —no heavy retouching, harsh shadows, watermark
Umschreib-Tipp: Entwurf in Midjourney; Finish im KI-Headshot-Generator.
Beispiel 7. Vertikales Poster
Prompt: Vertical poster composition of a confident woman on a golden-hour city street, warm backlight, shallow depth of field, clean upper-third negative space reserved for a short headline, high contrast photographic look —ar 2:3 —stylize 120 —no watermark, busy background clutter, extra slogans
Umschreib-Tipp: Lange Texte: Raum freilassen und Typo im Design setzen.
Beispiel 8. Neon-Nachtporträt
Prompt: Night portrait of a woman under cyan and magenta neon signs, wet street reflections, shallow depth of field, cinematic contrast, rain-damp hair strands, realistic skin under colored light, 50mm lens, moody urban atmosphere —ar 3:4 —raw —no oversaturated glow, melted facial features, plastic skin
Umschreib-Tipp: realistic skin under colored light behalten.
Häufige Fehler
- Nur Stimmungswörter
- Motiv, Licht und
--srefgleichzeitig ändern --arzu spät- In HD explorieren
- HD bearbeiten ohne erneutes Upscale
- Anime und Fotoreal mischen
Nächste Schritte
Starte mit Beispiel 1 oder 3: kopieren → eine Schicht ändern → Ablehnungen notieren. Serien mit --sref; --raw für wörtliche Kontrolle; HD zum Schluss.
Öffne den
KI-Bildgenerator und erzeuge vergleichbare Midjourney-Frames.