
Midjourney V8.2 提示詞指南:技巧與示例
面向 Midjourney V8.2 的實用提示詞指南:可重用骨架、Raw / Style Reference / 個人化技巧,以及人像、產品、概念與可發布成片的可複製示例,適用於嗶咔嗶咔 AI。
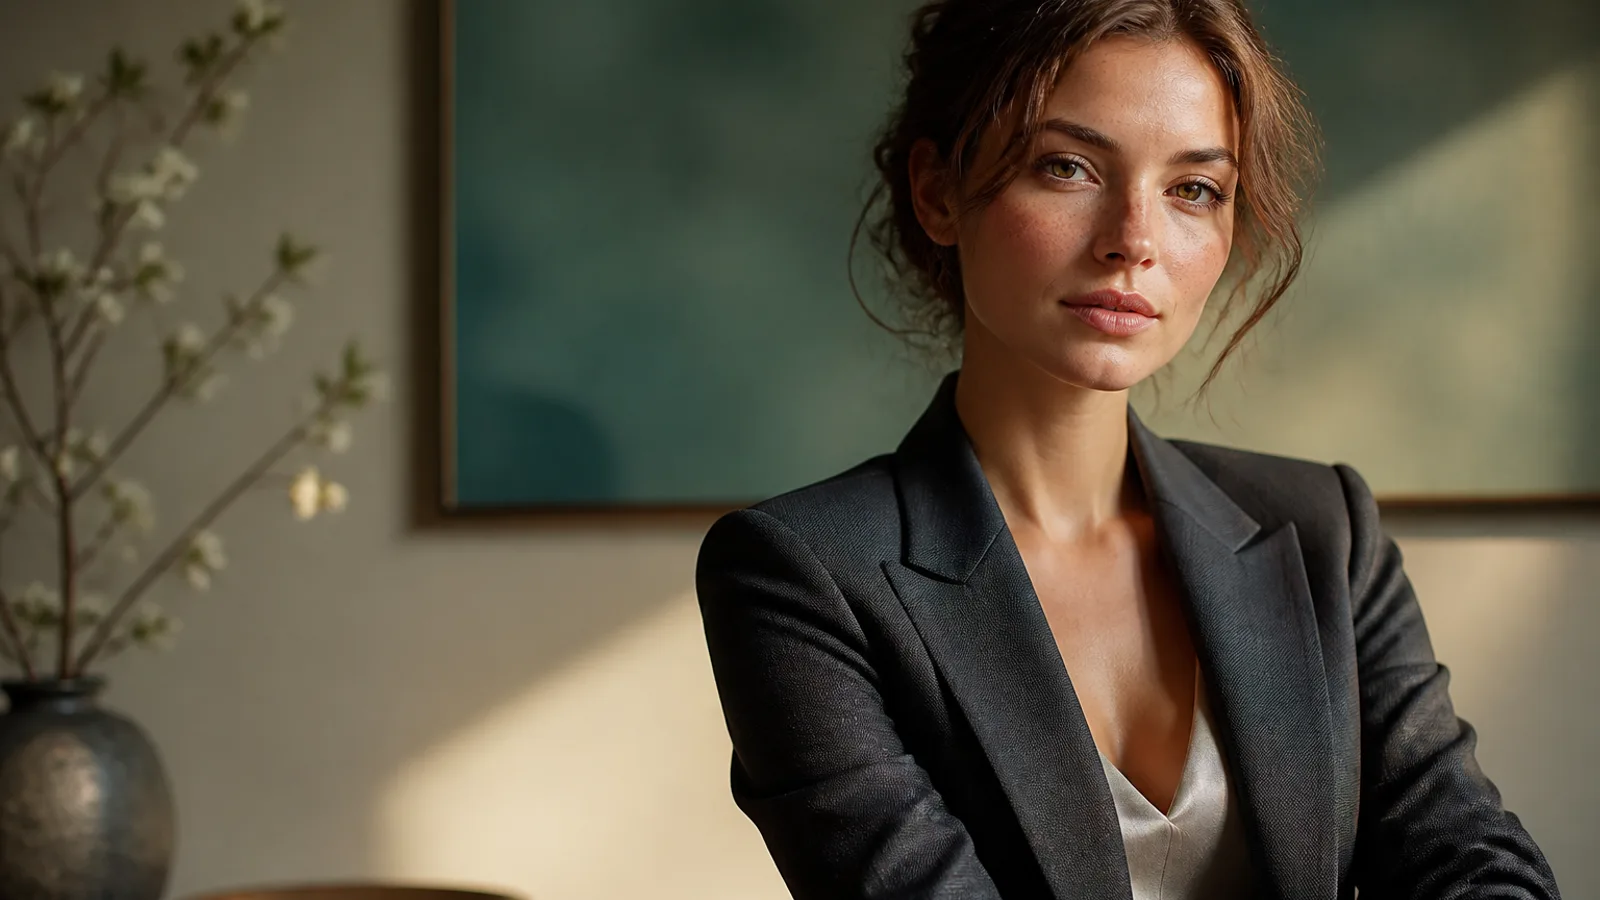
Midjourney V8.2 更吃「你把審美說清楚」,而不是一堆空泛誇讚詞。自 2026 年 7 月 24 日起,V8.2 成為 Midjourney 預設版本:預設氣質更鮮明、更大膽,也更依賴你主動寫清光線、媒介與構圖。若仍用 V7 那套「beautiful cinematic」碰運氣,結果往往會被模型預設美學帶著跑。
這篇 Midjourney 提示詞指南聚焦可重用技巧與可直接複製的示例。你可以把提示貼到 AI 圖像生成器 中的 Midjourney,每輪只改一層變數,並留下「入選 + 淘汰原因」短名單。想先了解模型能力,也可閱讀 Midjourney V8 模型介紹。
Midjourney V8.2 特別擅長什麼
優先在這些任務裡使用 Midjourney V8.2:
- 高美學方向探索 — 時尚大片、概念美術、品牌主視覺草案
- 結構化提示詞 — 主體、媒介、環境、光線、構圖寫清楚後更聽話
- Style Reference 系列創作 — 用
--sref鎖定專案氣質,再只改內容層 - 個人化審美延續 — Personalization 更懂你的口味,尤其是樣本充足的 Profile
- 原生 HD 定稿 — 需要約 2K 清晰度時切 HD;探索階段用 SD 更划算
它不是「樣樣最強」。需要極強圖內長文案或嚴格產品結構時,可與其他模型分工;但當你想要 Midjourney AI 繪圖 的藝術方向感與可控迭代,V8.2 通常是當前預設首選。
一套在 Midjourney V8.2 上更穩的提示骨架
多數時候按這個順序寫:
- 主體 — 是誰 / 是什麼,關鍵身分標誌
- 媒介 / 畫風賽道 — 攝影、插畫、概念美術、電影定裝照
- 環境 — 棚拍、街拍、室內、無縫背景
- 光線 + 鏡頭 — 左側窗光、柔光箱、85mm、f/2.0
- 材質與細節 — 織物紋理、皮膚質感、金屬反光
- 構圖 + 參數 — 裁切、負空間、
--ar、必要時--raw/--sref/--no
下面示例裡,攝影與材質術語保留英文,Midjourney 對它們更穩;人物身分與故事細節可用中文改寫。
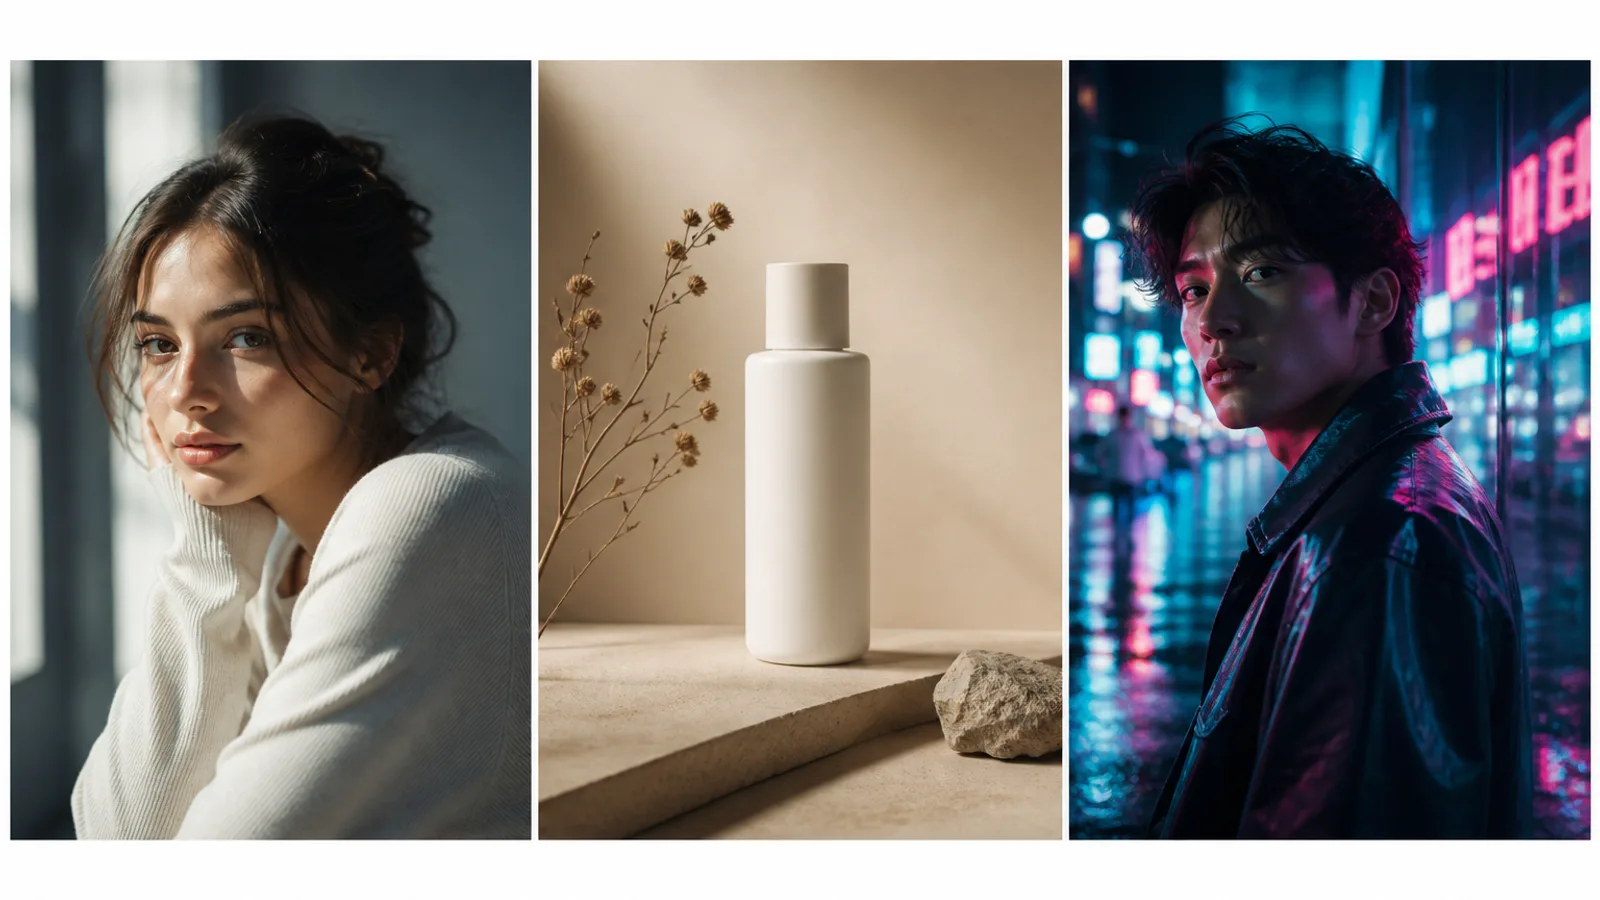
技巧 1:把氛圍詞改成可執行規格
弱寫法:beautiful cinematic masterpiece, epic mood
更強:soft window light from the left, 85mm lens, shallow depth of field, muted teal and cream palette, subtle film grain
V8.2 不再像早期版本那樣替你「猜一套大片光」。你不寫光位與色板,模型就會用更鮮明的預設審美填空——不一定是你要的。
技巧 2:需要字面遵循時開 Raw
複雜佈局、產品結構、或預設大片感太重時,加上 --raw,讓 Midjourney 更貼近提示詞字面含義。注意:舊寫法 --style raw 應遷移為 --raw。
系列專案若已有固定美學,也可先不加 Raw,讓 V8.2 的預設大膽氣質參與創作,再在定稿輪收緊。
技巧 3:每輪只改一層
- A 輪 — 鎖定主體 + 光線(SD 快速出多張)
- B 輪 — 只改服裝,或只改背景
- C 輪 — 只改裁切 /
--ar/ 負空間 - D 輪 — 入選後再切 HD 定稿
如果每次整段重寫,你無法判斷哪句真正起作用。留下「入選圖 + 淘汰原因」短名單。
技巧 4:系列專案先釘 Style Reference
品牌 KV、角色立繪、系列插畫,先固定 --sref(或 Moodboard),再只改內容層。否則每張都會重新抽卡美學。--sref 管「看起來像什麼氣質」,不會把參考圖裡的人物或物體原樣複印過來。
技巧 5:先定 --ar,再寫構圖
豎版封面、橫版廣告、方圖電商主圖,先決定畫幅,再寫「置中 / 留白 / 上三分之一標題區」。構圖詞與 --ar 打架時,往往是畫幅沒先定。
常用示例:--ar 3:4(人像封面)、--ar 16:9(橫版主視覺)、--ar 1:1(社媒方圖)。
技巧 6:用 --no 寫否定,而不是堆希望
在提示末尾加清晰否定,例如 --no watermark, extra fingers, plastic skin, oversharpened HDR。否定詞要具體,空泛的 bad anatomy 幫助有限。
技巧 7:按賽道選工具入口
| 你的目標 | 更合適的入口 |
|---|---|
| 通用 Midjourney 成片、概念、時尚、場景 | AI 圖像生成器 |
| 履歷與資料頁形象照 | AI 頭像生成器 |
| 跨圖角色一致性 | AI 角色生成器 |
| 二次元 / 日系插畫氣質 | AI 動漫生成器 |
示例 1. 光位寫死的寫實人像
適合:品牌首頁與社媒形象。
提示詞: Half-body portrait of a young woman with natural freckles and visible pores, soft daylight from a large window on the left, gentle shadow under the jaw, off-white wall, face slightly right of center, 85mm lens, f/2.0 shallow depth of field, both ears visible, natural skin texture —ar 3:4 —raw —no beauty blur, plastic skin, heavy makeup, watermark
改寫提示:第一句只改年齡感與髮型;光線與 --raw 先保持一輪不動。
示例 2. 預留標題留白的產品靜物
適合:電商主圖與廣告草案。
提示詞: Minimal product still life of a matte white skincare bottle on beige seamless backdrop, softbox key from upper left, gentle bounce fill, crisp bottle silhouette, generous negative space on the right for headline layout, commercial photography —ar 4:5 —stylize 100 —no harsh reflections, extra props, watermark, text
改寫提示:先只改瓶身顏色與材質;留白穩定前不要重做光位。
示例 3. Style Reference 鎖定的時尚編輯肖像
適合:系列 KV,要同一套氣質、不同造型。
提示詞: Editorial fashion portrait of a woman in a tailored black blazer, cinematic rim light from behind, cool teal fill from the front, sharp catchlights, subtle film grain, medium close-up on 50mm, realistic wool fabric texture —ar 3:4 —sref [你的風格參考] —stylize 150 —no oversaturated glow, melted facial features
改寫提示:固定 --sref 後,每輪只改服裝或髮色。
示例 4. 概念美術夜景(大膽預設氣質)
提示詞: Futuristic canyon city at dusk, neon light strips along cliff roads, volumetric haze, cinematic wide shot, sophisticated sci-fi atmosphere, bold color contrast between amber sky and cyan streets, ultra-detailed architecture silhouettes —ar 16:9 —chaos 10 —stylize 250
改寫提示:探索階段可提高 --chaos;方向鎖定後降低,並考慮加 --raw。
示例 5. 室內生活方式場景
提示詞: Woman reading by a large window in a quiet apartment, soft morning side light, linen curtains, light oak table, shallow depth of field, calm lifestyle photography, natural color grading, 35mm documentary feel, realistic interior materials —ar 3:2 —raw —no HDR look, staged smile, plastic skin
改寫提示:點名兩種可核對材質(linen、oak)比空喊 cozy 有效得多。
示例 6. 品牌安全的頭像裁切
提示詞: Professional head-and-shoulders portrait of a woman, clean light-gray seamless background, even soft studio light, confident calm expression, centered face with safe crop for circular avatar, natural skin texture, business-casual knit top —ar 1:1 —raw —no heavy retouching, harsh shadows, watermark
改寫提示:草案跑通後,收尾可走 AI 頭像生成器。
示例 7. 直式海報構圖(短標題思路)
提示詞: Vertical poster composition of a confident woman on a golden-hour city street, warm backlight, shallow depth of field, clean upper-third negative space reserved for a short headline, high contrast photographic look —ar 2:3 —stylize 120 —no watermark, busy background clutter, extra slogans
改寫提示:長文案優先預留留白後設計疊字。
示例 8. 霓虹夜景人像(保住真實膚質)
提示詞: Night portrait of a woman under cyan and magenta neon signs, wet street reflections, shallow depth of field, cinematic contrast, rain-damp hair strands, realistic skin under colored light, 50mm lens, moody urban atmosphere —ar 3:4 —raw —no oversaturated glow, melted facial features, plastic skin
改寫提示:霓虹雙色可換成品牌色;每輪保留 realistic skin under colored light。
Midjourney V8.2 提示詞常見失誤
- 只堆氛圍詞,卻不寫光位、鏡頭與色板
- 同一次重試同時改主體、光線與
--sref - 忘記先定
--ar - 把探索預算全打進 HD — 先用 SD 找方向
- 對 HD 圖做大幅編輯後未再放大
- 二次元與寫實攝影線索硬捆 — 或改走 AI 動漫生成器
下一步
今天從示例 1或示例 3開始,在 Midjourney V8.2 上做三輪受控實驗:複製骨架 → 只改一層 → 用淘汰筆記做短名單。系列專案先釘 --sref;需要字面遵循時開 --raw;方向鎖定後再切 HD。
準備開始時,打開 AI 圖像生成器,把上面任意一條提示立刻變成可對比的 Midjourney 成片。